Adding, editing, deleting users
Adding users
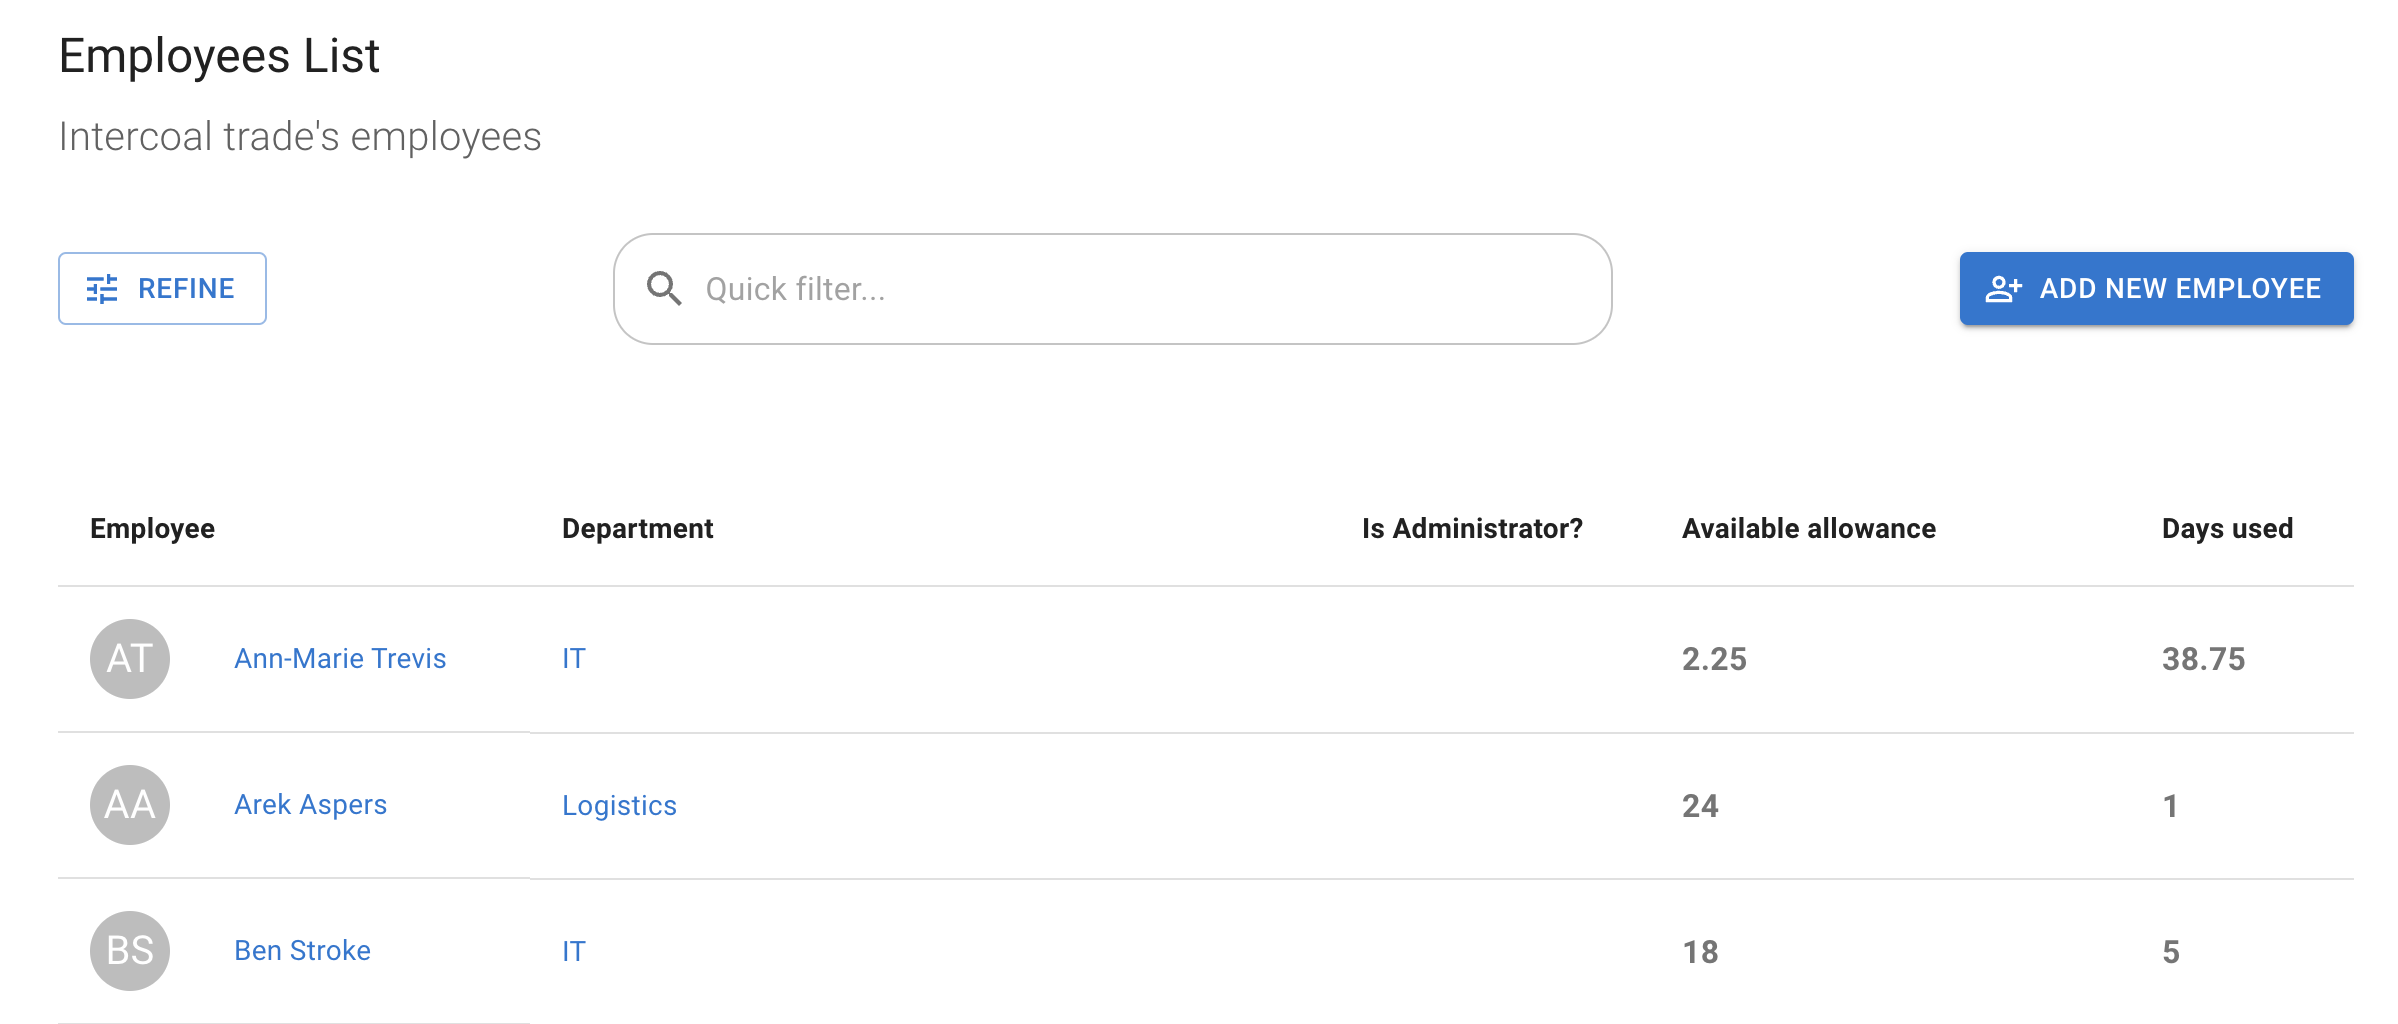
There are a few ways to add a single employee to the system:
- Directly from Team View
- From the Employee tab
Adding one employee at a time
To add one employee, complete the form with the following information:
- First and last name
- Email address
- Department (from the list you created in Departments)
- Location (from the list you created in Locations; defaults to only location if single)
- Direct Supervisor (optional: if different from department approver)
- Is Administrator user (grant admin access)
- Auto approve leave requests (no approval needed for this user)
- Started on date
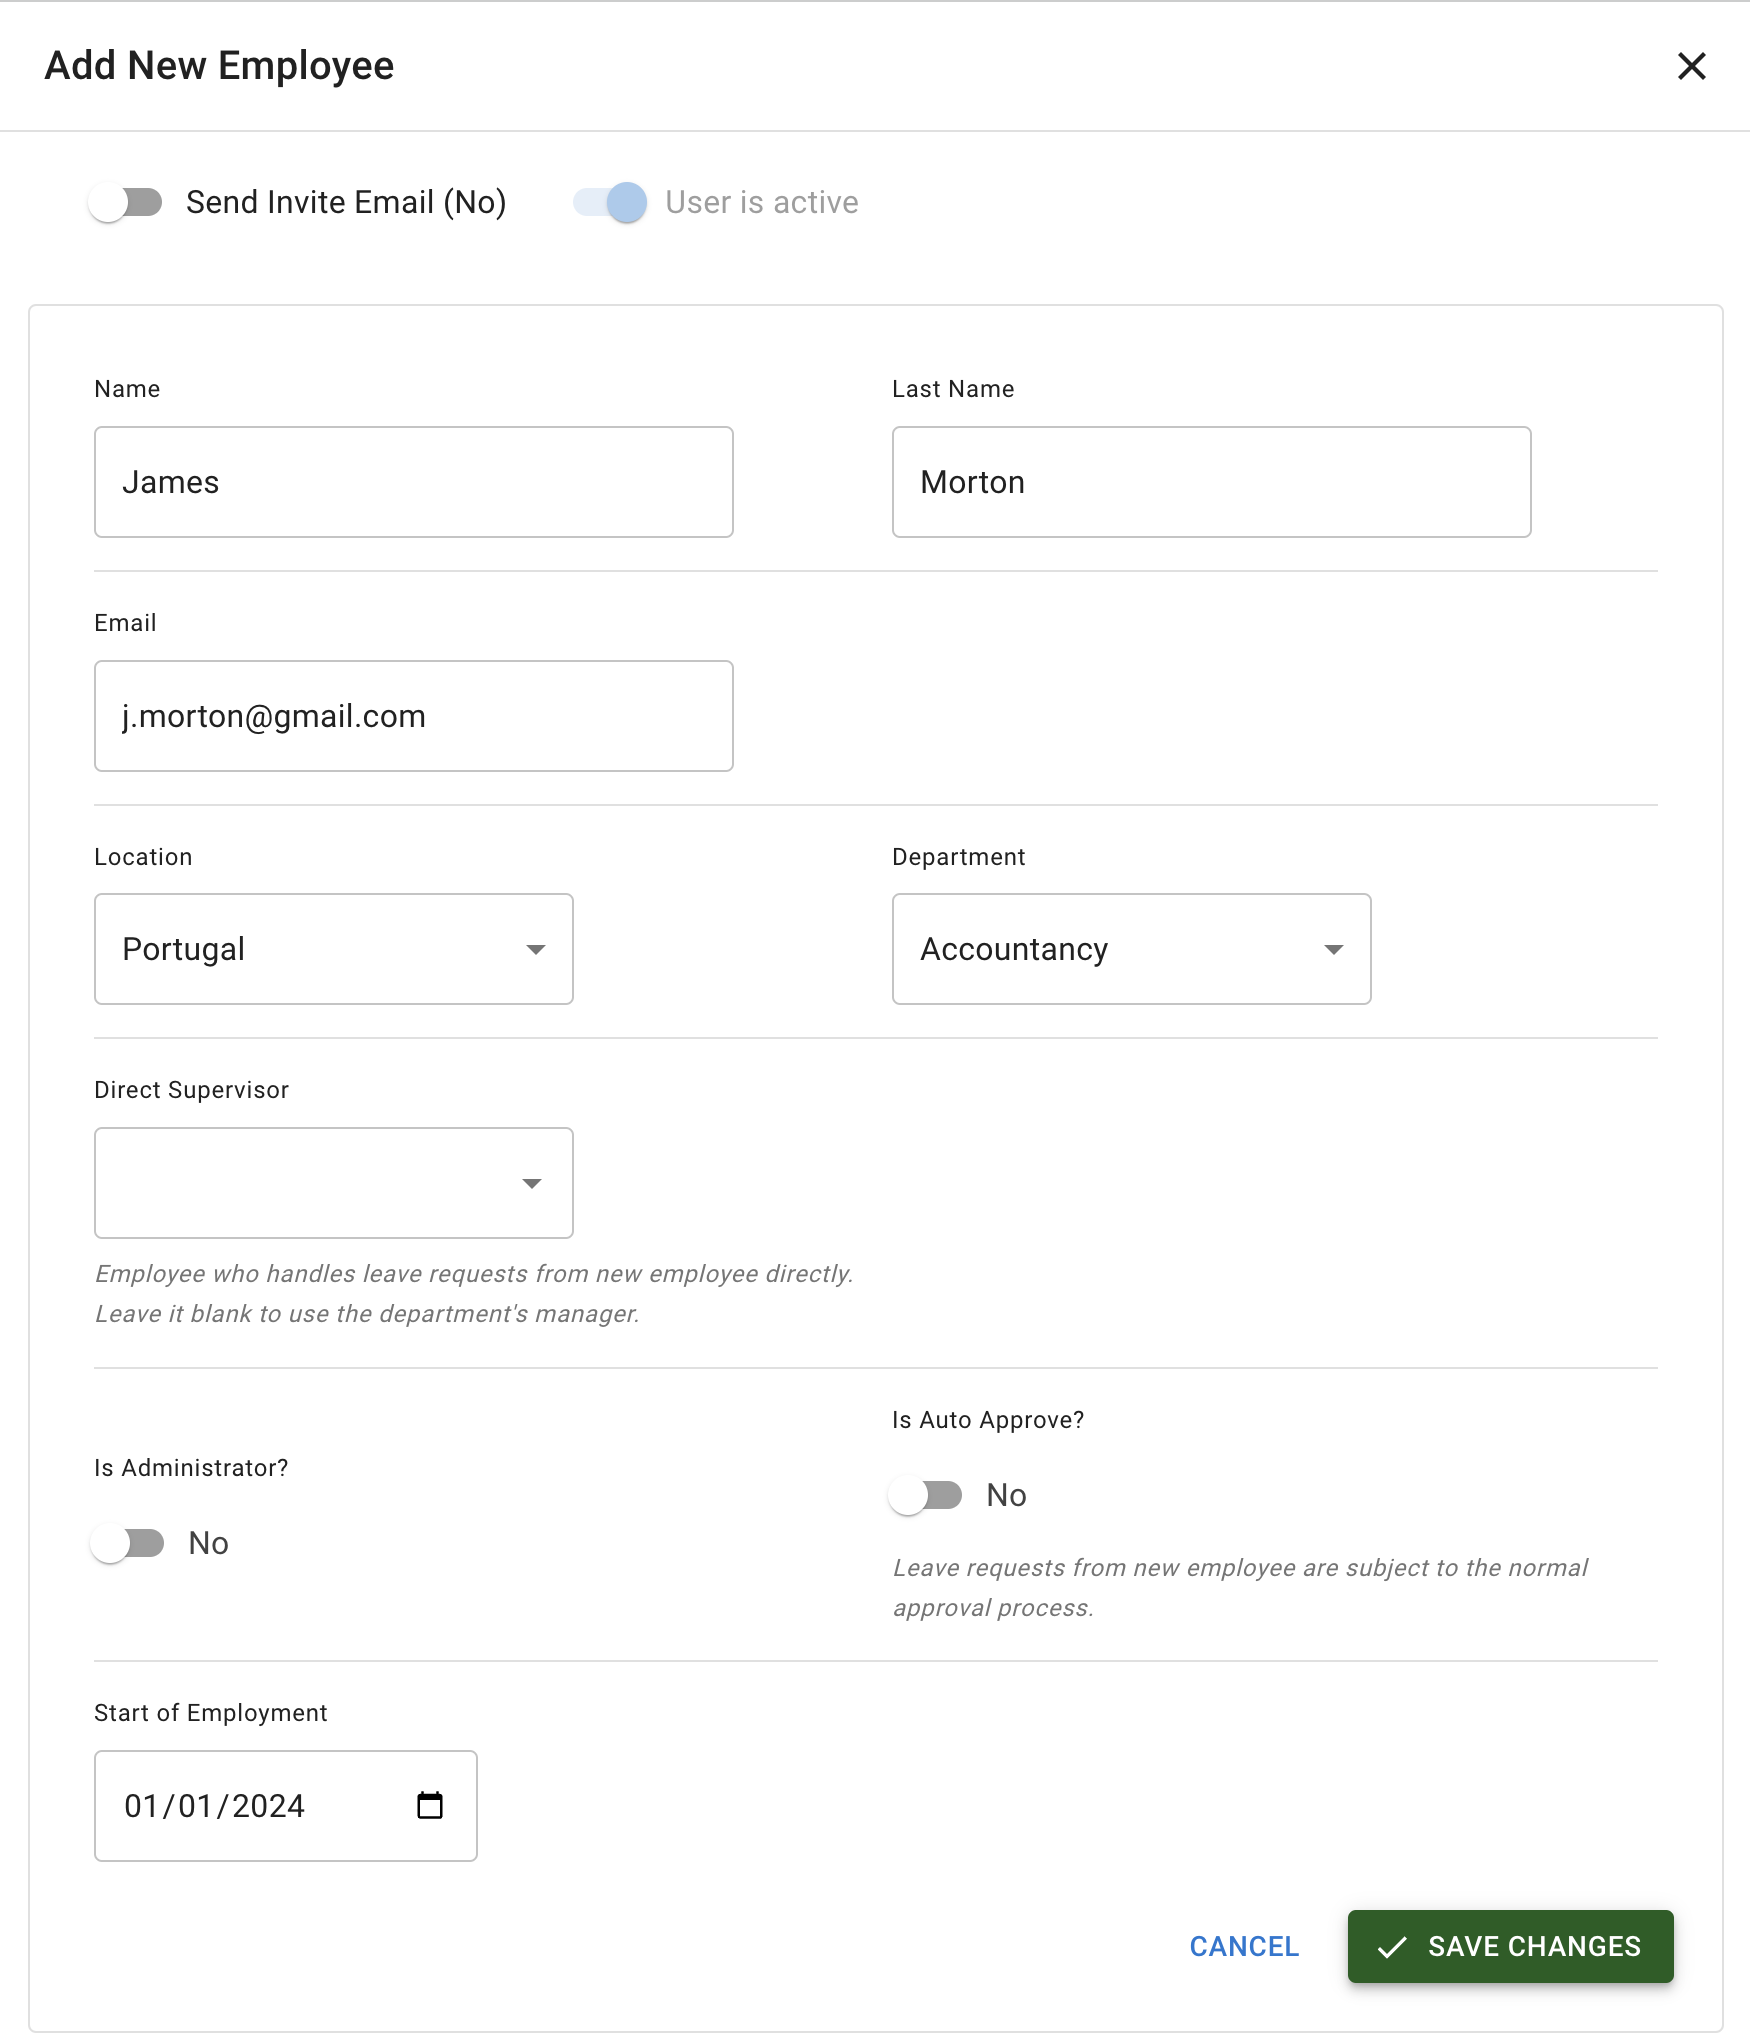
If you want the employee to receive an invitation email to access the system immediately, toggle Send invitation email.
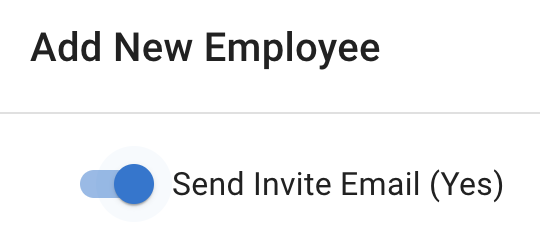
You can also send the invitation later from the employee’s General details tab.
Adding employees in bulk
Provide a spreadsheet with each employee’s name, surname, email, and department. We’ll upload it to the system the same day.
Editing users
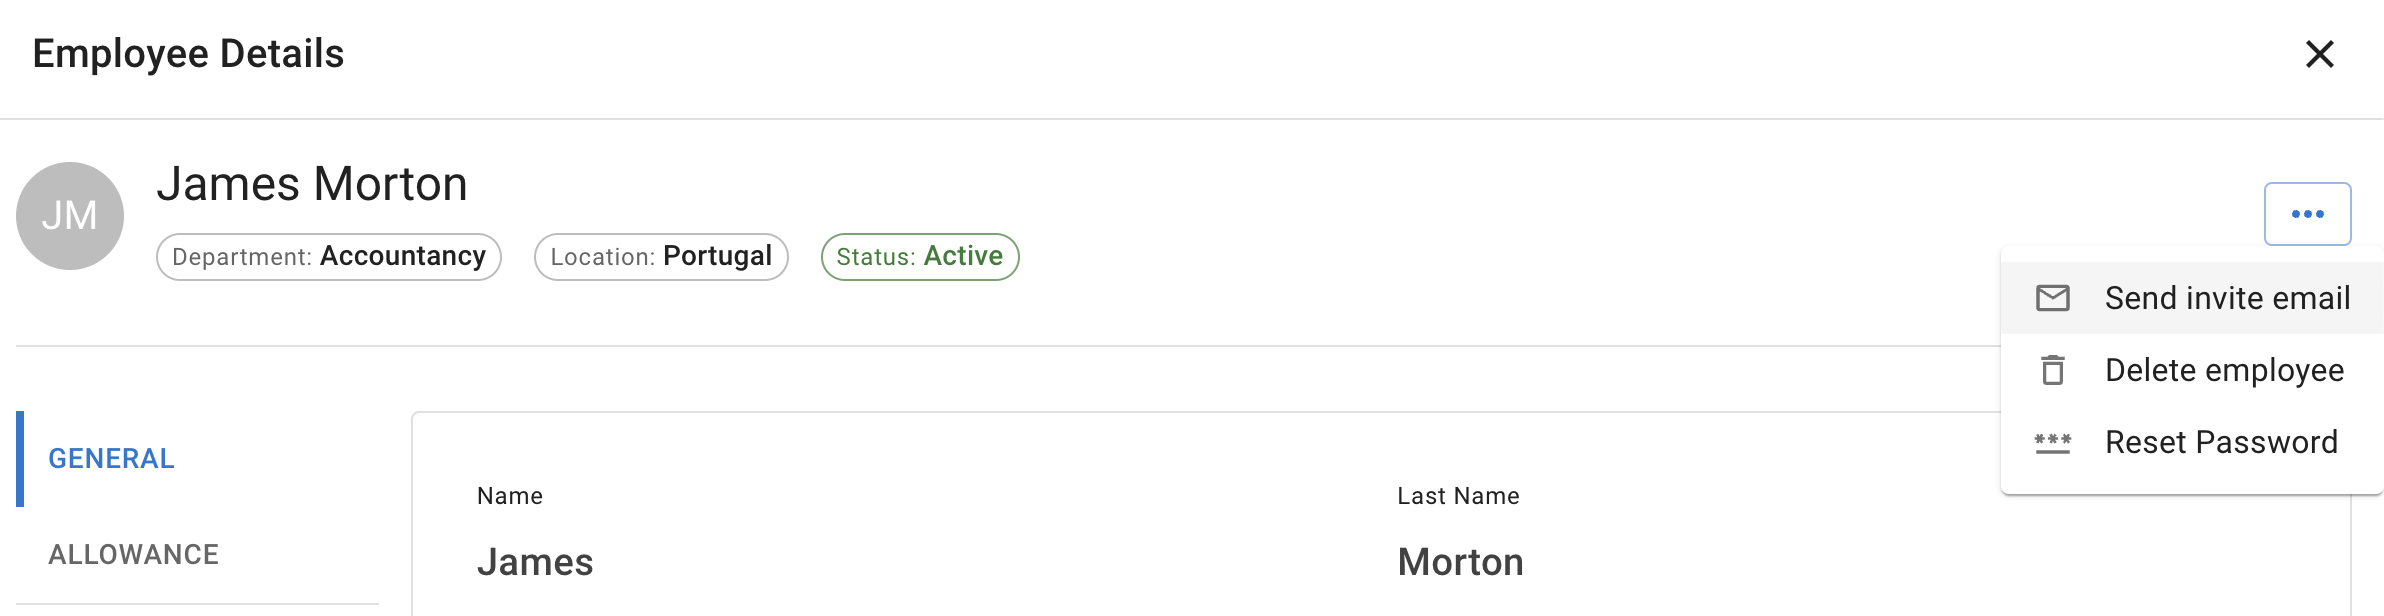
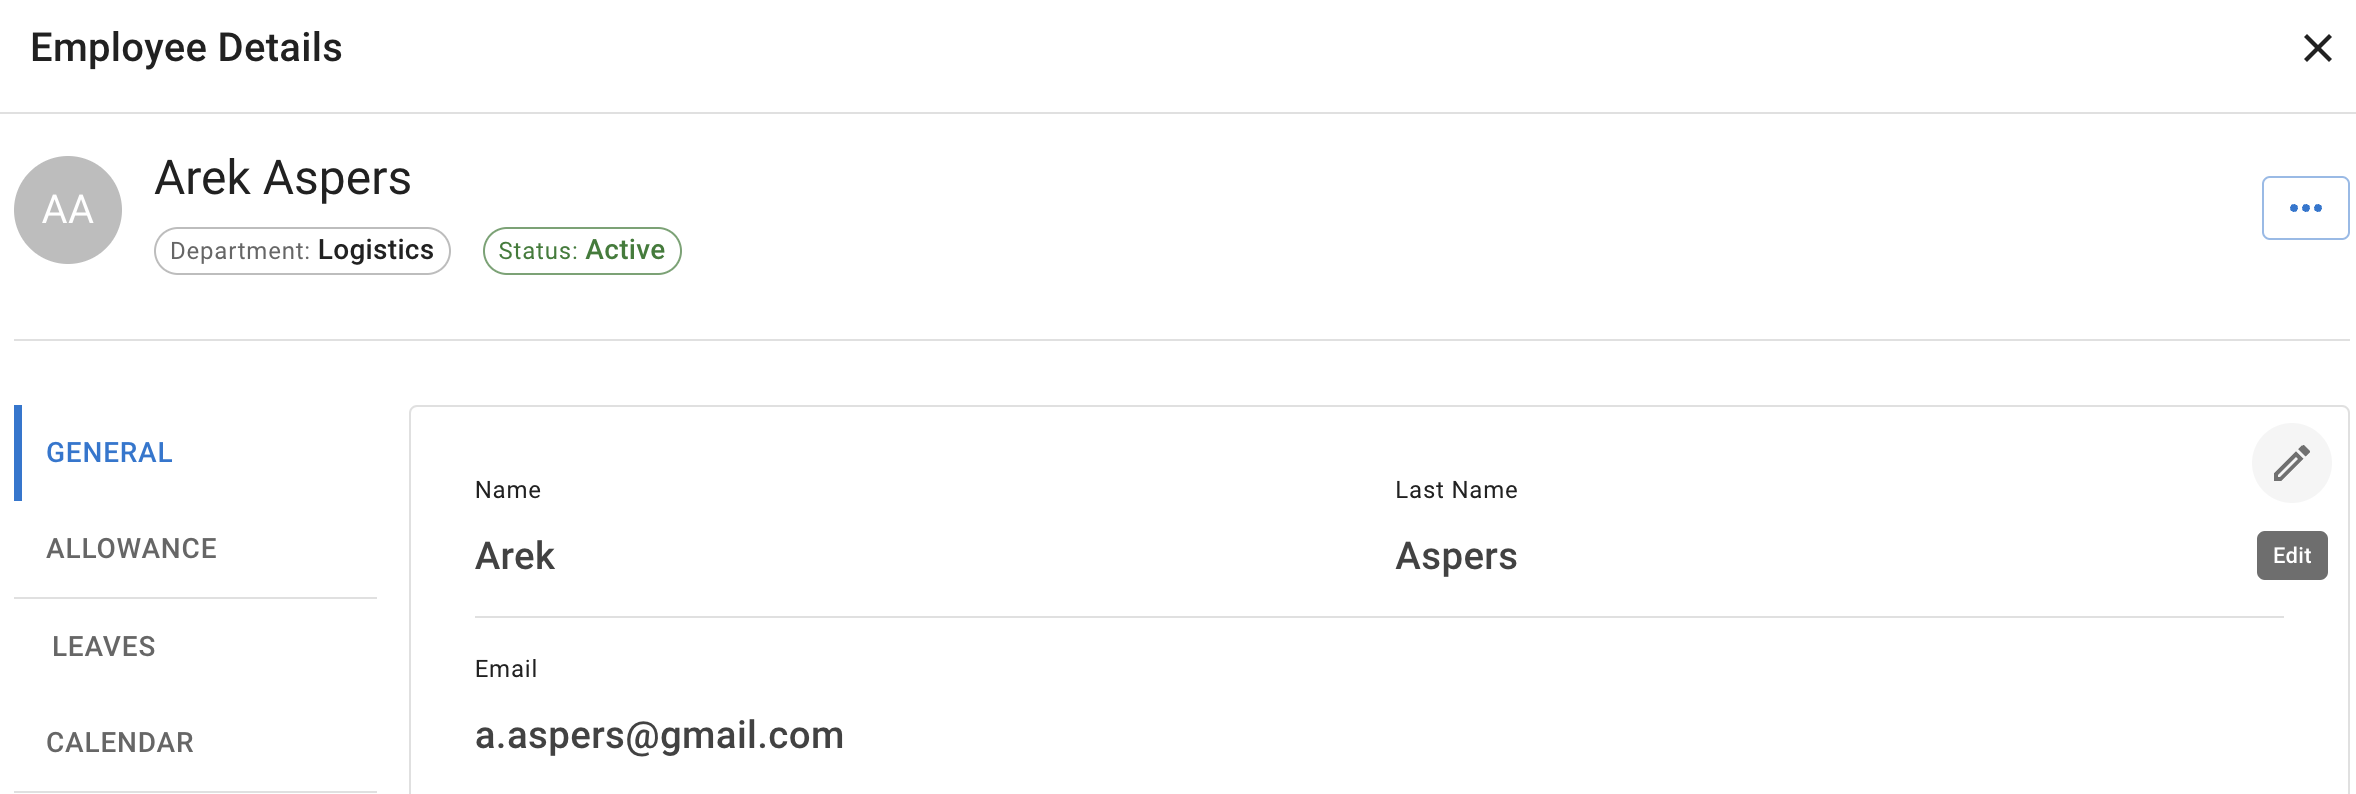
Edit employee details from the General details tab: open the Employee list, select a user, go to General details, then click Edit.
Deleting users
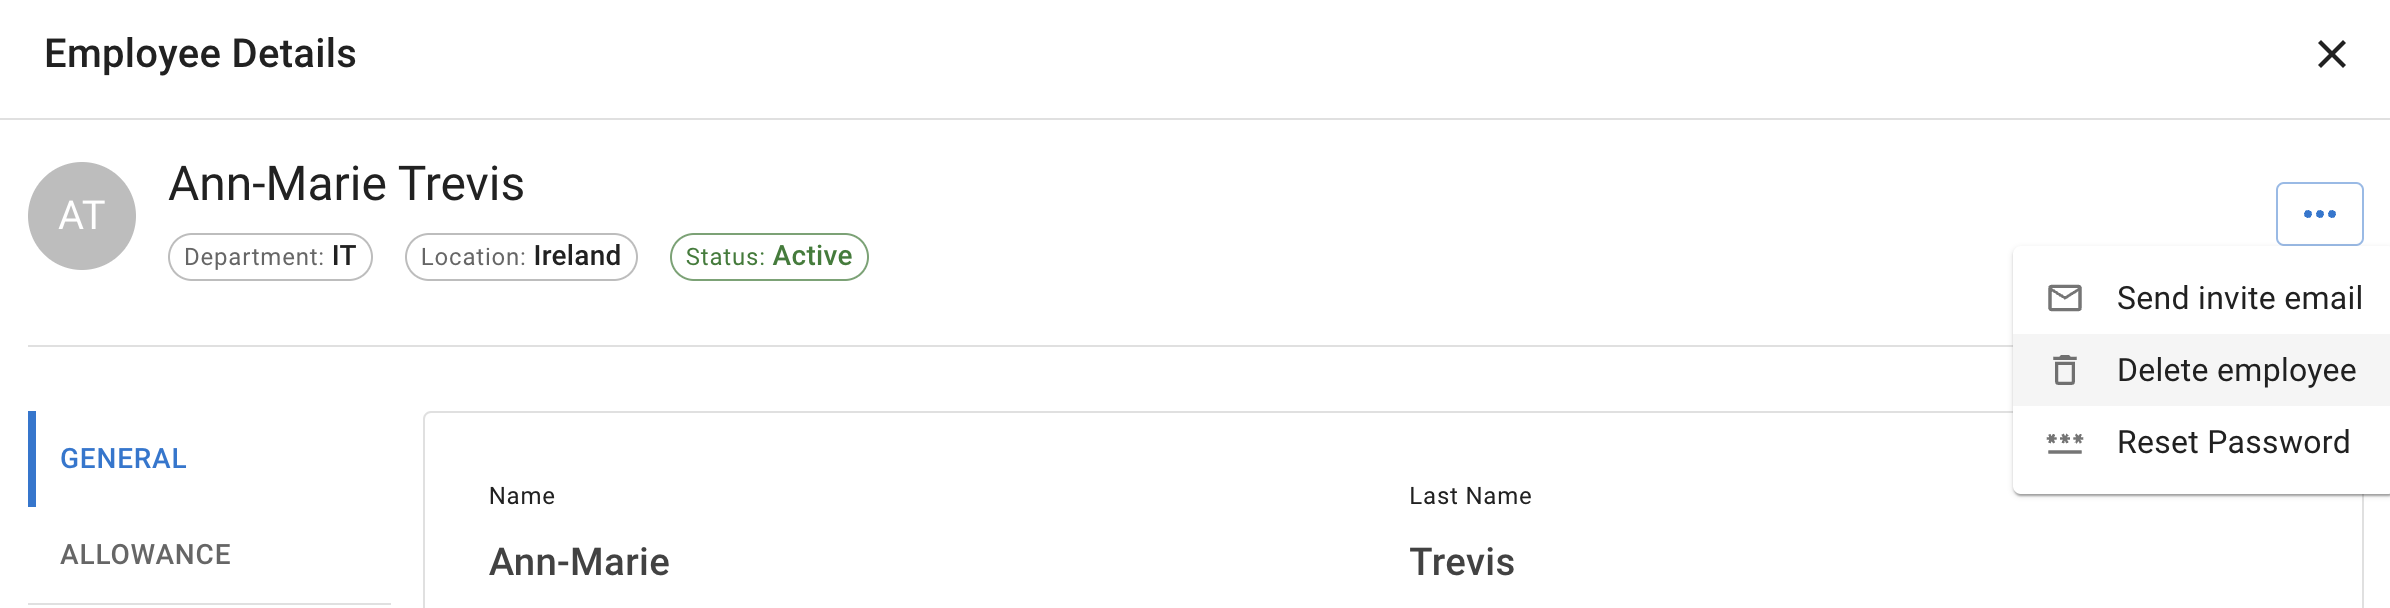
To delete an employee, open the employee’s details and select Delete employee from the menu.
Confirm deletion in the popup (this action is not reversible).
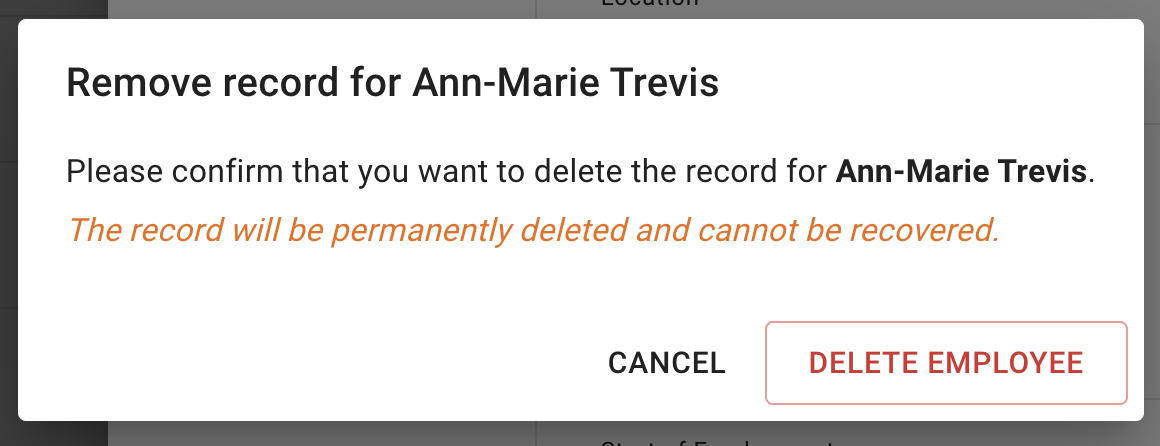
Note: If you want to prevent access without deleting data, consider deactivation instead.