Getting Started - How to Set up TimeOff
Welcome to TimeOff.Management — let's get started!
This quick start guide walks you through the initial setup. By the end you’ll have a good understanding of the basics and be ready to start tracking time off.
In this guide
- Add users
- Set up employee schedule
- Manage departments
- Customise leave types
- Add locations and bank holidays
- Privacy settings
- Reports
1. Add users
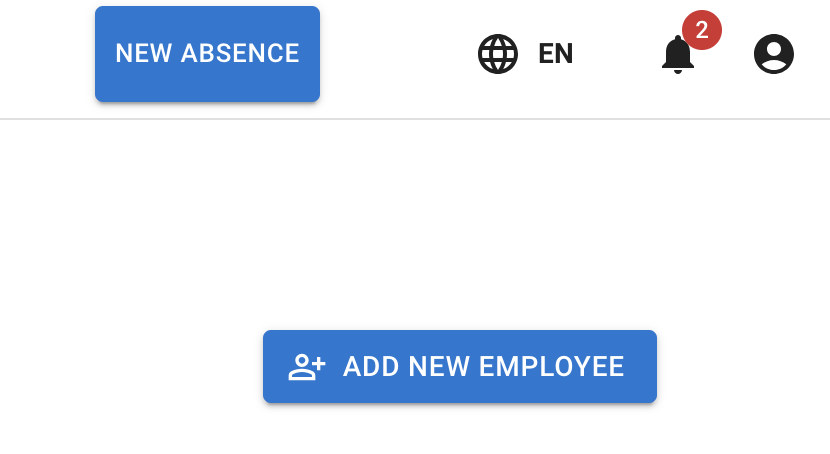
Users can be quickly added one by one from the Employee section in the Main Menu.
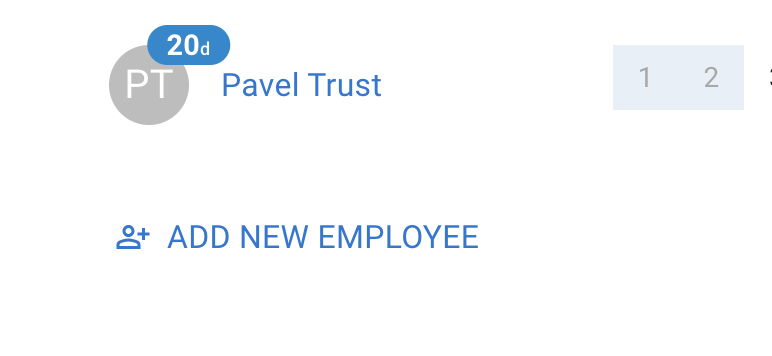
You can also add users from Team View.
If you’d like to save time and add employees in bulk, simply send an Excel spreadsheet with the following details: employee first and last name, email address, and department to kate@timeoff.management. We’ll upload the data for you within one working day.
To learn more, see: Adding, editing, deleting users.
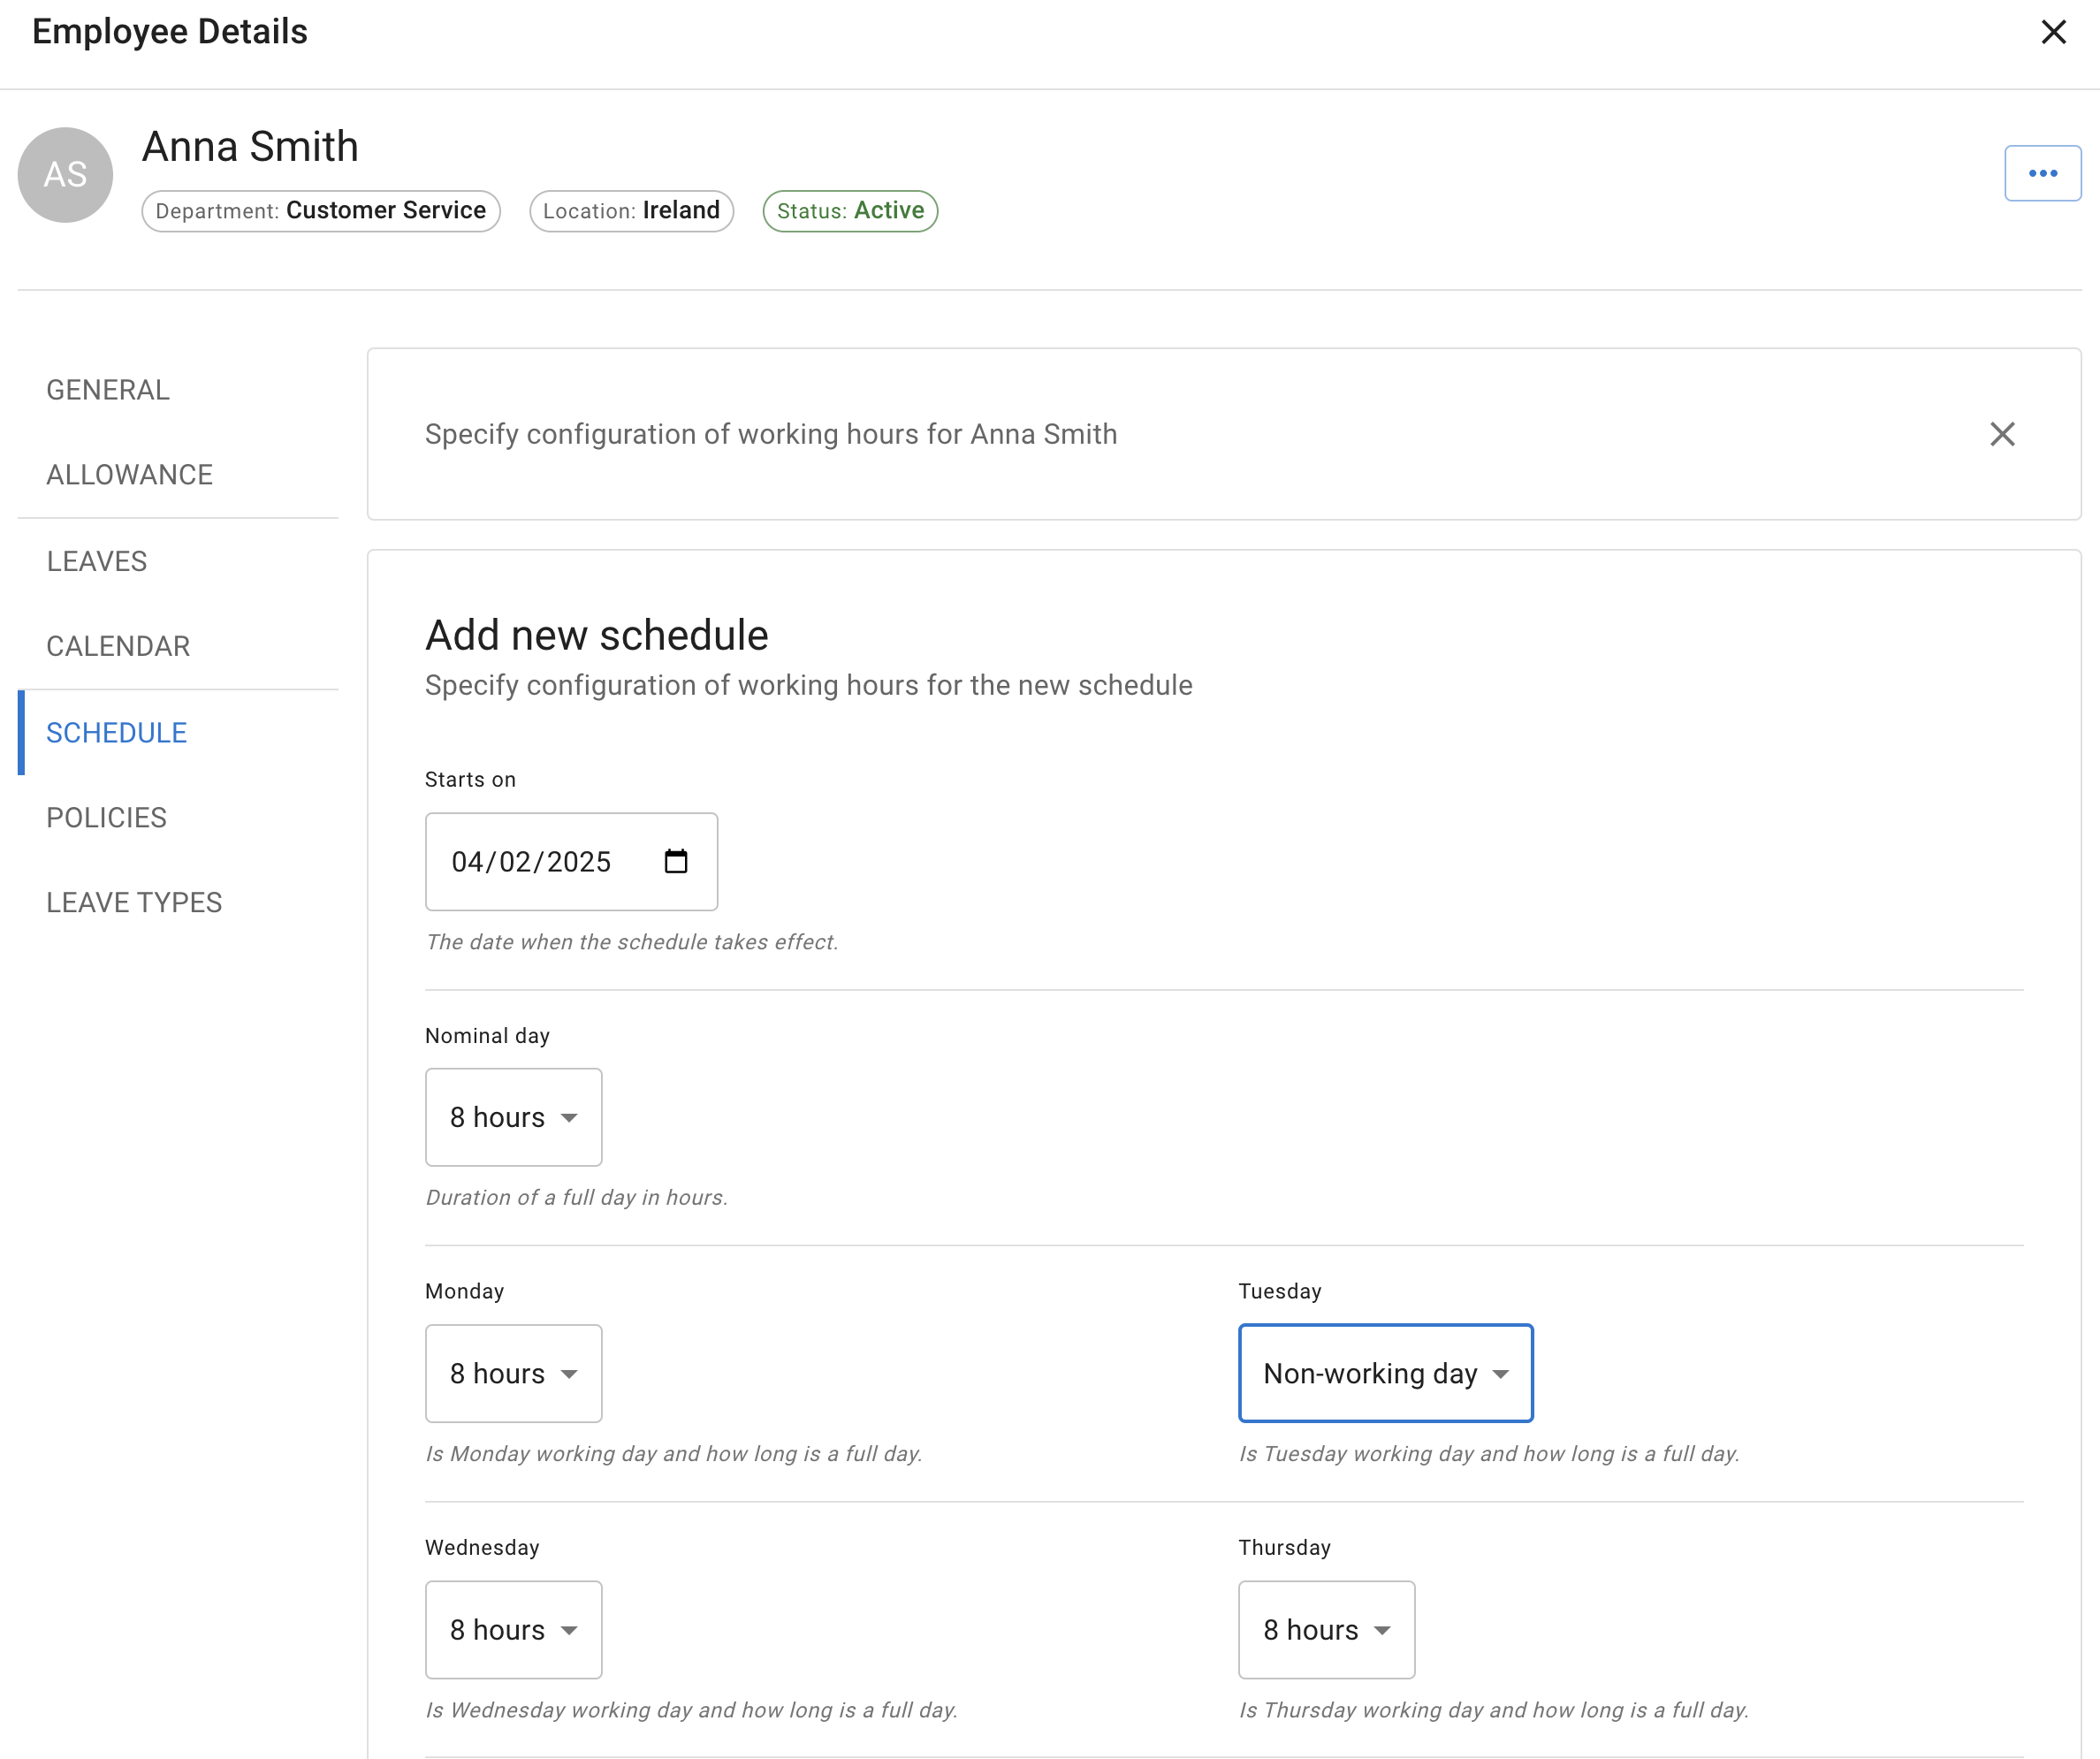
2. Set up employee schedule
It’s very important to set up employee schedules, especially for part-time employees, so the system can accurately calculate deductions from their allowance.
How to update an employee’s schedule:
- Go to the Employee tab and select Schedule.
- If the employee has an existing schedule, amend the Default Schedule and click Save Changes.
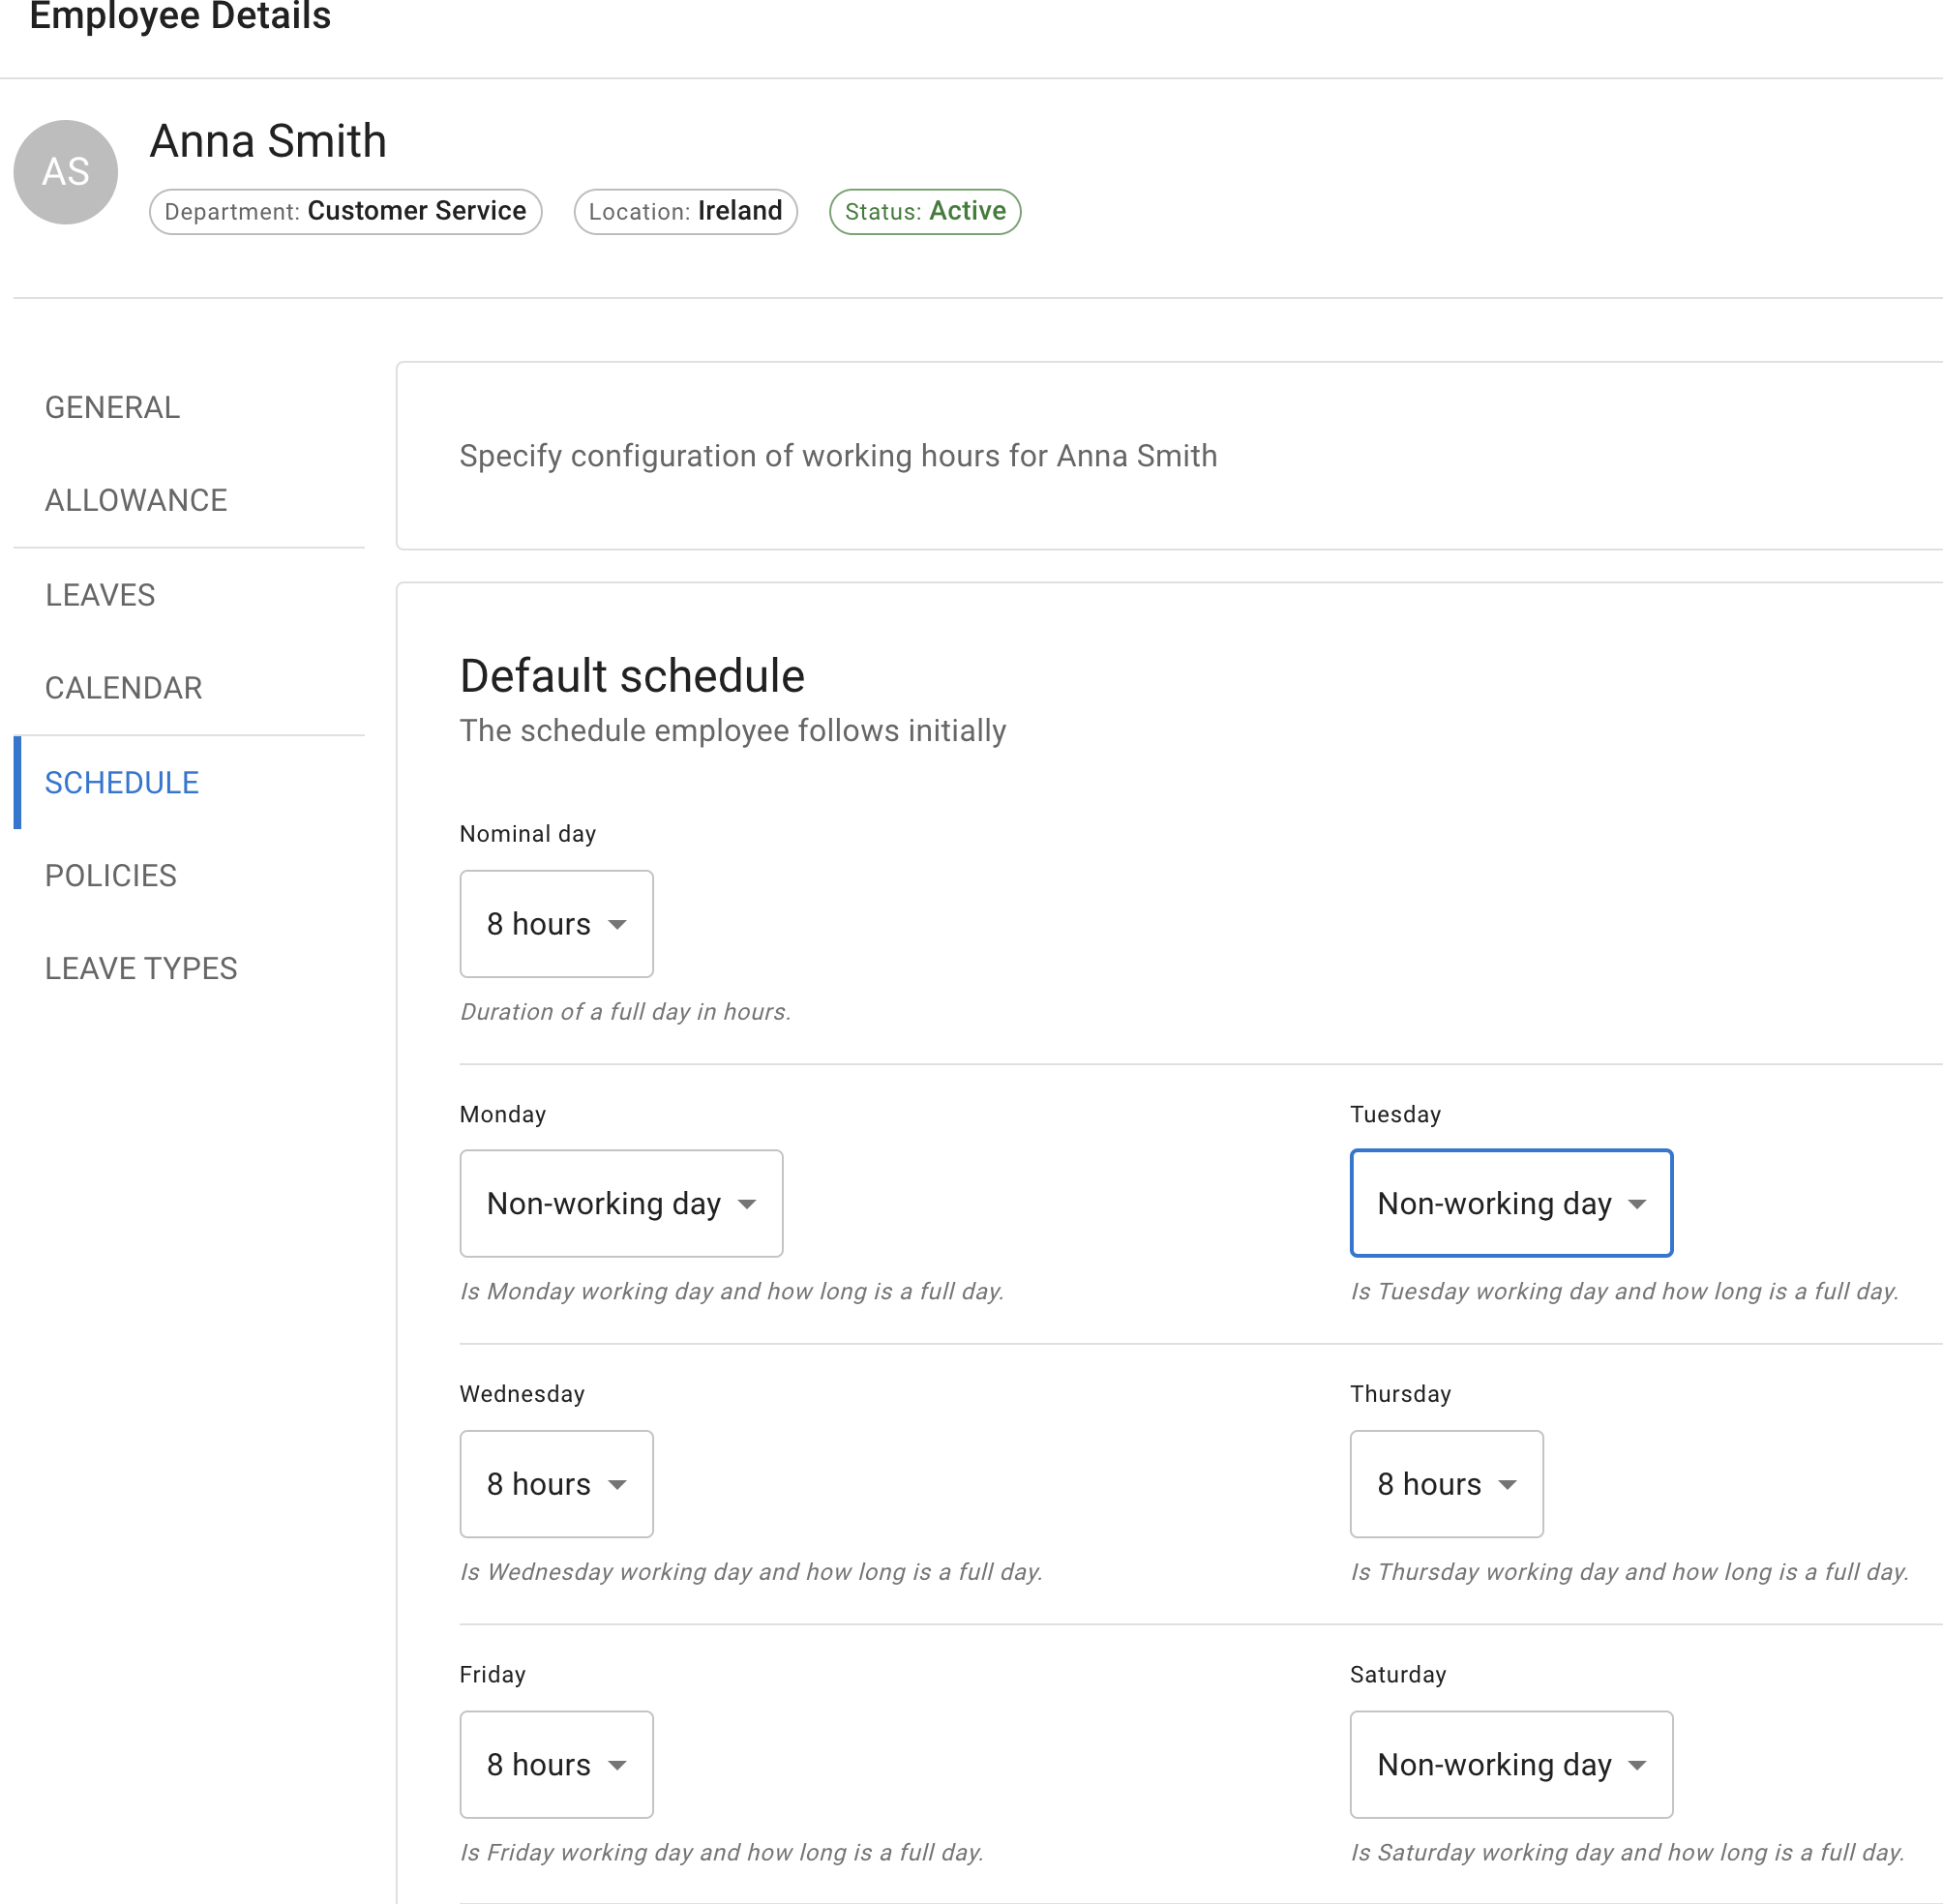
- If the employee has a new schedule starting from a specific date:
- Click “Specify working hours for employee” and Add New Schedule.
- Select the Start Date.
- Adjust the schedule as needed.
- Click Save Changes.
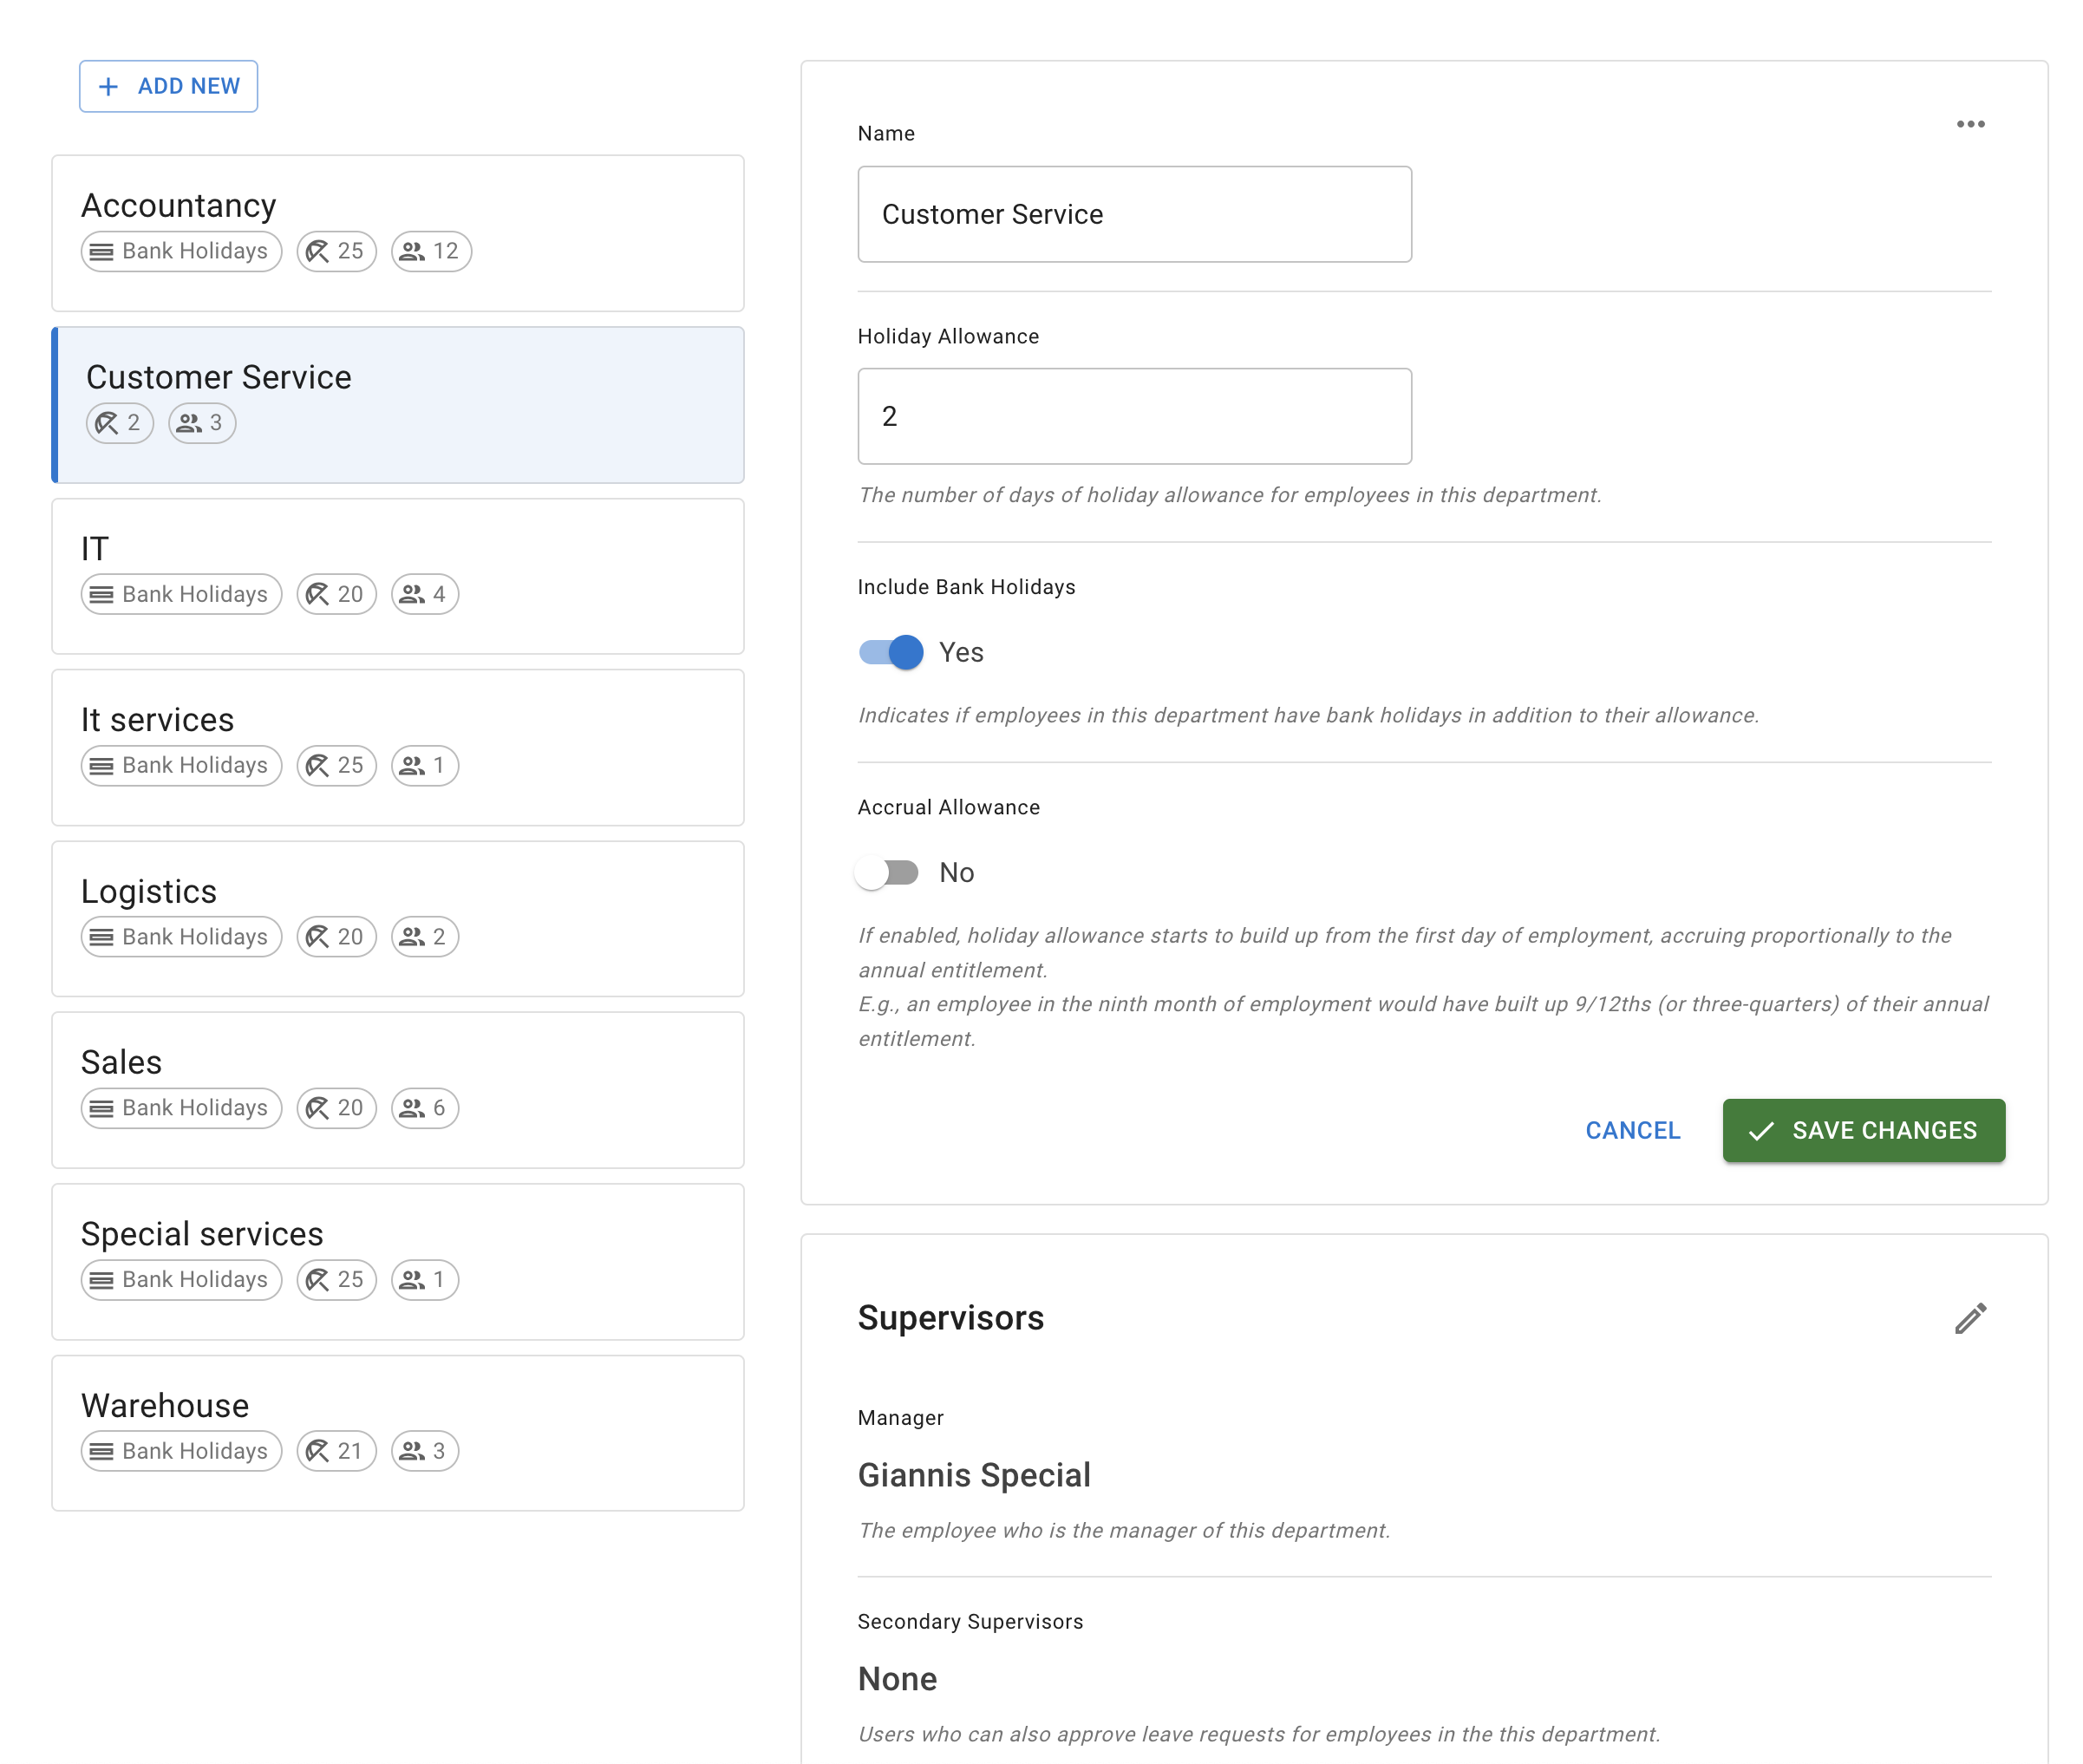
3. Manage departments
Departments can be created when adding new employees and managed later from the dedicated Departments section in the Main Menu. You can add supervisors and adjust department settings there.

Learn more: Managing departments.
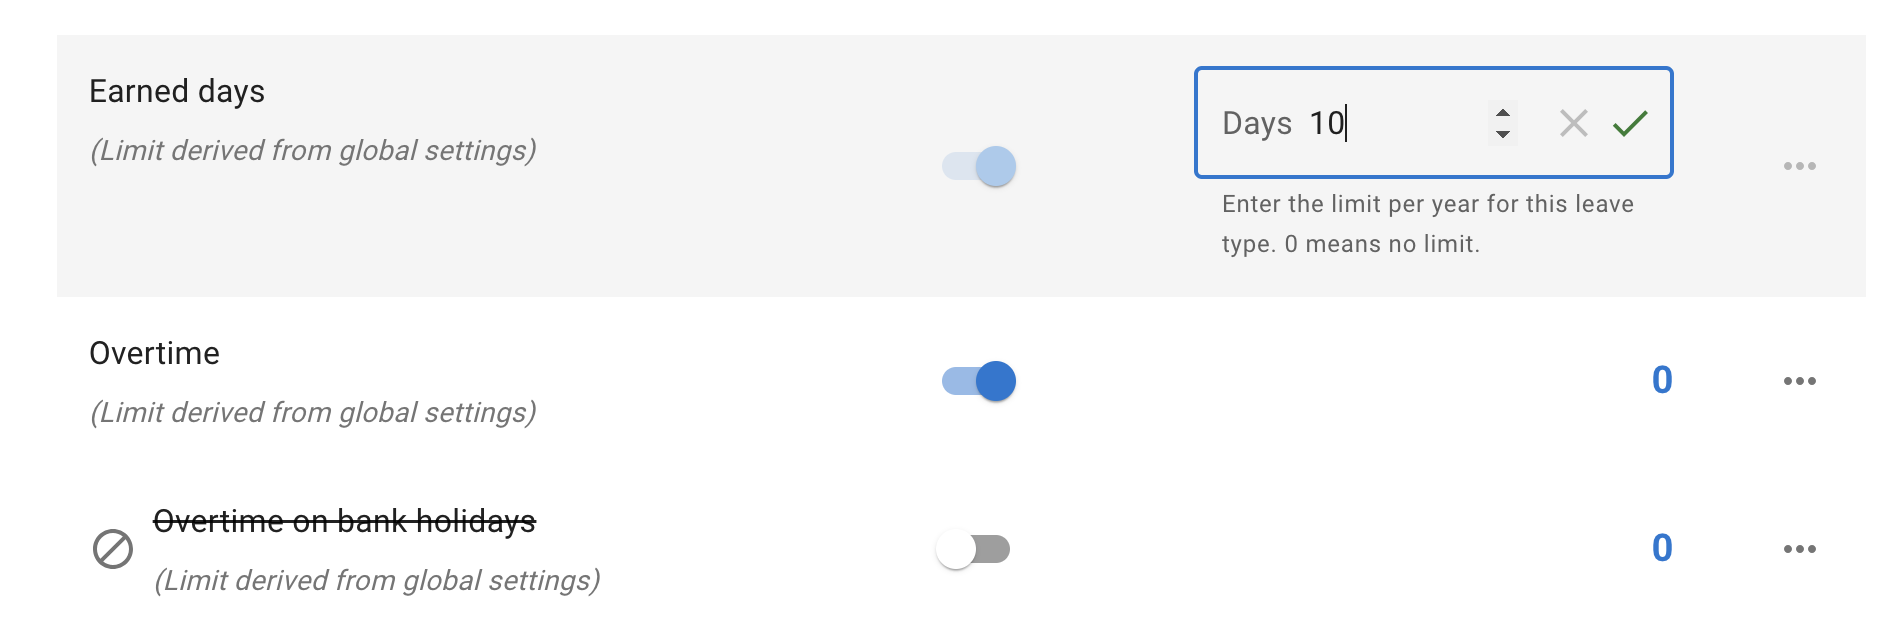
4. Customise leave types
To set up company leave types, go to Leave Types in the Main Menu. TimeOff comes with two default leave types: Holidays and Sick Leave. You can create an unlimited number of highly customizable leave types to suit your company’s needs.
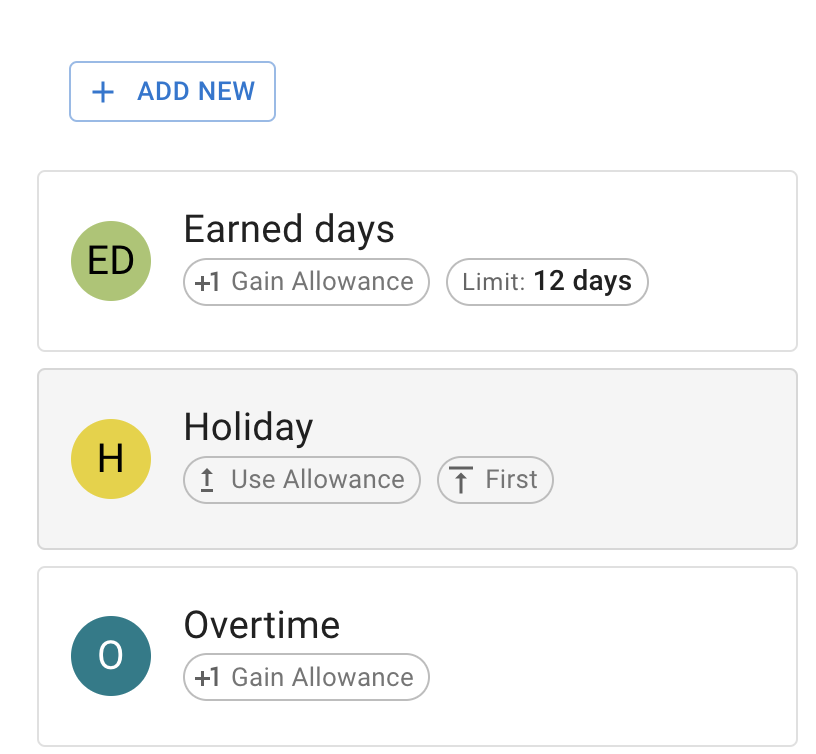
There are several options available to customize a leave type, such as influence on employee allowance, auto-approval, annual limit, or booking notice period. Learn more: Leave types.
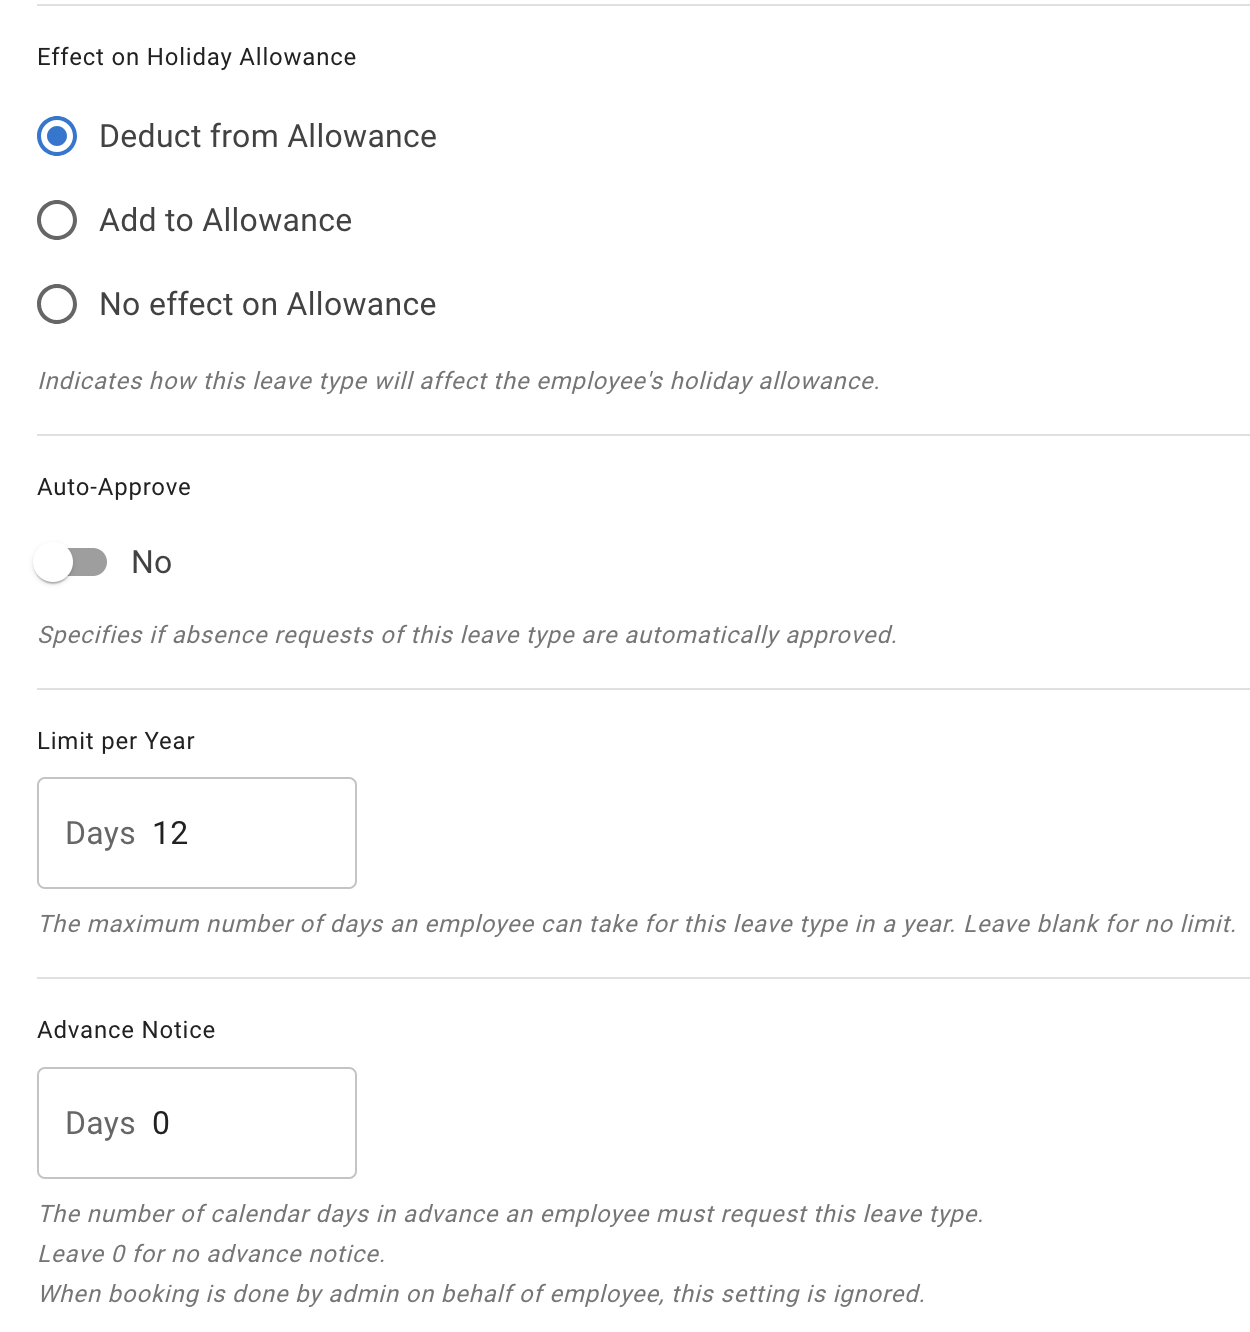
Note: Company-wide leave types can be adjusted on a per-employee basis where needed.
5. Add locations and bank holidays
If your company has teams operating from different locations, you can create and manage these locations in the Locations section of the Main Menu.
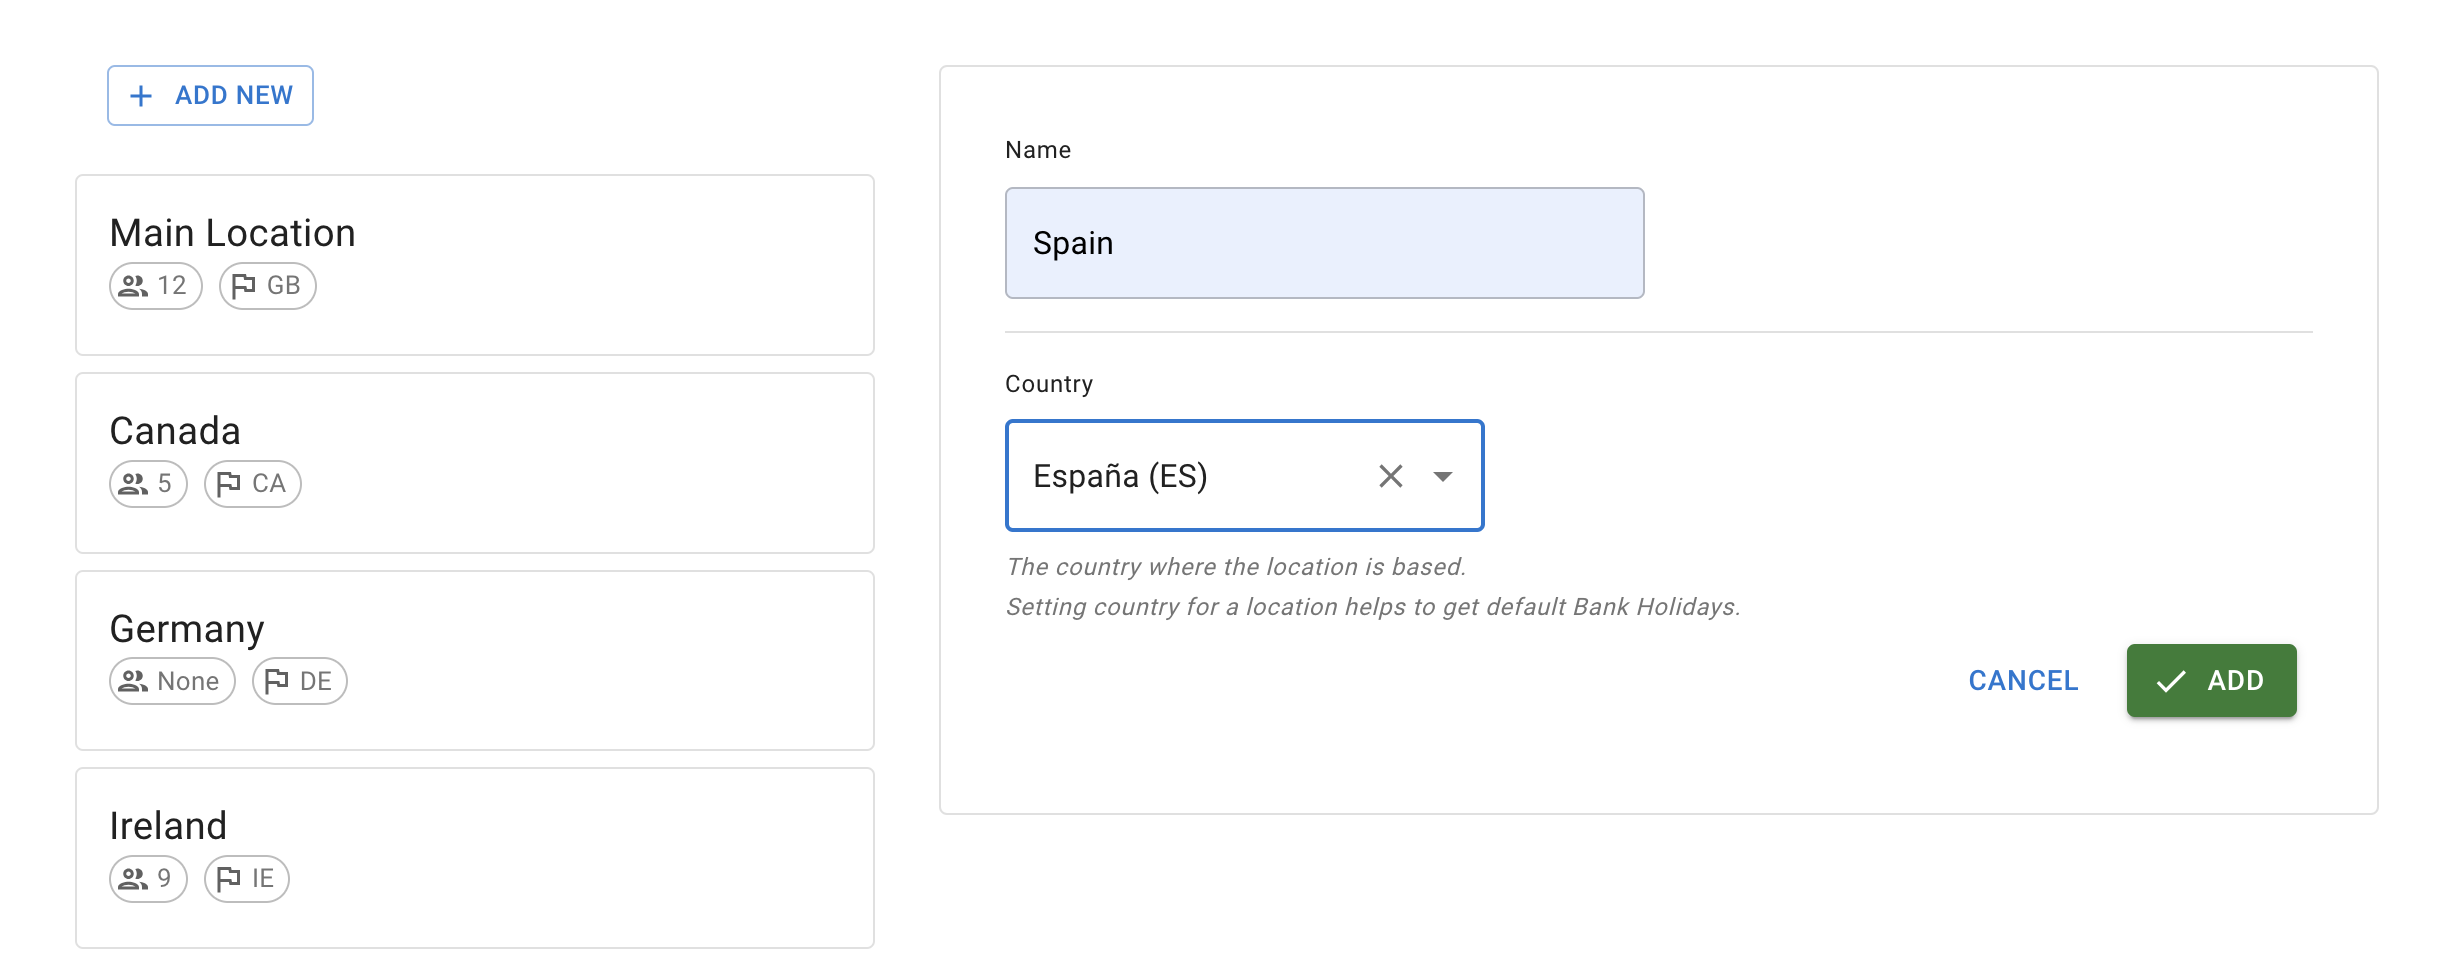
You can also assign employees to a location and upload bank holidays for that location.
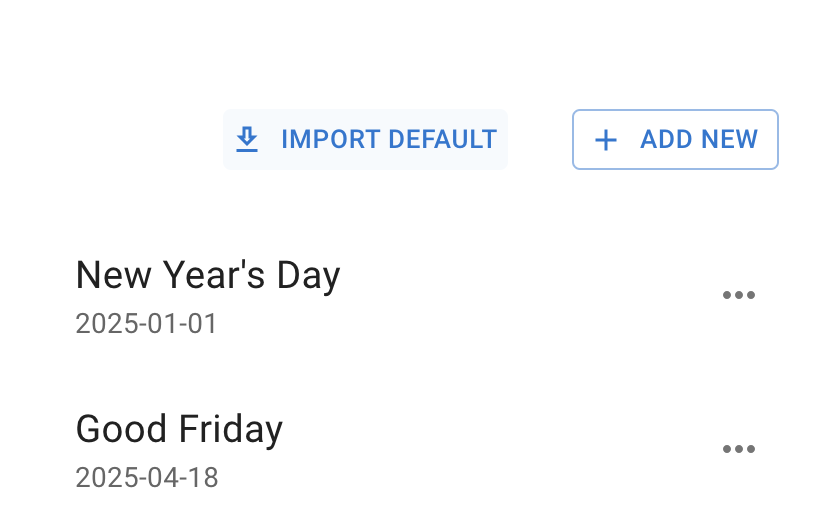
Learn more: Managing locations and Public holidays.
6. Privacy settings
This step is about understanding who can see what. Administrators have full access, while other roles have more restricted views.
Admin users can:
- Set up the account and billing details
- See all employee allowances
- Book and cancel leave for all employees (including historic leave)
- Configure annual entitlement and account settings
Department approvers/secondary supervisors:
- Do not see company-wide Settings (Locations, Leave Types, Departments)
- Can view allowance and calendars for employees in their department
- Can access Employee list, restricted to their department
Users:
- Do not see Settings or Employee menus
- Cannot change their annual entitlement
- Cannot cancel bookings in the past (they can cancel future bookings)
- Cannot see other employees’ allowances or summary calendar info
- Cannot edit their working schedule
Privacy modes: Team View supports multiple privacy options, from sharing info between teammates to Admin‑only views and hiding leave types. See: Team View leave data privacy settings.
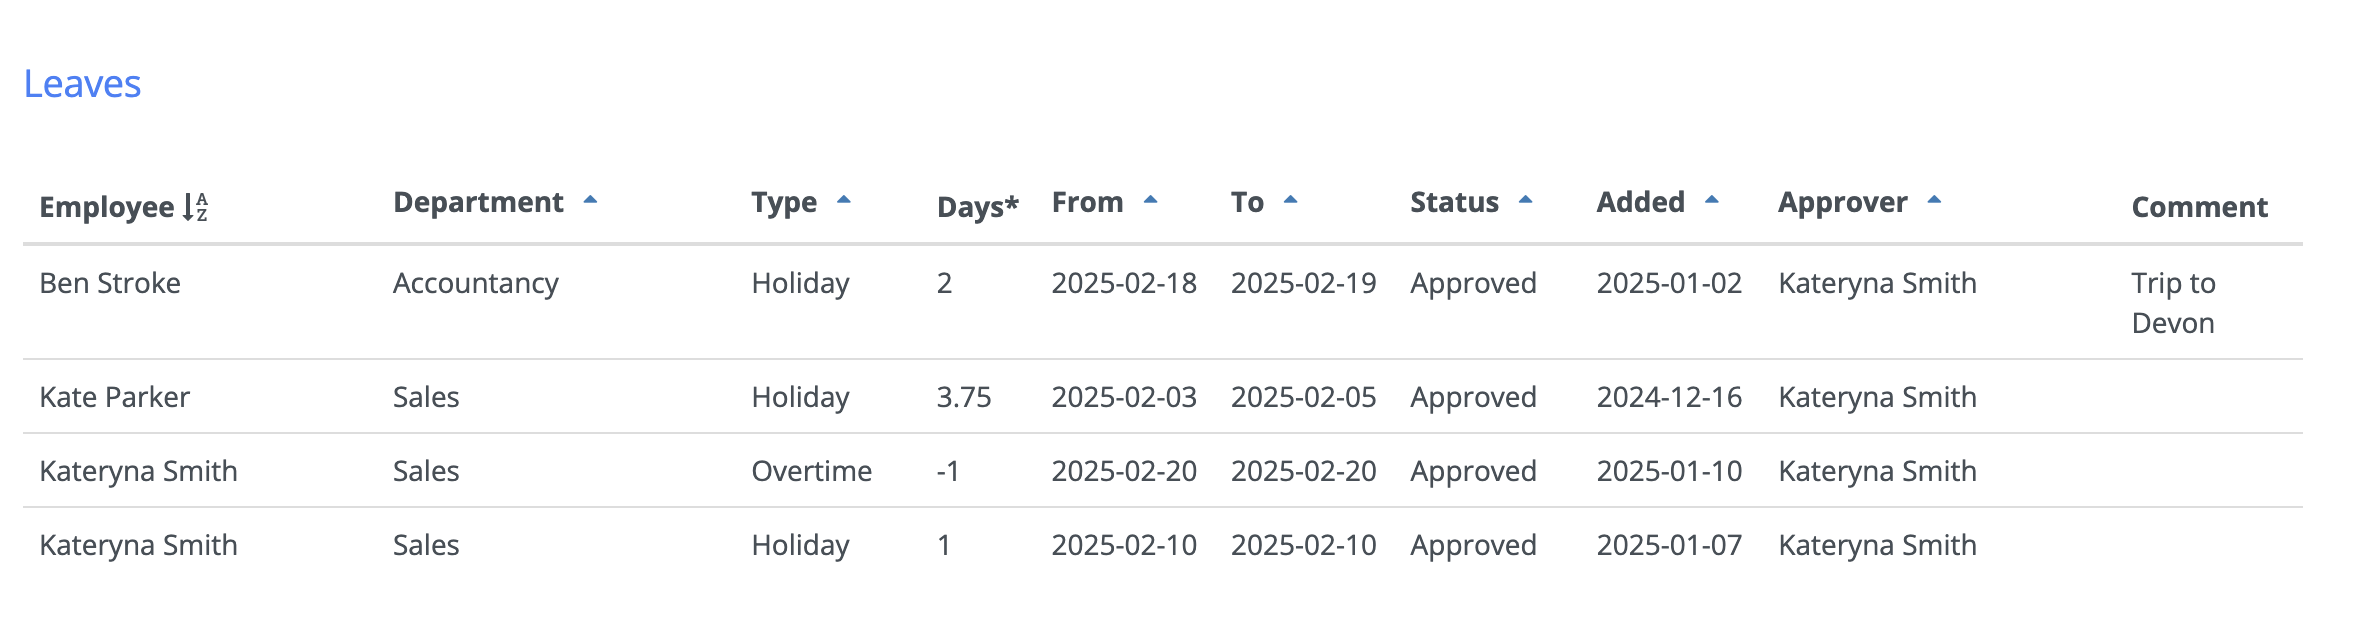
7. Reports
Access reports from the Reports section in the Main Menu. All reports can be downloaded as CSV files.
Two key report types:
- Allowance Usage by Time – A detailed breakdown of absences used by employees for a selected period.

- Employee leaves – A row-by-row list of individual leave bookings.