Deactivating users
1 min read
By TimeOff Support
Sometimes you need to prevent a user from accessing the system without deleting their data. Use deactivation:
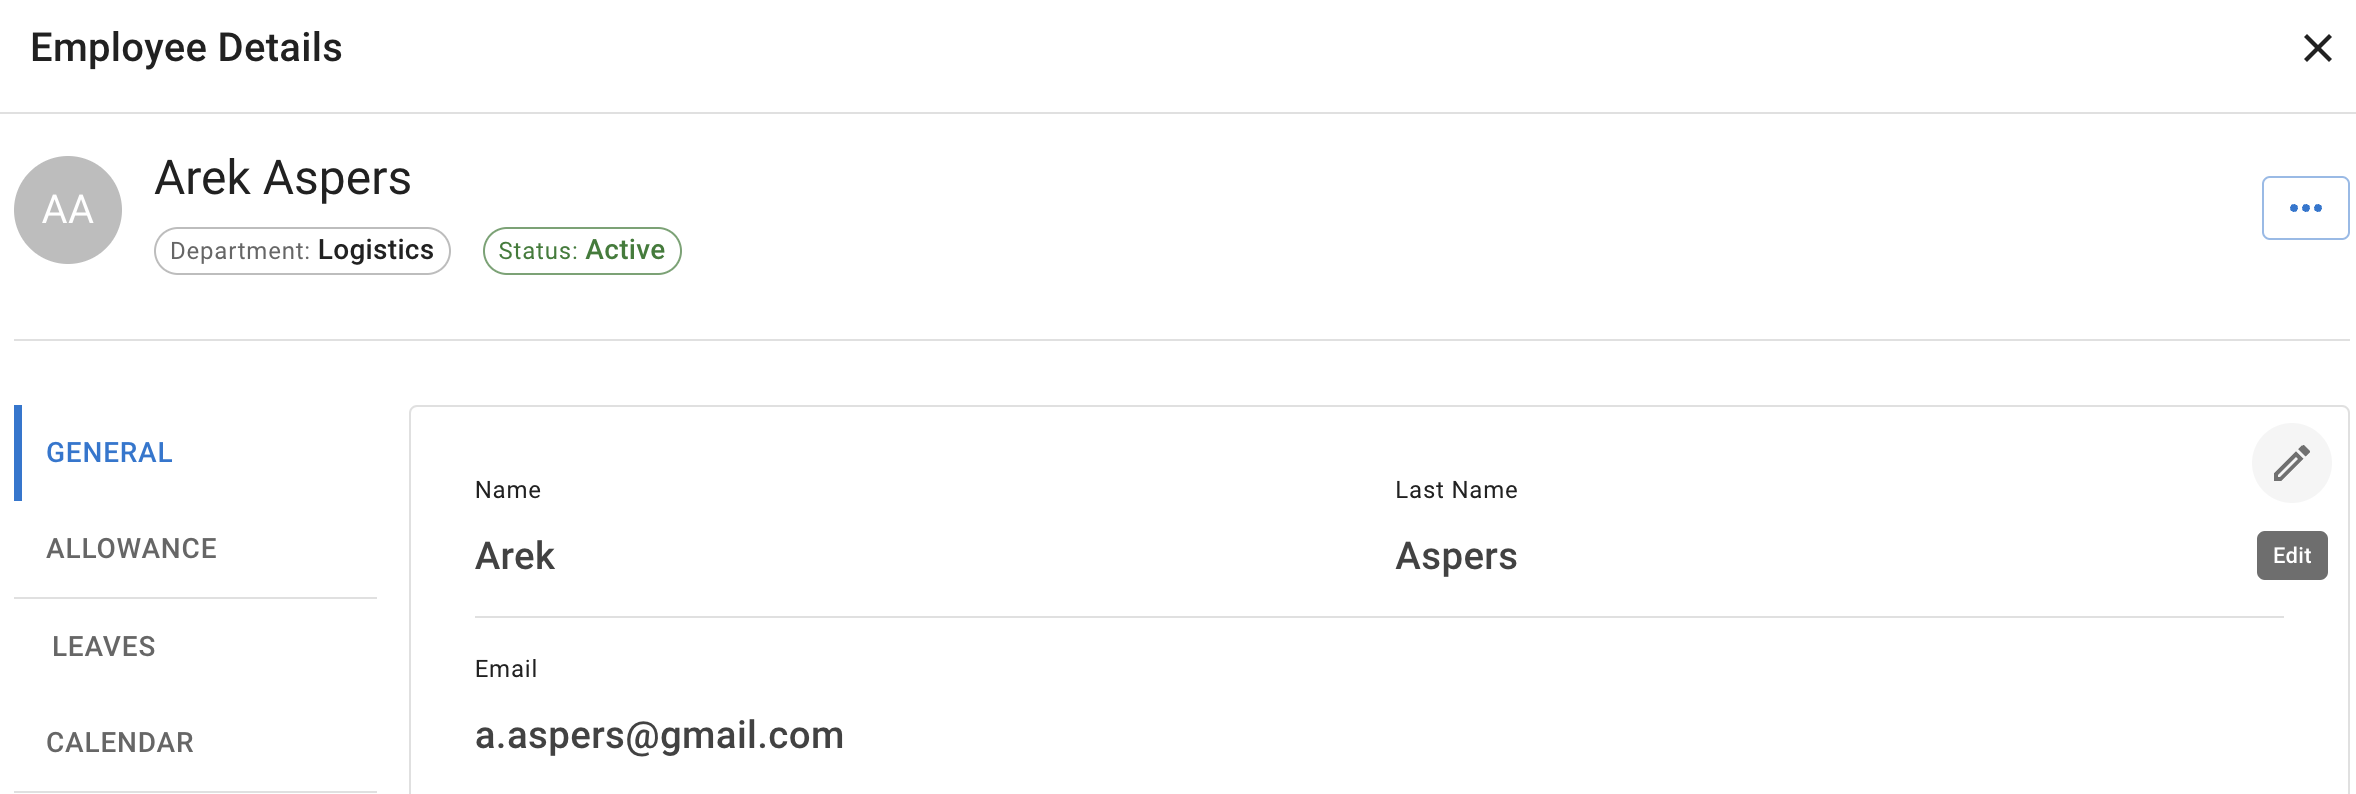
- Go to the employee’s General details and click Edit.
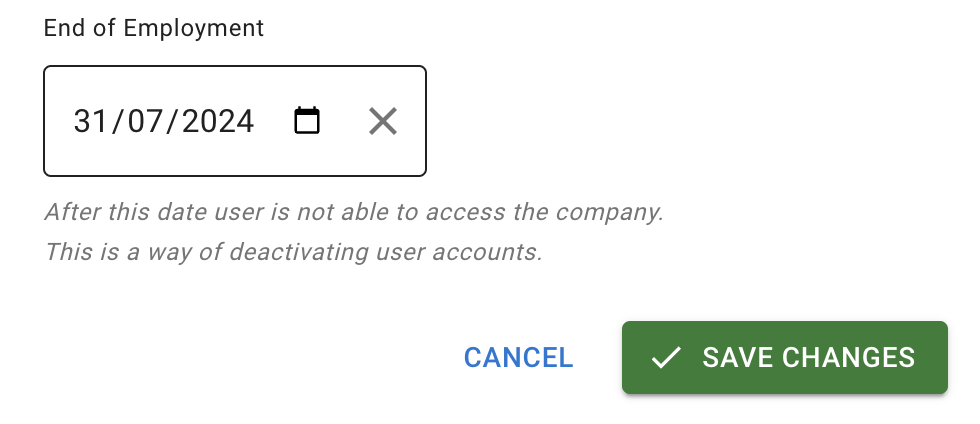
- At the bottom of the page, fill the End of employment field and press Save changes. The user will be able to access the system only until the specified date.
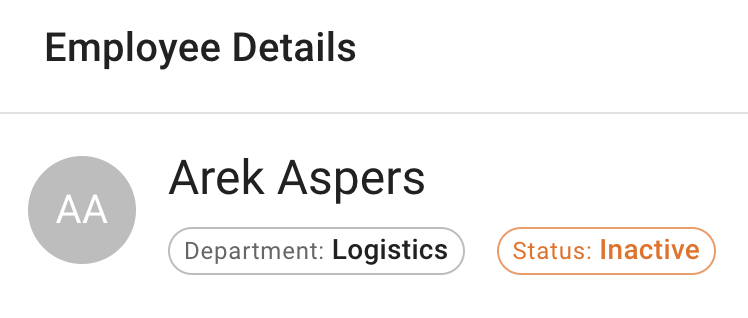
- After saving, the user’s status becomes Inactive in the Employee details tab.
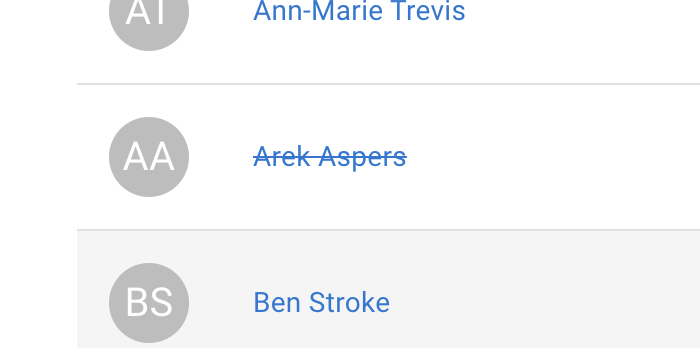
- Their name appears crossed out in the Employee list and Team View.
Note: Deactivated employees are still billed at the normal rate.