New manager guide
This guide explains how managers can access TimeOff, view team leave, approve requests, add leave on behalf of employees, and set up weekly digest emails.
1. Access Your TimeOff Account
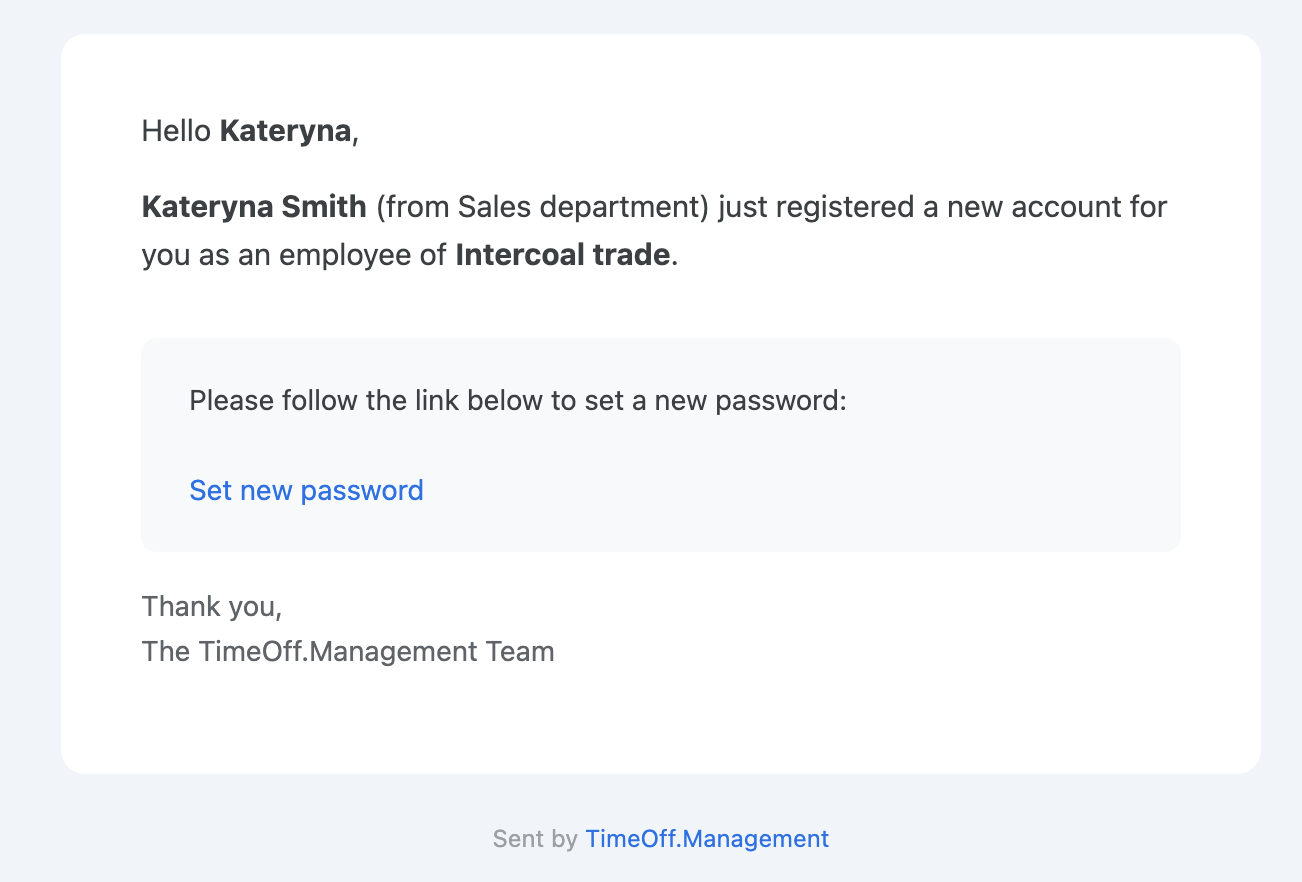
Once your employee profile is set up in the company account, you will receive a welcome email with a link to set up your password.
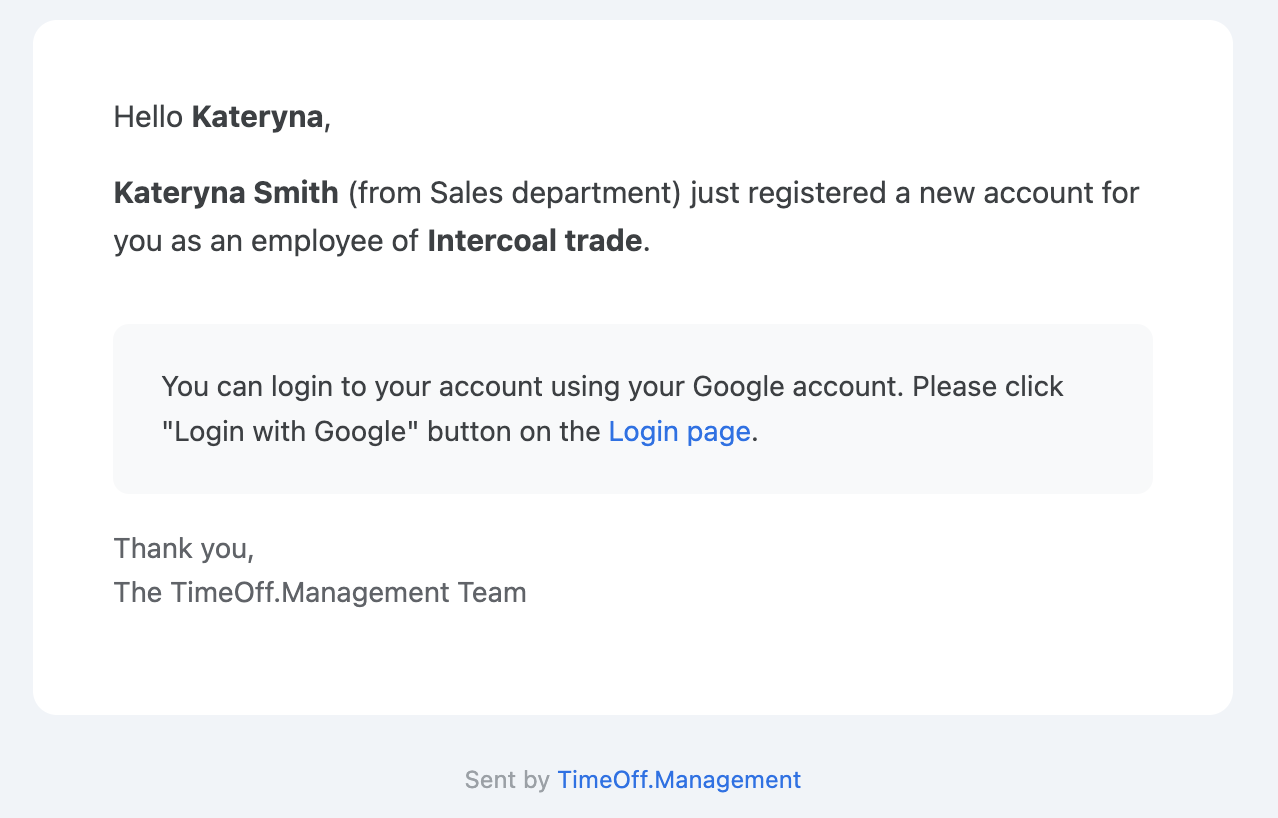
You may also be able to log in with SSO, depending on your company settings.
2. View Your Calendar
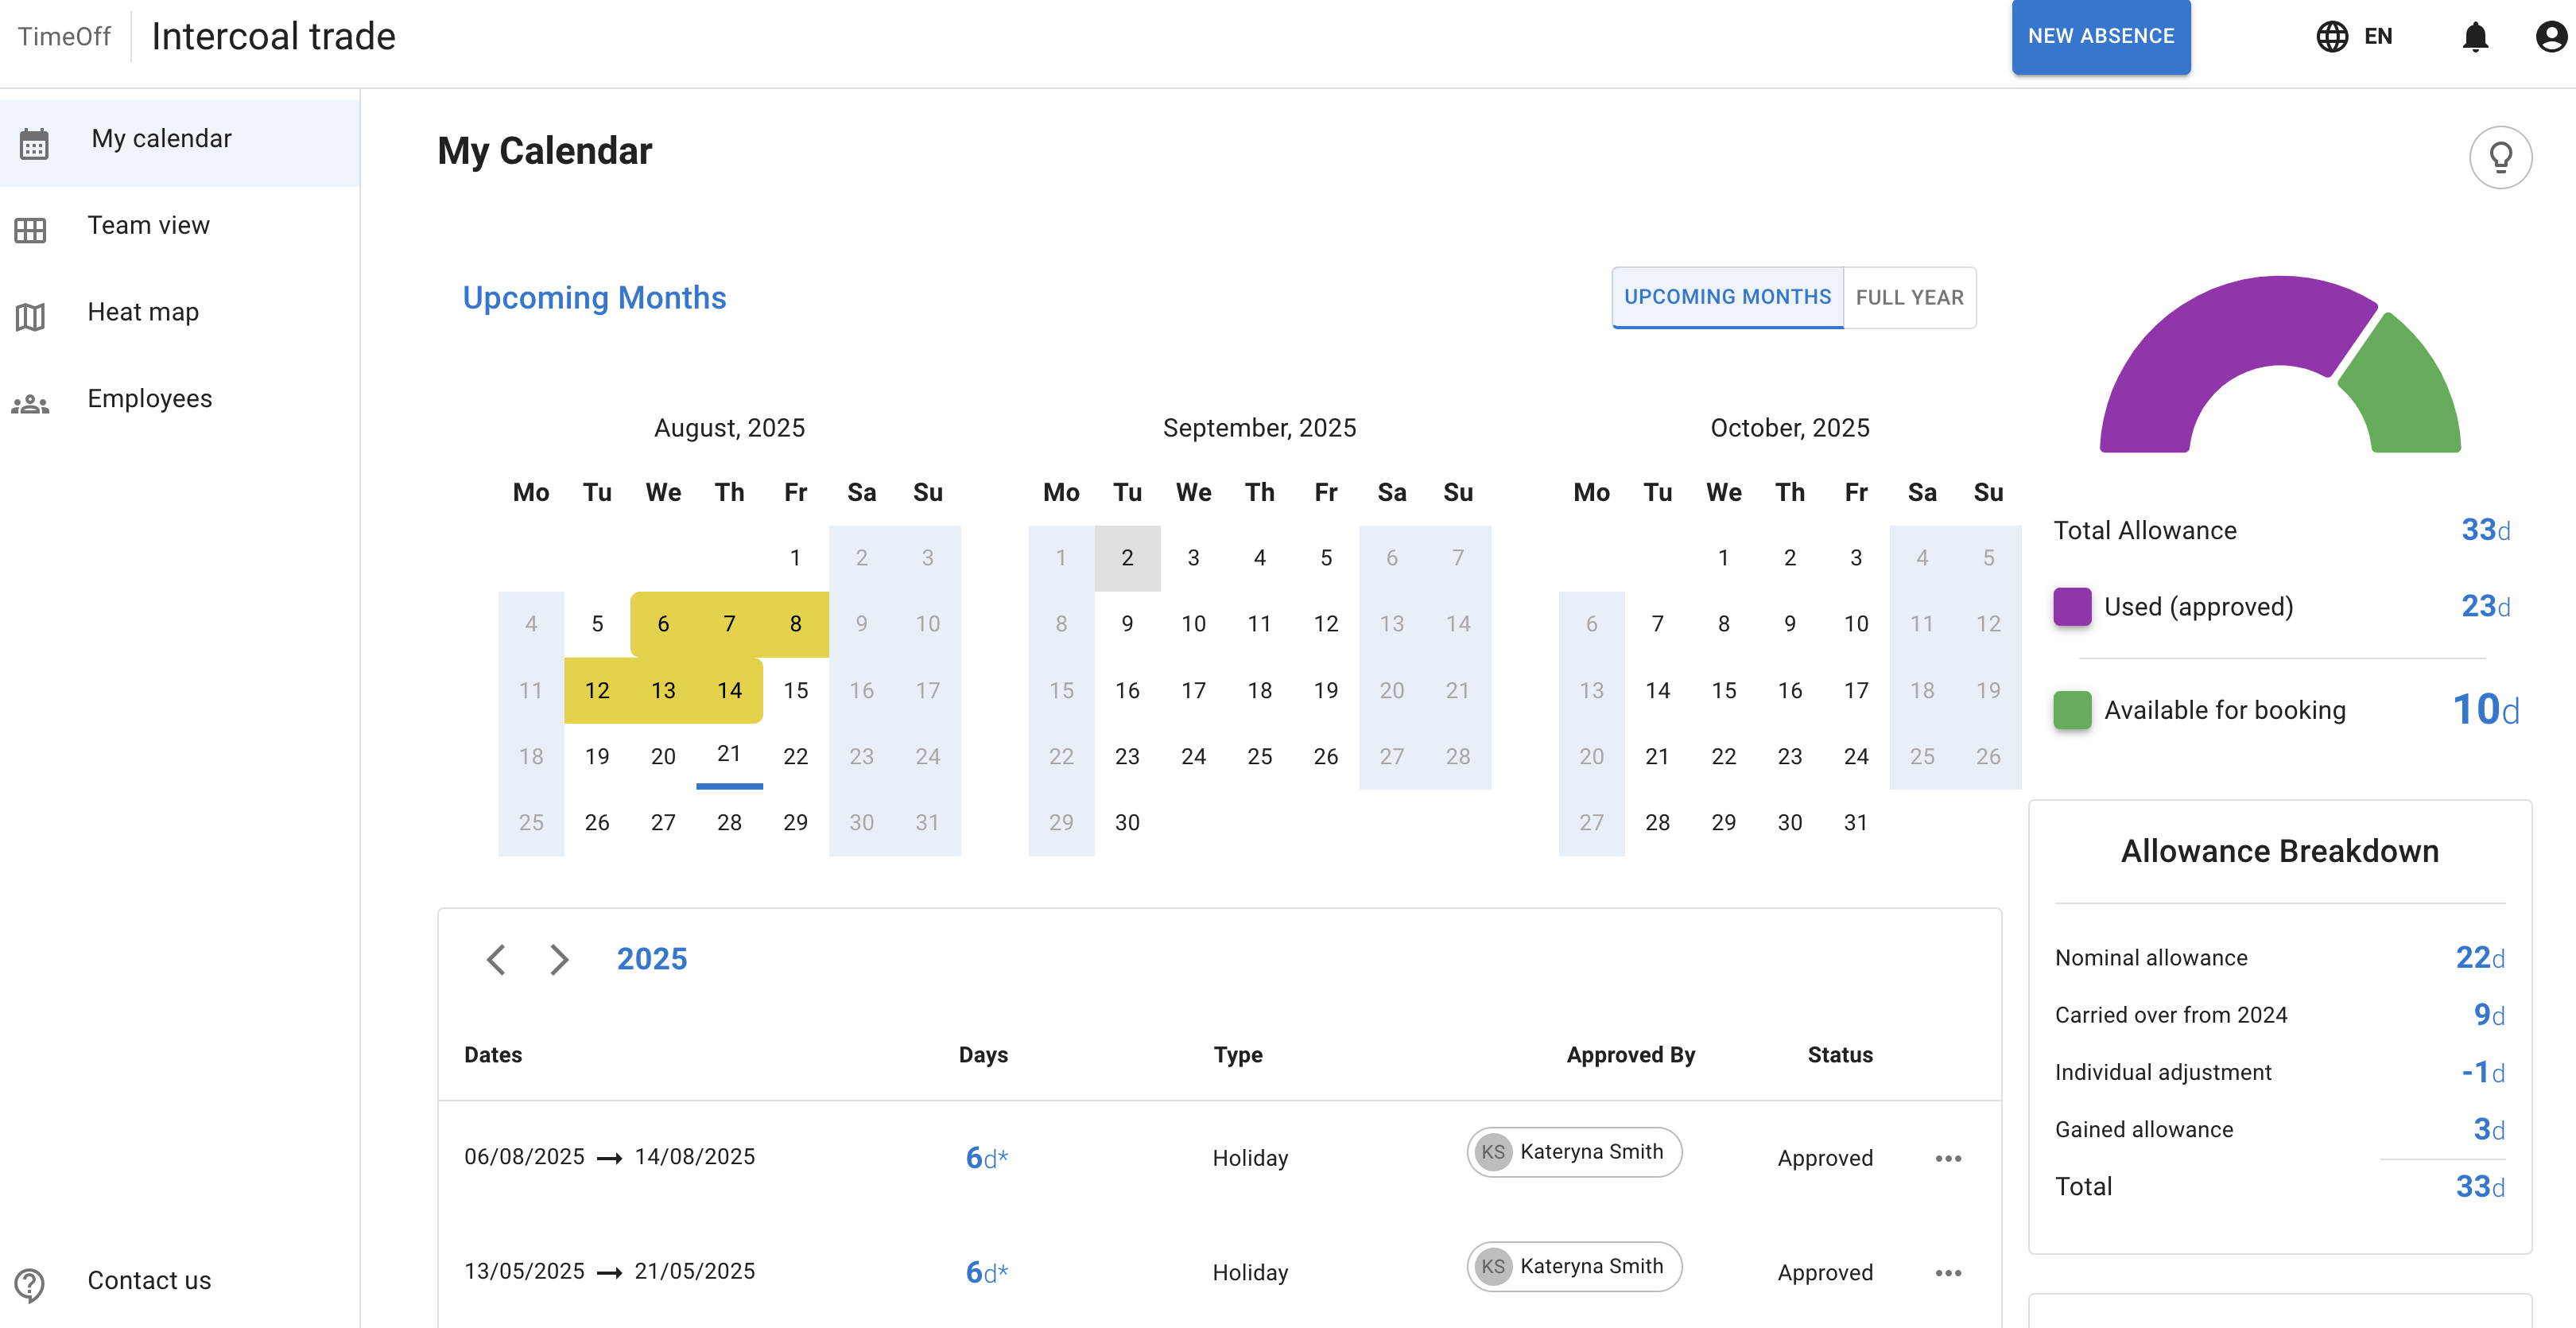
Once you log in to your TimeOff account, the first page you will see is My Calendar.
Here you can view:
- your personal time-off requests,
- bank holidays, shown in blue,
- blackout periods, shown in dark grey,
- company events, shown in purple.
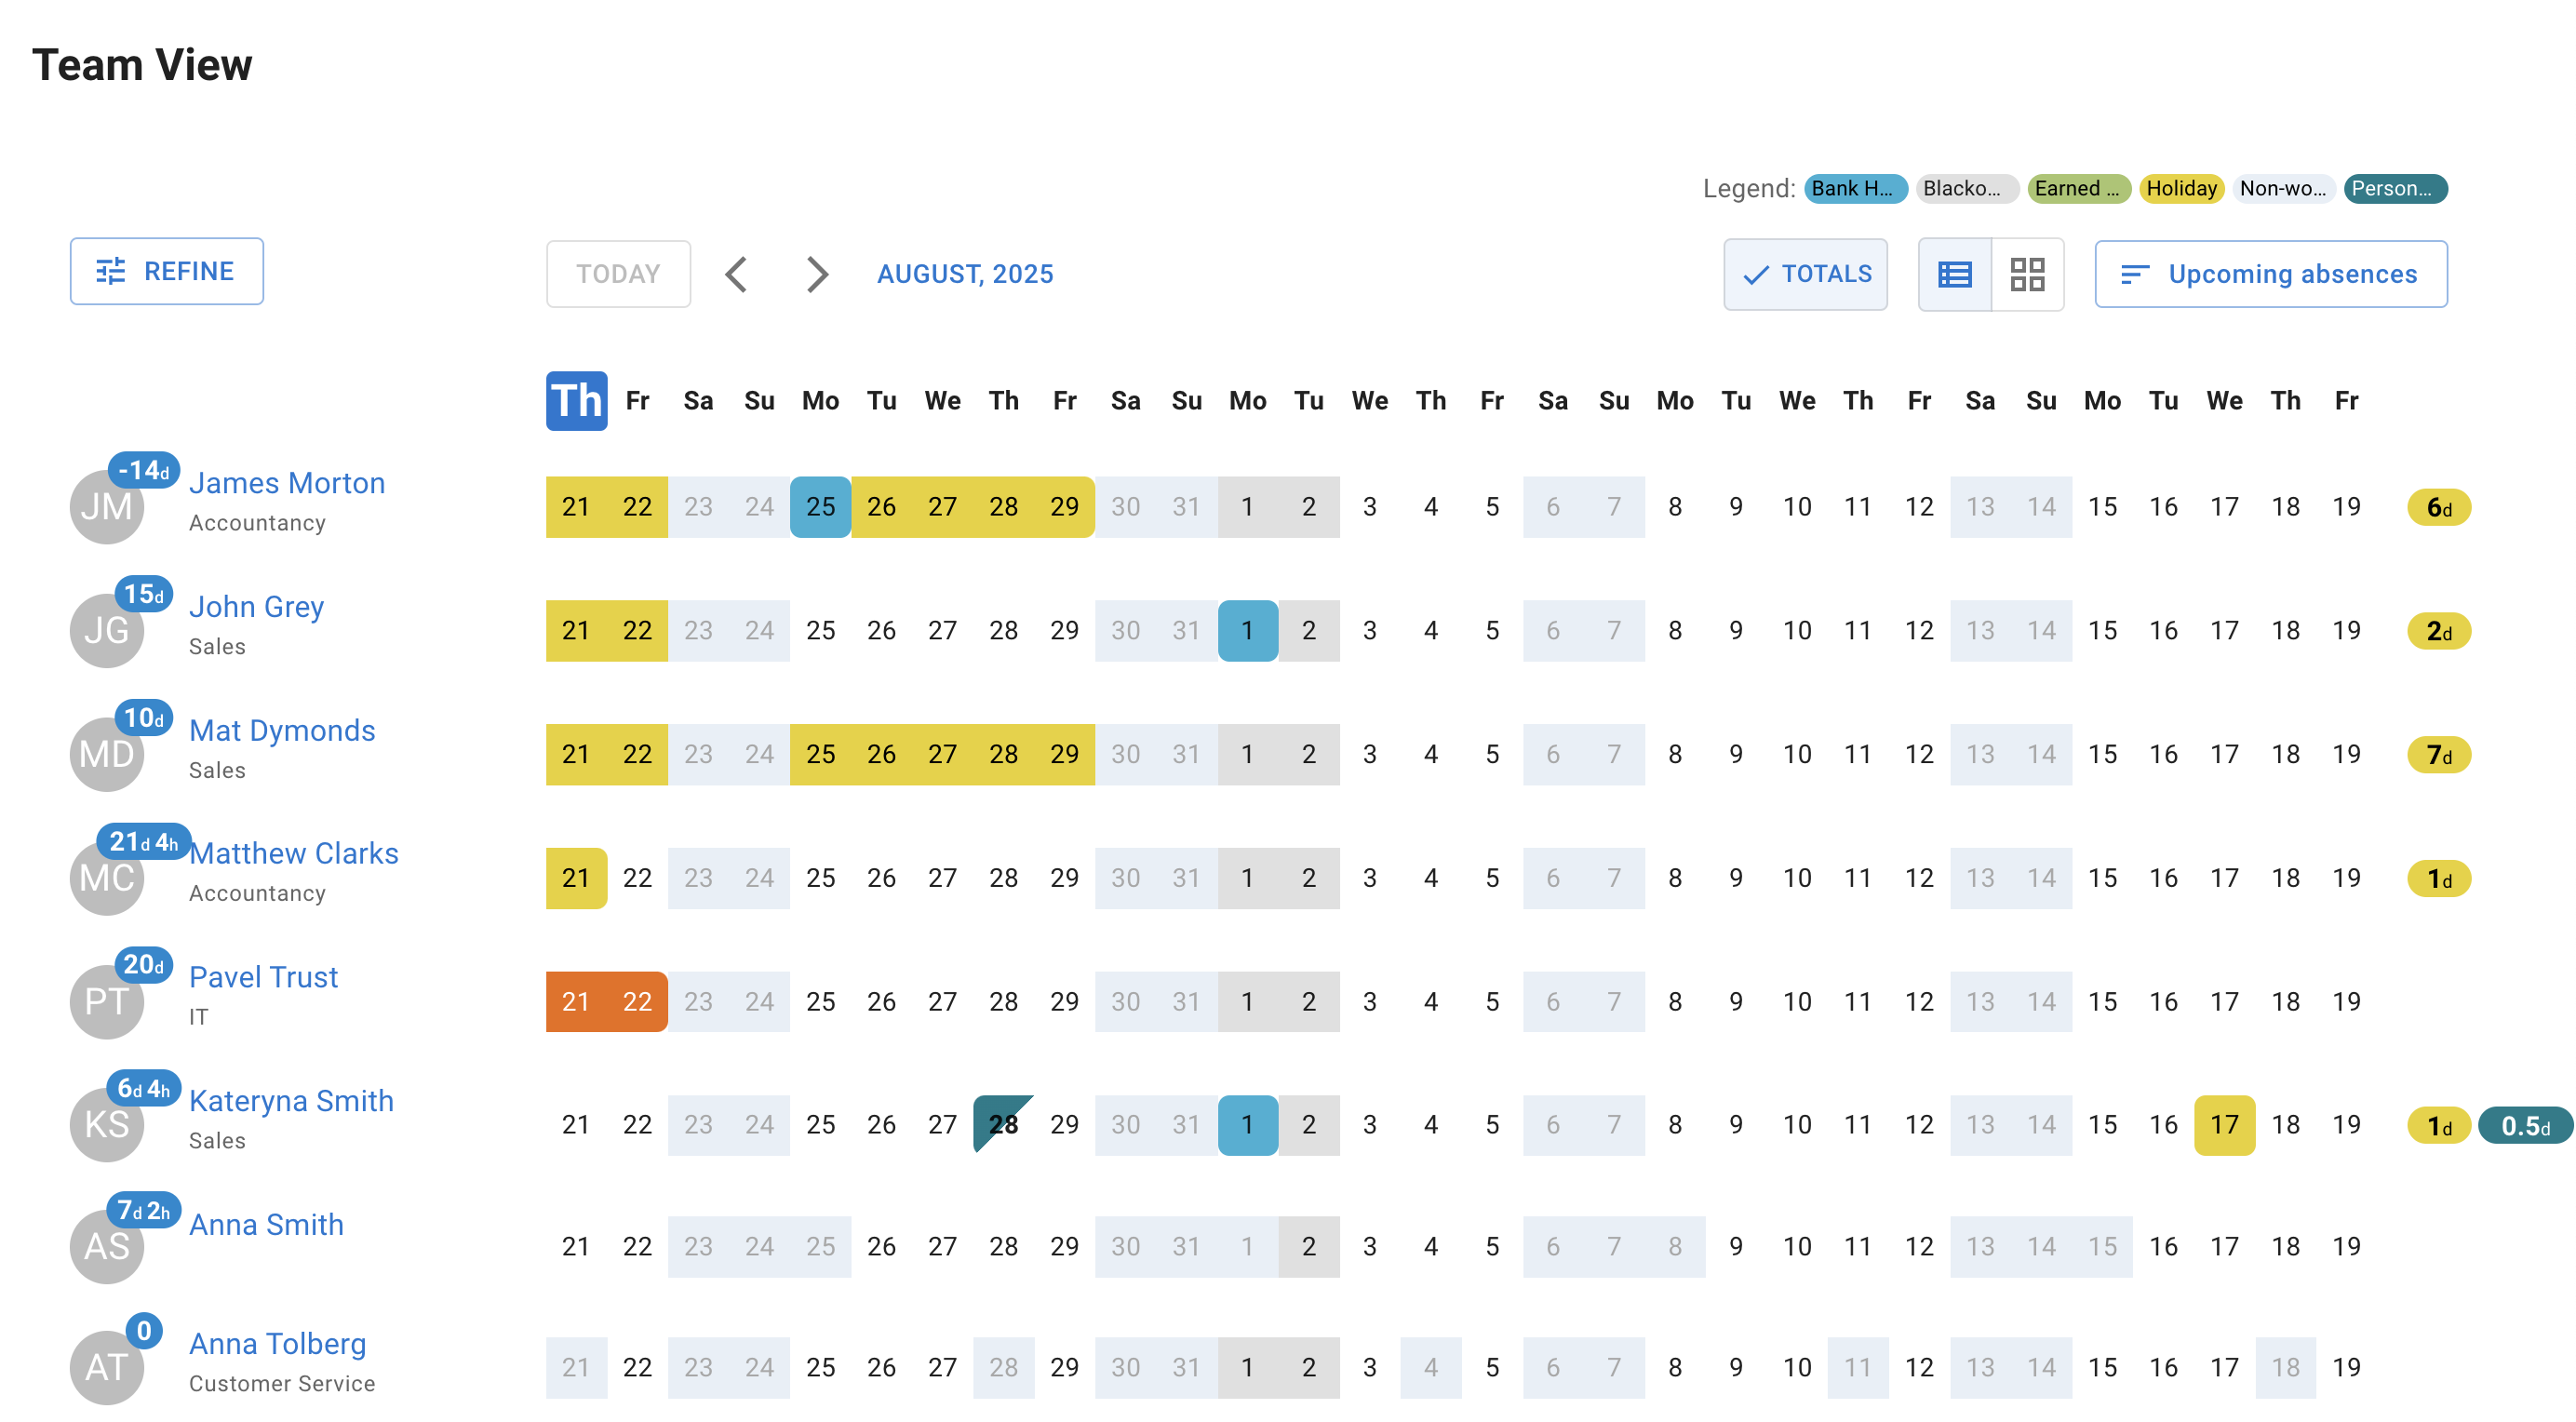
3. View Shared Team Leave
If you have access to the Shared Team View, you will be able to see team leave in a shared calendar.
Managers can usually see:
- the department they belong to,
- the department or departments they manage.
Leave types are colour-coded and explained in the legend, so it is easy to see who is off and why.
4. Approve or Decline Time-Off Requests
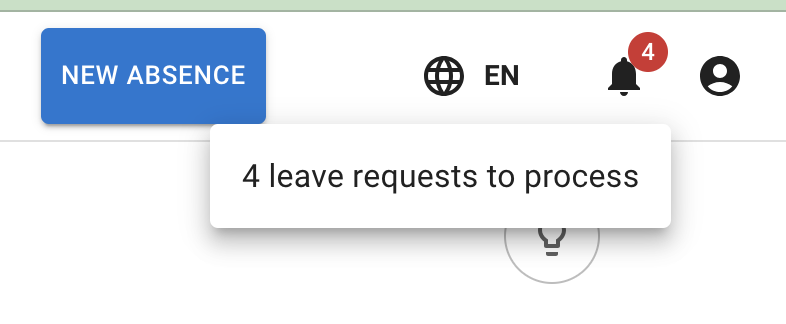
When an employee submits a time-off request, managers receive an in-system notification and an email.
This is how an in-system notification will look:
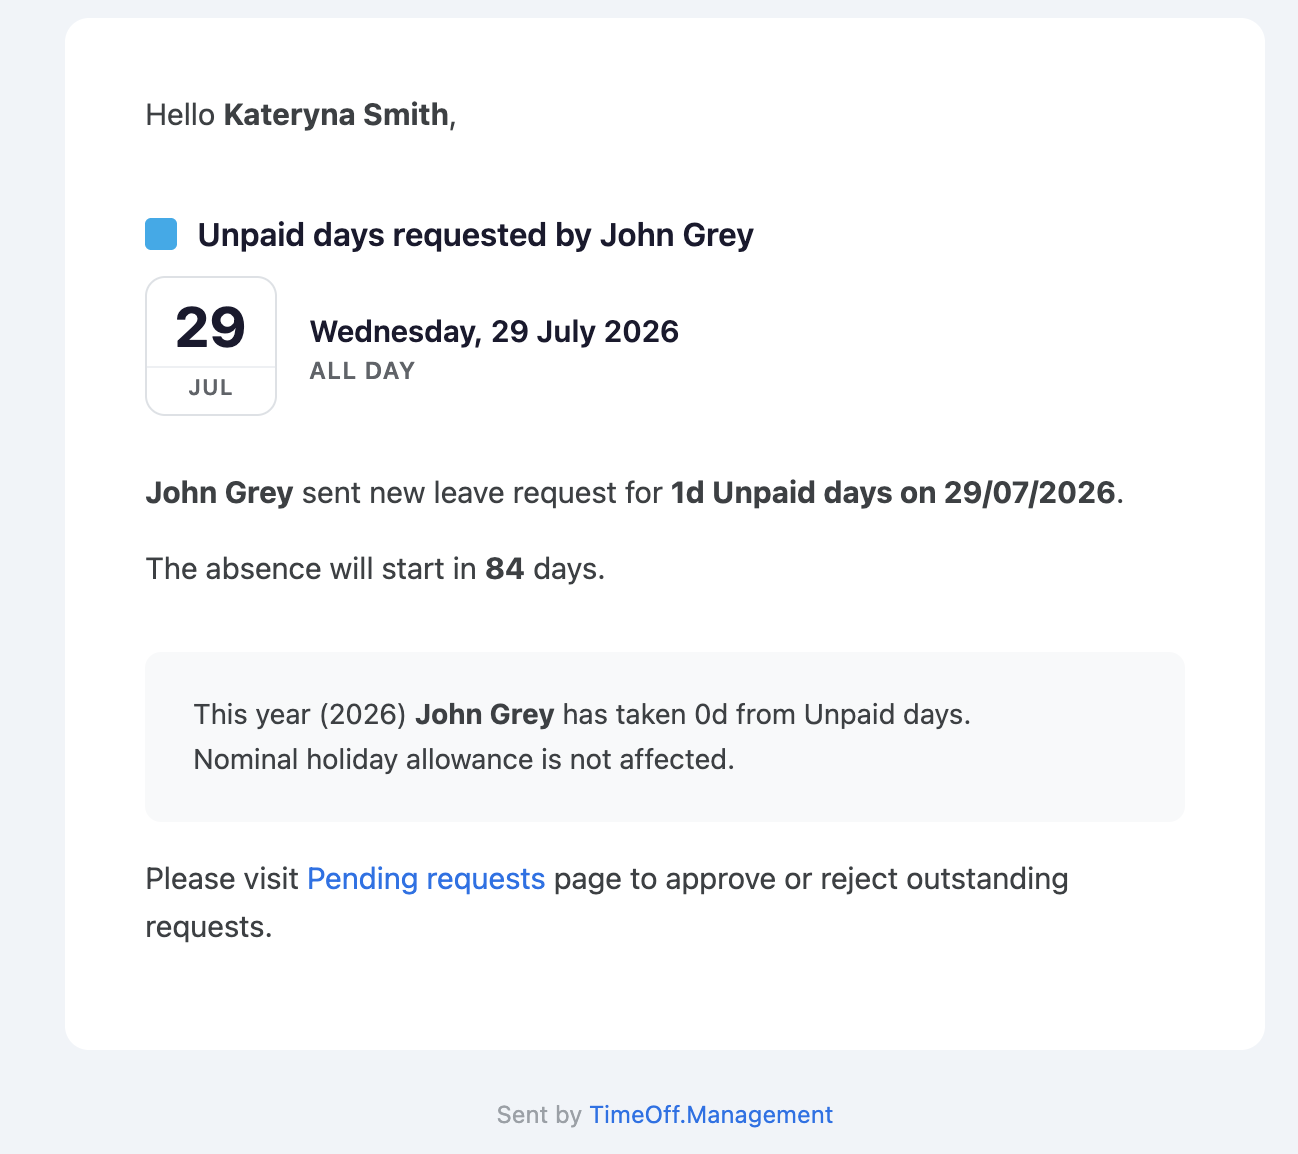
The manager will also receive an email about the employee’s request. The email includes a link to TimeOff, where the request can be reviewed and approved.
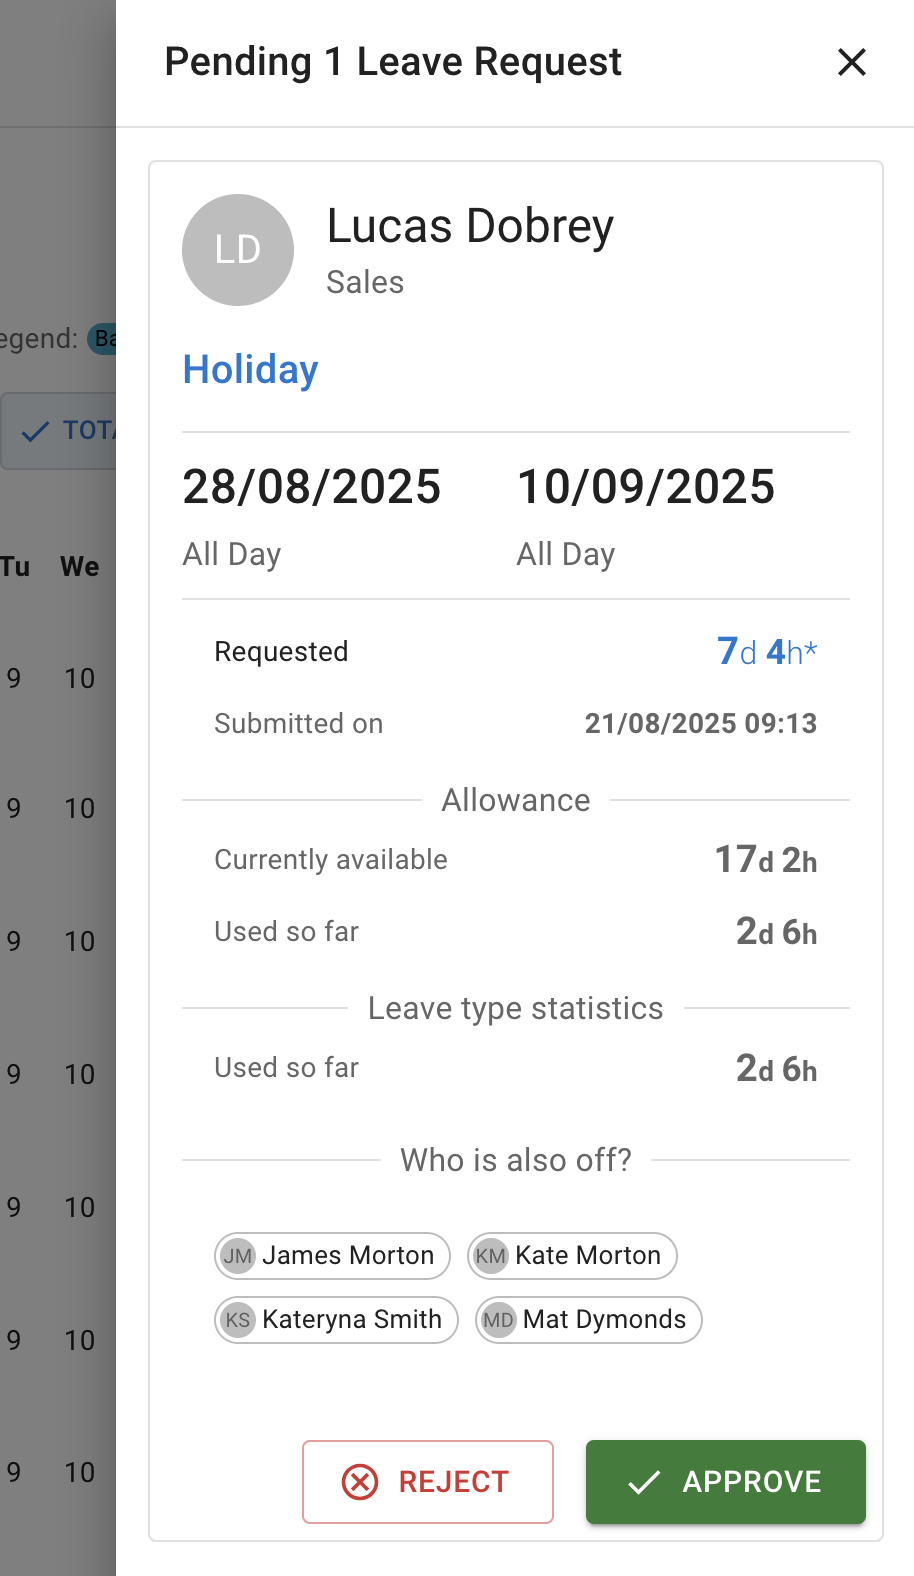
When you click on the notification, a side panel will open with the details of the pending request.
From there, the manager can:
- approve the request,
- decline the request.
Once a decision is made, the employee will receive an email notification.
If the request is approved, its status will change from Pending to Approved in both Team View and the employee’s calendar.
5. Add Time Off on Behalf of an Employee
Managers can enter time-off requests on behalf of employees.
Depending on the approval settings configured by the admin, these requests will either:
- be approved automatically, or
- go through the normal approval process.
If auto-approval is enabled, requests created on behalf of employees will be approved straight away and shown in both Team View and the employee’s calendar.
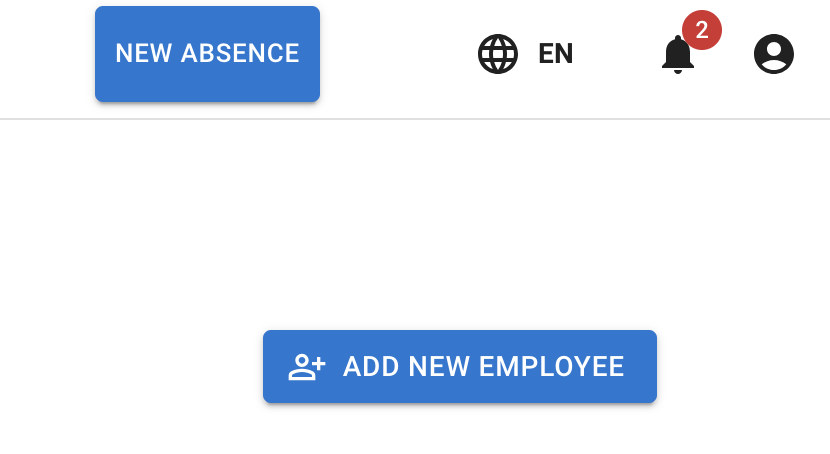
To add leave on behalf of an employee, use the same New Absence button used for personal time-off requests.
6. Add a Leave Request
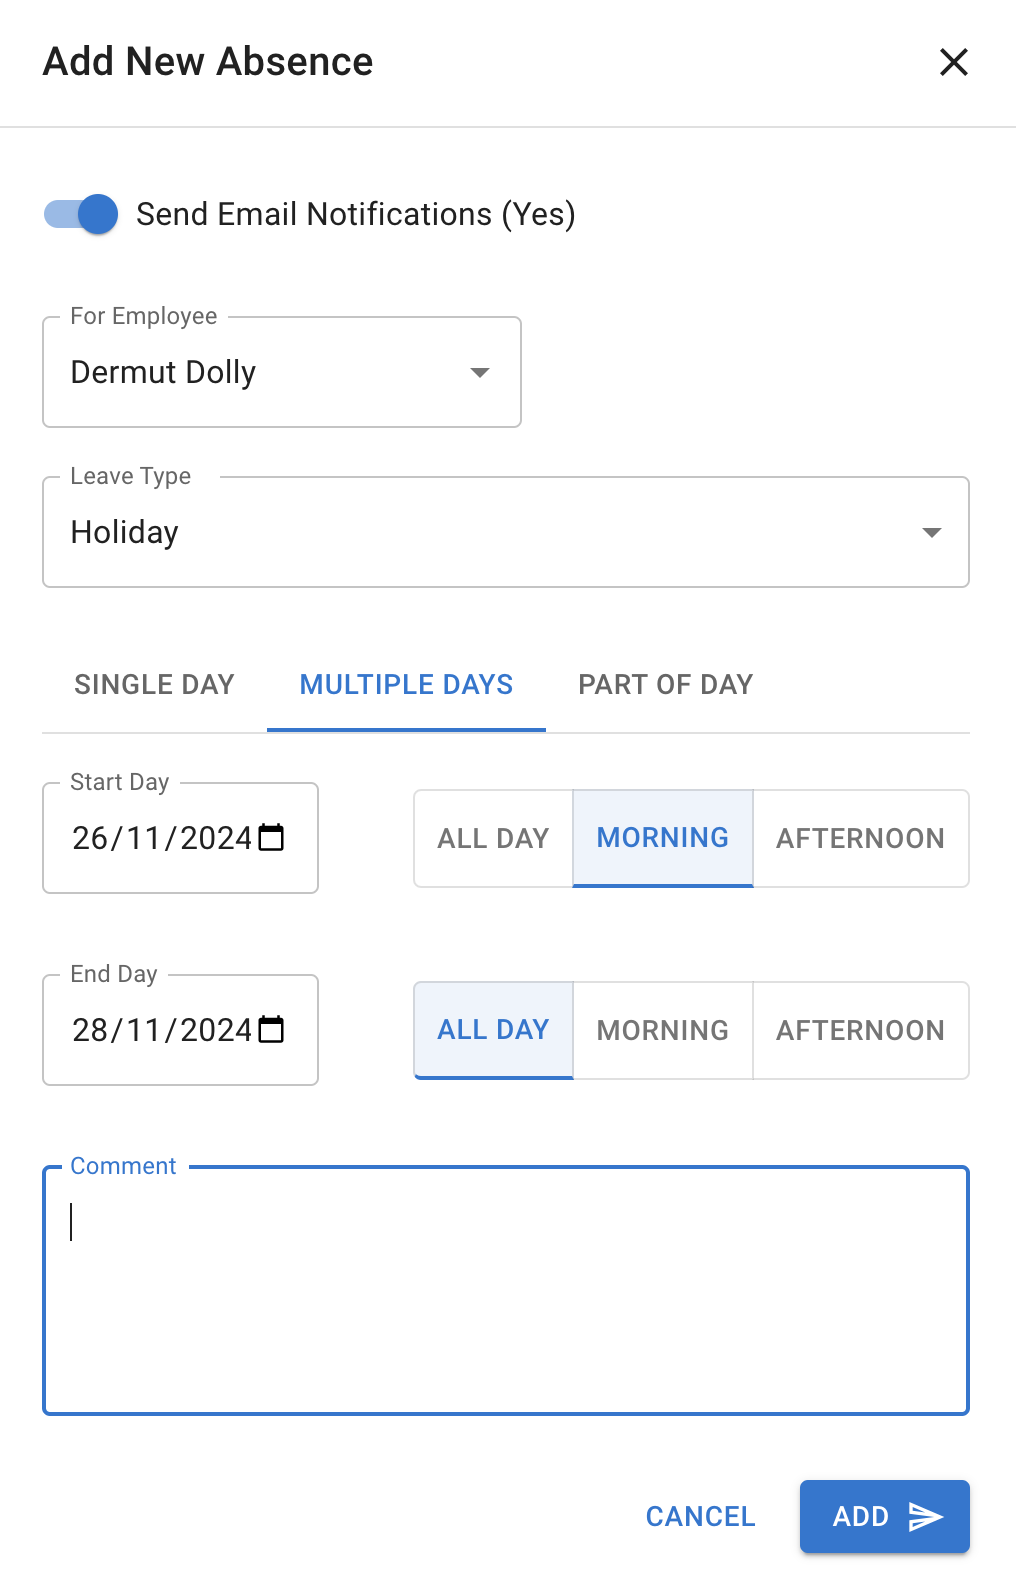
When adding a leave request, complete the request details.
Select Details
- Choose the employee’s name.
- Select the leave type.
- Enter the dates.
Set Email Notification
Use the Send Email Notification toggle to choose whether the employee should receive an email.
- Toggle On if you want the employee to receive a notification.
- Toggle Off if you are adding historical data and do not want the employee to receive an email.
Choose Request Type
You can choose from the following request types:
- Single day — all day, morning, or afternoon.
- Multiple days — all day, morning, or afternoon.
- Part of a day — in hours.
Note: Morning and afternoon are each counted as half of a nominal workday.
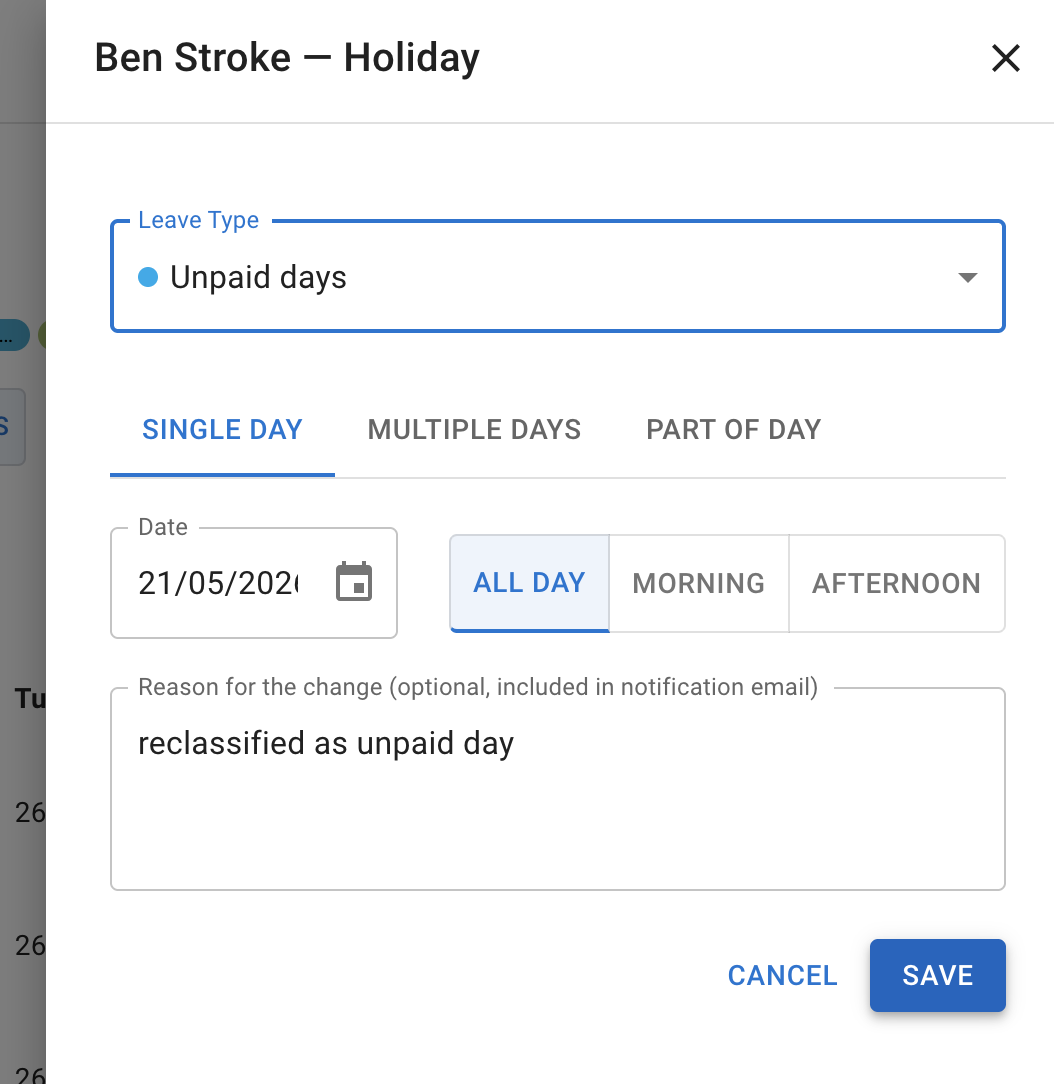
7. Edit or Cancel an Employee Leave Request
Managers can edit or cancel an employee’s leave request if it was approved by mistake or needs to be changed.
To do this, click on the leave request in Team View.
- Pending leave requests can be edited and then approved.
- Approved leave requests can be edited or cancelled.
8. Set Up Weekly Digest Emails
Managers can sign up for weekly digest emails.
Weekly digests give you a quick overview of useful team updates for the upcoming week.
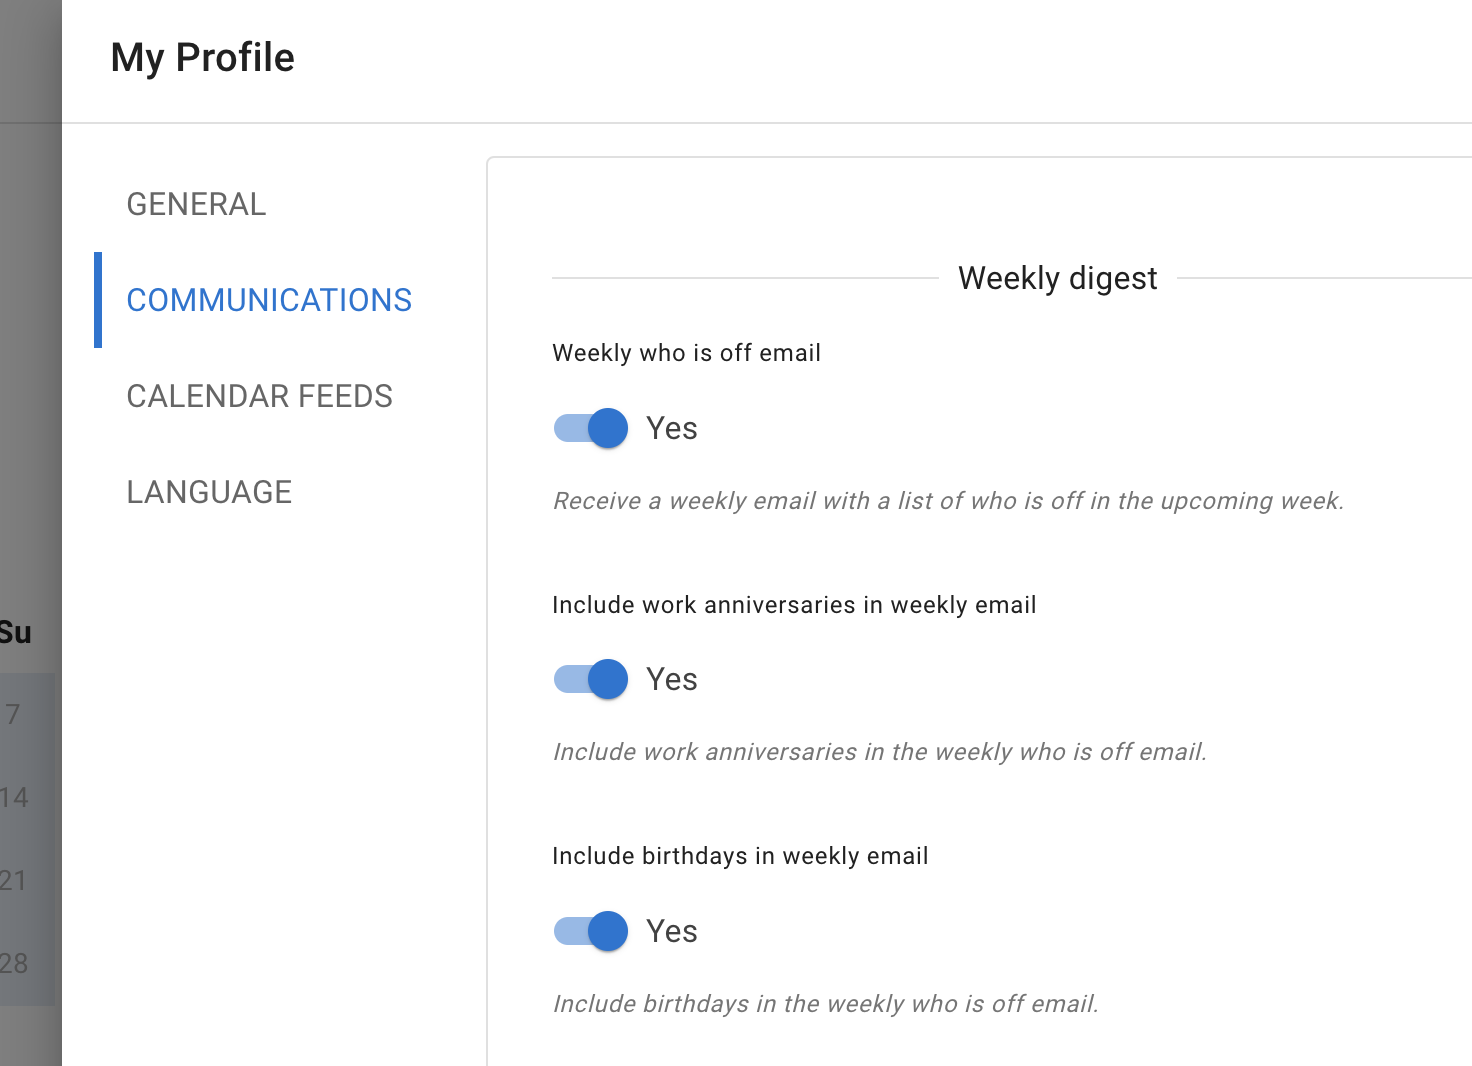
What Can Be Included in the Weekly Digest?
Managers can choose which updates they want to receive.
The weekly digest can include:
- Who is off in the upcoming week
- Work anniversaries in the upcoming week
- Birthdays in the upcoming week
You can turn each option on or off, depending on what you want to see in your weekly email.
How to Set Up Weekly Digest Emails
- Log in to TimeOff.
- Go to My Profile.
- Open the Communications section.
- Find the Weekly Digest settings.
- Toggle on the updates you would like to receive.
- Save your changes.