Adding, editing, deleting users
The Employees section is where administrators manage people in TimeOff.Management.
From here, you can:
- add new employees
- edit employee details
- send welcome emails
- update departments and locations
- set schedules and rotas
- check allowance setup
- deactivate users
- delete users where needed
This article explains the main actions administrators use when managing employee records.
Add a new employee
To add a new employee:
- Go to Employees.
- Select Add Employee.
- Enter the employee’s details.
- Choose their department and location.
- Set their manager or approver if required.
- Save the employee record.
After the employee is created, you can send them a welcome email so they can set up their password and access TimeOff.Management.
Read more: Sending welcome email to new employee
Details to check when adding an employee
Before saving a new employee, check:
- first name and last name
- email address
- department
- location
- manager or approver
- work schedule
- rota, if used
- allowance setup
- leave policy access
- public holiday settings
This helps prevent problems with leave requests, approvals, allowance, and reports later.
Employee email address
The employee email address is important.
It is used for:
- logging in
- welcome emails
- password setup
- leave notifications
- approval notifications
- weekly emails, if enabled
Make sure the email address is correct before sending the welcome email.
If the email address is wrong, the employee may not receive their invite or notifications.
Employee department and location
Departments and locations help organise your company.
They can also affect:
- who approves leave
- which public holidays apply
- which leave policies apply
- which leave types employees can use
- reporting and filtering
- visibility for managers and supervisors
For example, if a leave policy is assigned to a department, new employees added to that department may be included automatically.
Read more: Managing departments
Employee schedule
The employee schedule tells TimeOff.Management which days the employee normally works.
This is important because schedules affect how leave is calculated.
For example, if an employee does not normally work Fridays, a Friday leave request may not deduct allowance.
Read more: Setting employee schedule
Employee rotas
Use rotas when an employee works changing patterns, rotating shifts, or different days in different weeks.
A rota helps TimeOff.Management understand which days are working days and which days are days off.
Read more: Setting employee rotas
Employee allowance
When adding an employee, check how their leave allowance should be set.
Allowance may come from:
- department allowance
- individual allowance
- accrual schedule
- tenure-based allowance
- manual adjustment
- unlimited allowance setup
If the employee has different allowance from the rest of their department, you may need to set an individual allowance.
Read more: Setting up allowances
Send a welcome email
After creating an employee, you can send a welcome email.
The welcome email lets the employee create their password and access their account.
Employees can then:
- view My Calendar
- check their allowance
- request leave
- cancel or revoke requests where allowed
- connect calendar feeds, if enabled
Read more: Sending welcome email to new employee
Edit an employee
You can edit an employee record when something changes.
For example, you may need to update:
- name
- email address
- department
- location
- manager or approver
- schedule
- rota
- allowance
- role or permissions
- leave policy access
To edit an employee:
- Go to Employees.
- Open the employee profile.
- Update the required details.
- Save your changes.
After editing, check whether the change affects future leave requests or allowance.
When to edit an employee record
Edit the employee record when:
- the employee changes department
- the employee changes location
- the employee gets a new manager
- their working days change
- their rota changes
- their allowance changes
- their email address changes
- their access level changes
If the employee already has future leave booked, check whether the change affects those bookings.
Deactivate a user
If an employee leaves the company, you may want to deactivate their account.
Deactivating a user removes their access without deleting their historic leave records.
This is usually better than deleting the employee straight away.
Read more: Deactivating users
Delete a user
Deleting a user should be used carefully.
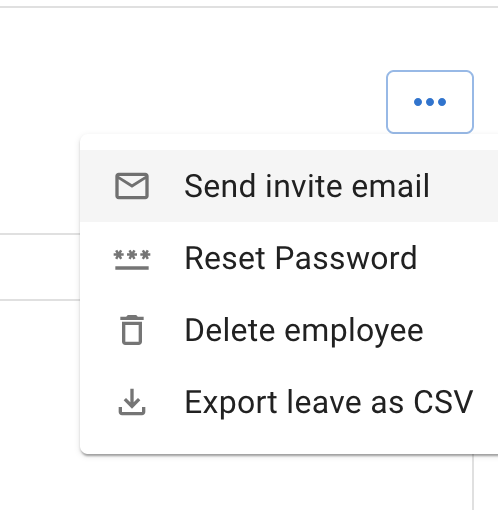
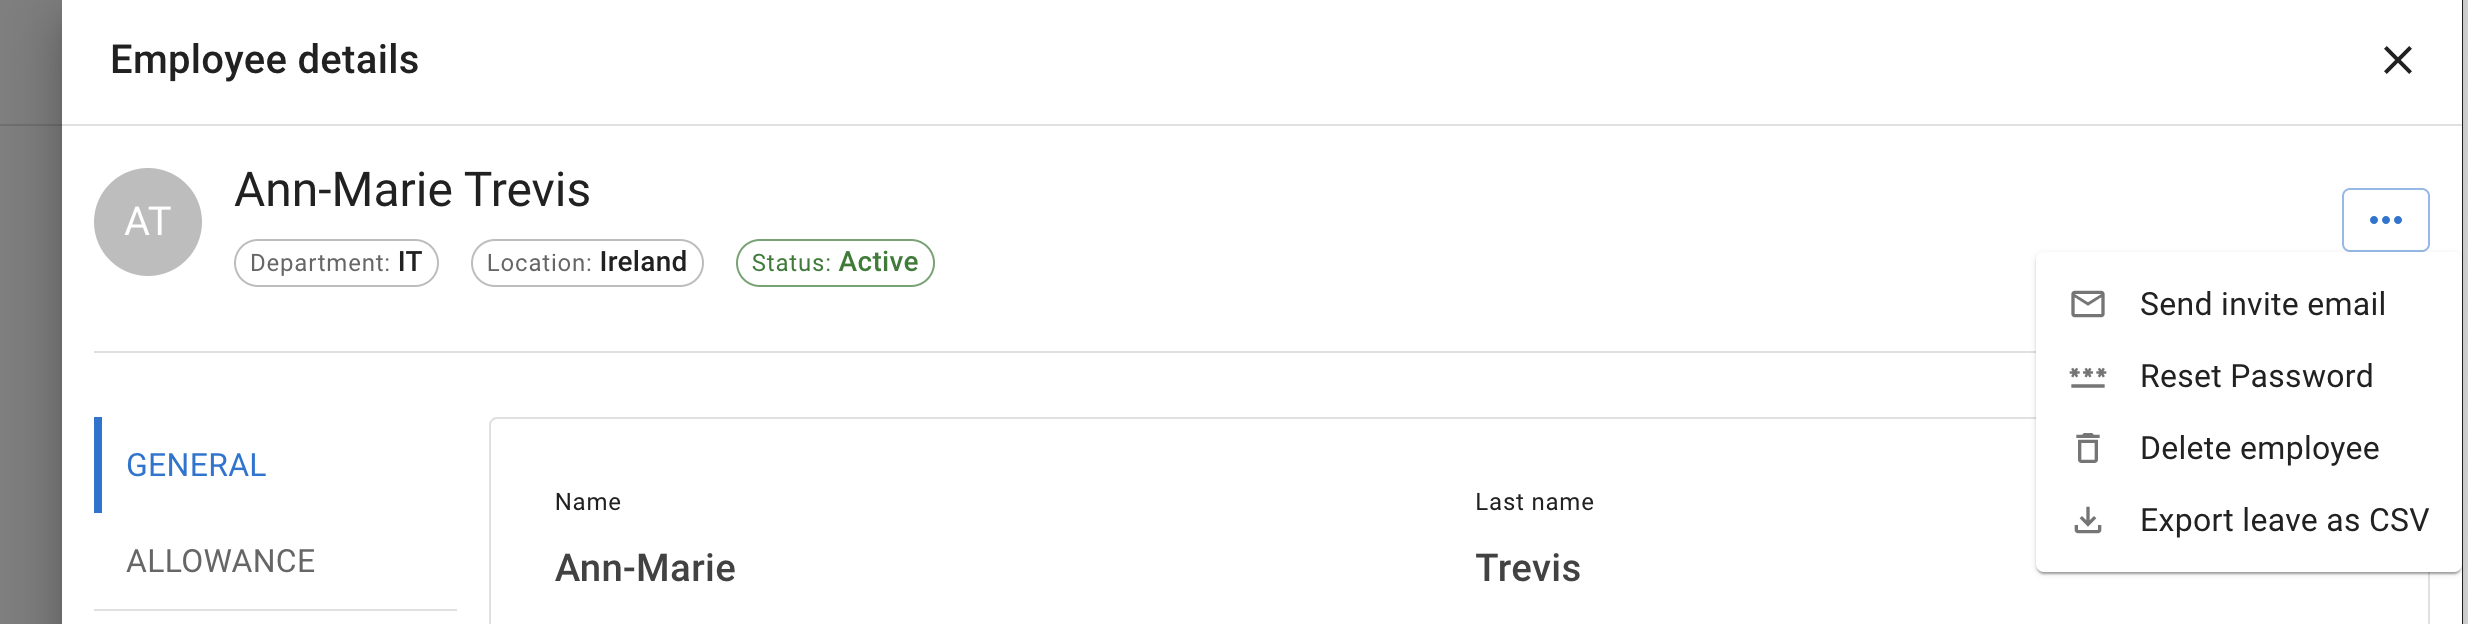
Before deleting an employee it is recommended to download user leave records. Simply select export leave as CSV in employee details menu.
To delete user go into Employee details - Menu - Select Delete User and confirm deletion.
Add employees in bulk
If you need to add many employees simply reach to your account support via Contact us form or email info@timeoff.management
This can save time when setting up a new company account.
If you are moving from another system, you may also want to import existing leave records.
Read more: Import leaves in bulk
Common checks after adding employees
After adding employees, check:
- employees appear in the correct department
- employees appear in the correct location
- the right manager can see them
- the correct approver is assigned
- the schedule or rota is correct
- allowance looks correct
- the employee can log in
- the employee can request the correct leave types
This helps avoid setup issues before employees start using the system.
Related articles
-
Sending welcome email to new employee Invite a new employee to set their password and access TimeOff.Management.
-
Setting employee schedule Set the employee’s normal working days so leave is calculated correctly.
-
Deactivating users Learn how to remove access for employees who no longer need to use the system.
Best practice
Add the employee’s department, location, schedule, manager, and allowance before sending the welcome email.
This gives the employee a cleaner first experience when they log in.