Creating account
Creating a company account is the first step in setting up TimeOff.Management.
The person who creates the account becomes the first company administrator.
They can then add employees, create departments, set leave allowance, manage leave types, and choose who approves requests.
Who should create a company account?
Create a new company account when you are setting up TimeOff.Management for a business or organisation.
Do not create a new company account if:
- your employer has already invited you
- you are an employee trying to log in
- you received a welcome email from TimeOff.Management
- your company already has an account
Employees should use the link in their welcome email or the normal login page.
Creating another company account will not give you access to your employer’s existing account.
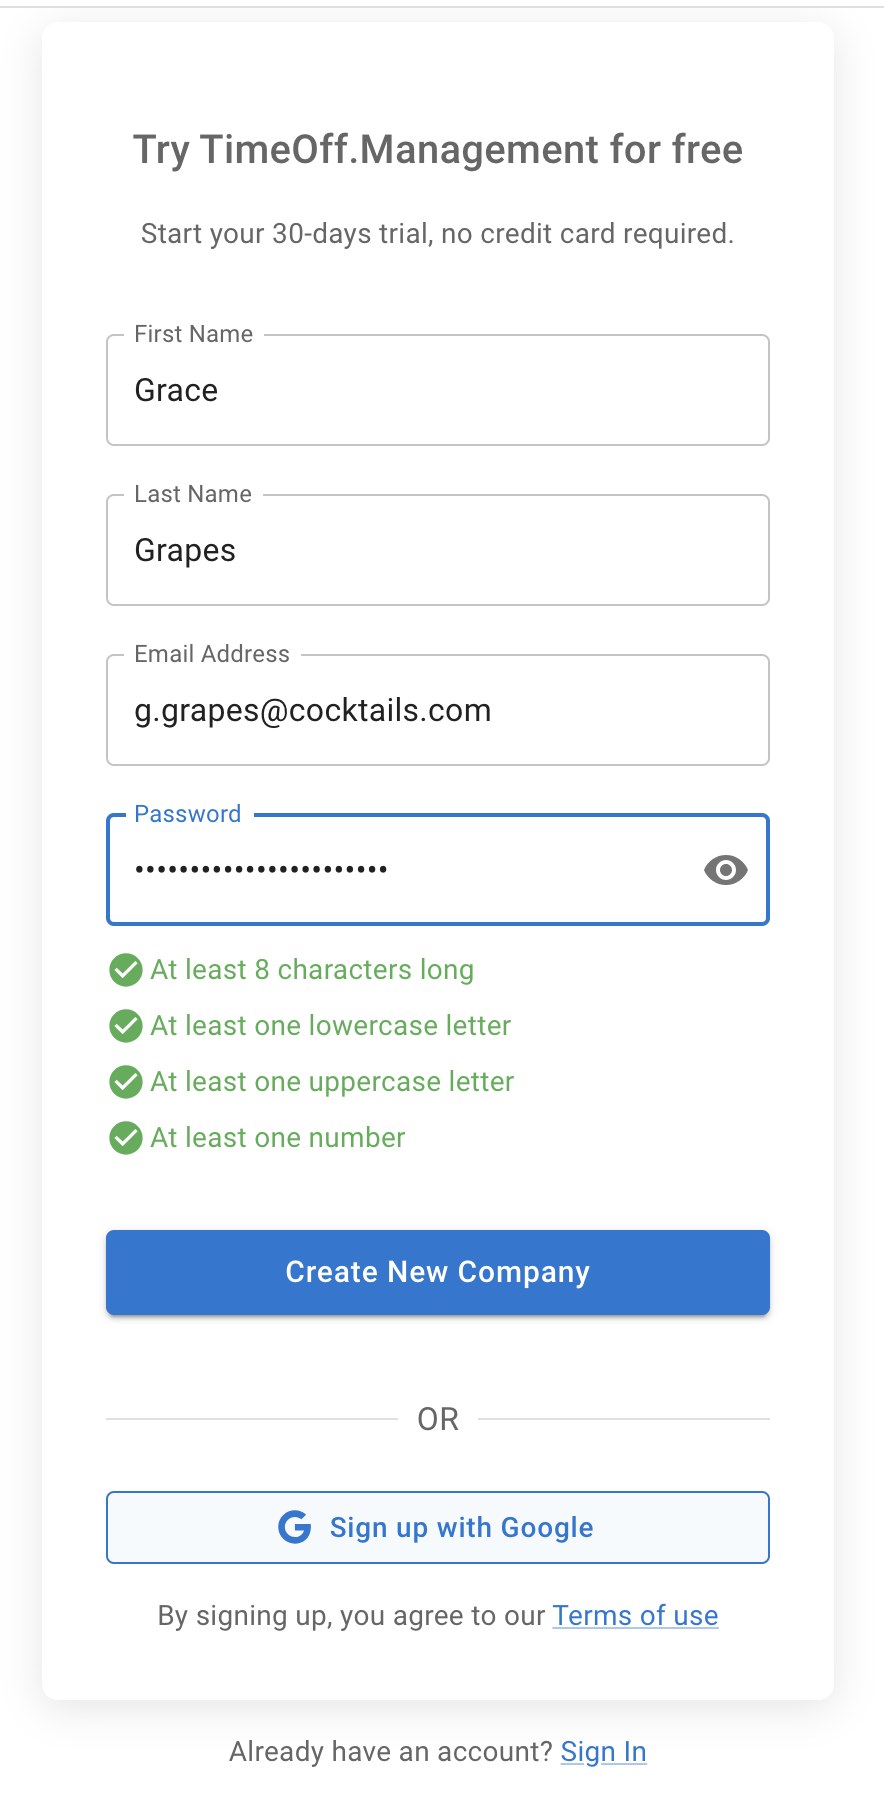
Create your company account
Go to the TimeOff.Management registration page.
Enter the requested information:
- Company name — the name used for your organisation
- First name — the name of the first administrator
- Email address — used for the administrator login
- Password — used to secure the administrator account
Check the information, then select Create new company account.
Choose the correct email address
Use an email address that you can access.
This email may be used for:
- signing in
- password recovery
- account notifications
- leave approval notifications
- company administration
Check the spelling before creating the account.
Then in General Settings you can:
Choose the correct country
The selected country can help TimeOff.Management pre-populate common settings, including public holiday information.
Choose the country that best matches your main company setup.
You can add and manage locations separately if employees work in different countries or regions.
Read more: Managing locations
Choose the correct time zone
The time zone helps TimeOff.Management show dates and notifications correctly.
Choose the time zone that best matches where your company operates.
This is especially important for teams that work across different locations.
Following can be selected on Employee details:
Sign up with Google or Microsoft
You may also be able to create the account using Google or Microsoft.
Choose the sign-up option you want to use and follow the instructions on screen.
Remember which login method you selected. You will need to use the same method when signing in later.
What happens after registration?
After creating the account, you can begin setting up TimeOff.Management.
A good setup order is:
- Check your company settings.
- Add departments and locations.
- Set employee schedules.
- Configure leave types.
- Set allowance or PTO rules.
- Add employees.
- Choose who approves leave.
- Send welcome emails.
Read the full setup guide: Getting Started — How to Set Up TimeOff.Management
Add employees
After the company account is ready, add the people who will use TimeOff.Management.
For each employee, check:
- name
- email address
- department
- location
- schedule or rota
- manager or approver
- allowance setup
Read more: Adding, editing, and deleting users
Send welcome emails
Employees do not need to create separate company accounts.
After you add an employee, send them a welcome email.
The email lets them set their password and access the company account you created.
Read more: Sending welcome email to a new employee
Common account creation issues
I already have an employee account
Do not register another company.
Use the login page or the link provided by your employer.
I did not receive an employee invitation
Check your spam or junk folder.
Then ask your company administrator to confirm your email address and resend the welcome email.
I entered the wrong email address
You may not receive password or account emails.
Check the administrator details in TimeOff.Management and correct the email address.
I cannot log in after using Google or Microsoft
Make sure you select the same login method that you used when creating the account.
My company already uses TimeOff.Management
Ask the existing administrator to add you to the company account.
Do not create a second company account.
Related articles
-
Getting Started — How to Set Up TimeOff.Management Follow the recommended setup order for company settings, departments, schedules, allowances, leave types, and employees.
-
Adding, editing, and deleting users Add employees and configure their department, location, schedule, manager, and allowance.
-
Sending welcome email to a new employee Invite employees to set their password and access your company account.
Best practice
Complete the main company settings before inviting employees.
This gives employees the correct allowance, schedule, leave types, and approval route when they first log in.