Customizing Global Settings for Individual Employees
Most TimeOff.Management settings can be applied across the whole company or department.
Sometimes one employee needs a different setup.
For example, an employee may need:
- a different login method
- automatic leave approval
- an individual leave allowance
- different leave type limits
- access to selected leave types
- a different work schedule
- extra employee policies
- permission to exceed allowance limits
Employee-level settings let you make these changes without affecting everyone else.
When to use employee-level settings
Use an employee-specific setting when one person needs different rules from their department or company.
Examples include:
- a company owner whose leave should be approved automatically
- an employee with extra annual leave
- a part-time employee with a different schedule
- an employee who should not use a selected leave type
- a senior manager who needs access to reports
- an employee who can book more leave than their current balance
For rules that apply to many employees, use a department setting or employee policy instead.
Before changing an employee setting
Before making changes, check:
- the employee’s department
- their location
- their current allowance
- their schedule or rota
- future leave requests
- assigned employee policies
- your company leave rules
After saving a change, review the employee profile to make sure the new setup is correct.
1. Change the employee login type
Each employee can use one active login method:
- email and password
- Google or Microsoft Single Sign-On
To change the login type:
- Go to Employees.
- Select the employee.
- Open Employee Details.
- Go to General Details.
- Enter Edit Mode.
- Find Login Type.
- Select the required option.
- Save your changes.

Tell the employee which login method to use after the change.
Read more: Choose an employee login type and enable SSO
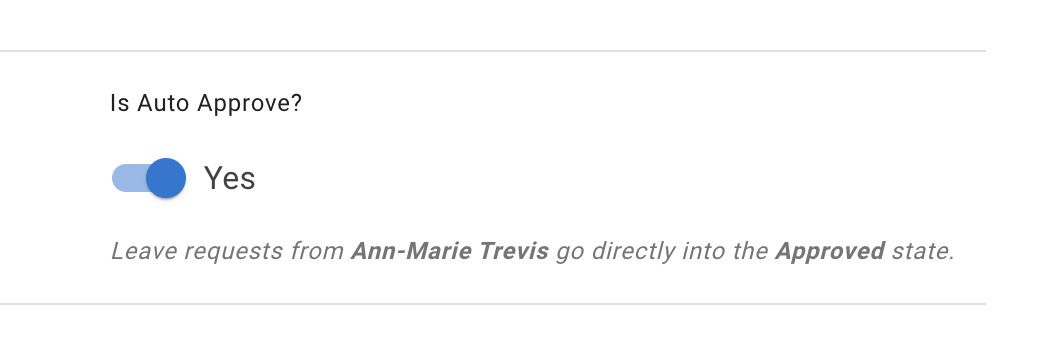
2. Enable auto approval for one employee
Auto approval lets an employee’s leave requests be approved without going through the normal approval process.
This may be useful for:
- company owners
- directors
- senior employees
- employees who do not need a leave approver
To enable it:
- Open the employee profile.
- Go to General Details.
- Enter Edit Mode.
- Turn on the employee auto-approval option.
- Save your changes.
Use this setting only when it follows your company leave policy.
Read more: Auto approval settings
3. Override the department allowance
Employees normally receive the allowance set for their department.
You can override this when one employee needs a different annual allowance.
To set an individual allowance:
- Go to Employees.
- Select the employee.
- Open the Allowance tab.
- Enter Edit Mode.
- Set the employee’s Nominal Allowance.
- Save your changes.
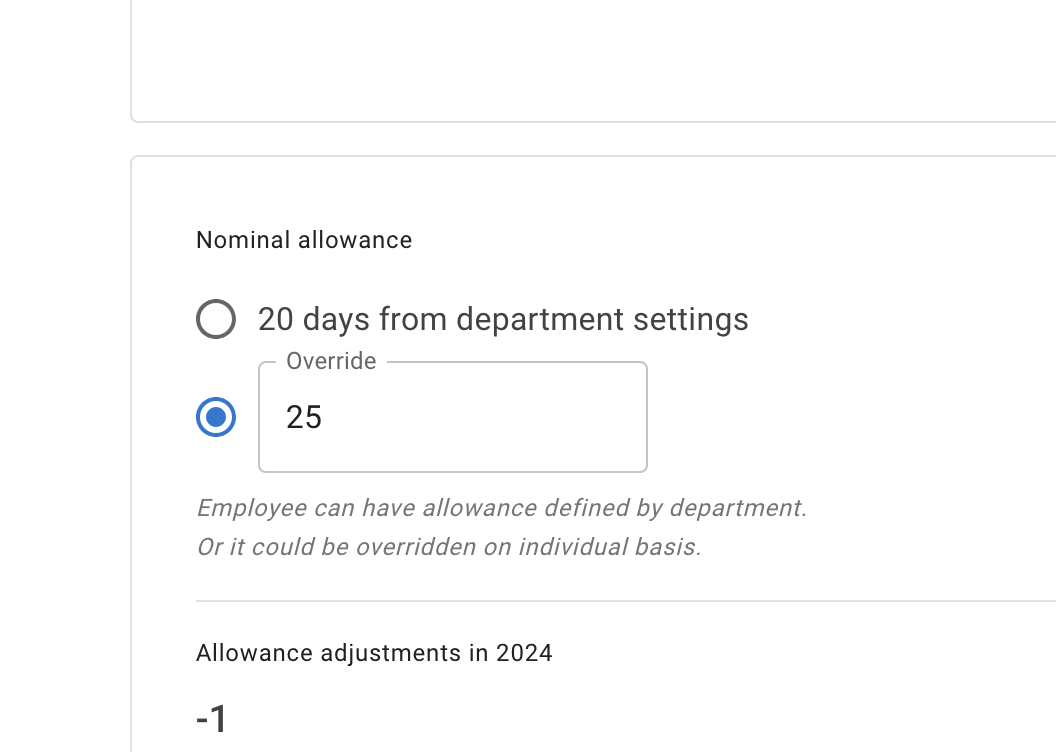
The individual amount replaces the department allowance for that employee.
This is useful when an employee has:
- extra contractual leave
- a different annual entitlement
- a special working agreement
- an allowance that does not match the rest of their department
Read more: Setting up individual allowances
4. Block leave types or change their limits
Company leave types can be adjusted for one employee.
You can:
- block a leave type
- set a different limit
- allow a leave type that follows a special company rule
- change how much of a selected leave type the employee can book
To customize leave types:
- Open the employee profile.
- Go to Leave Types.
- Enter Edit Mode.
- Update the required leave type.
- Save your changes.
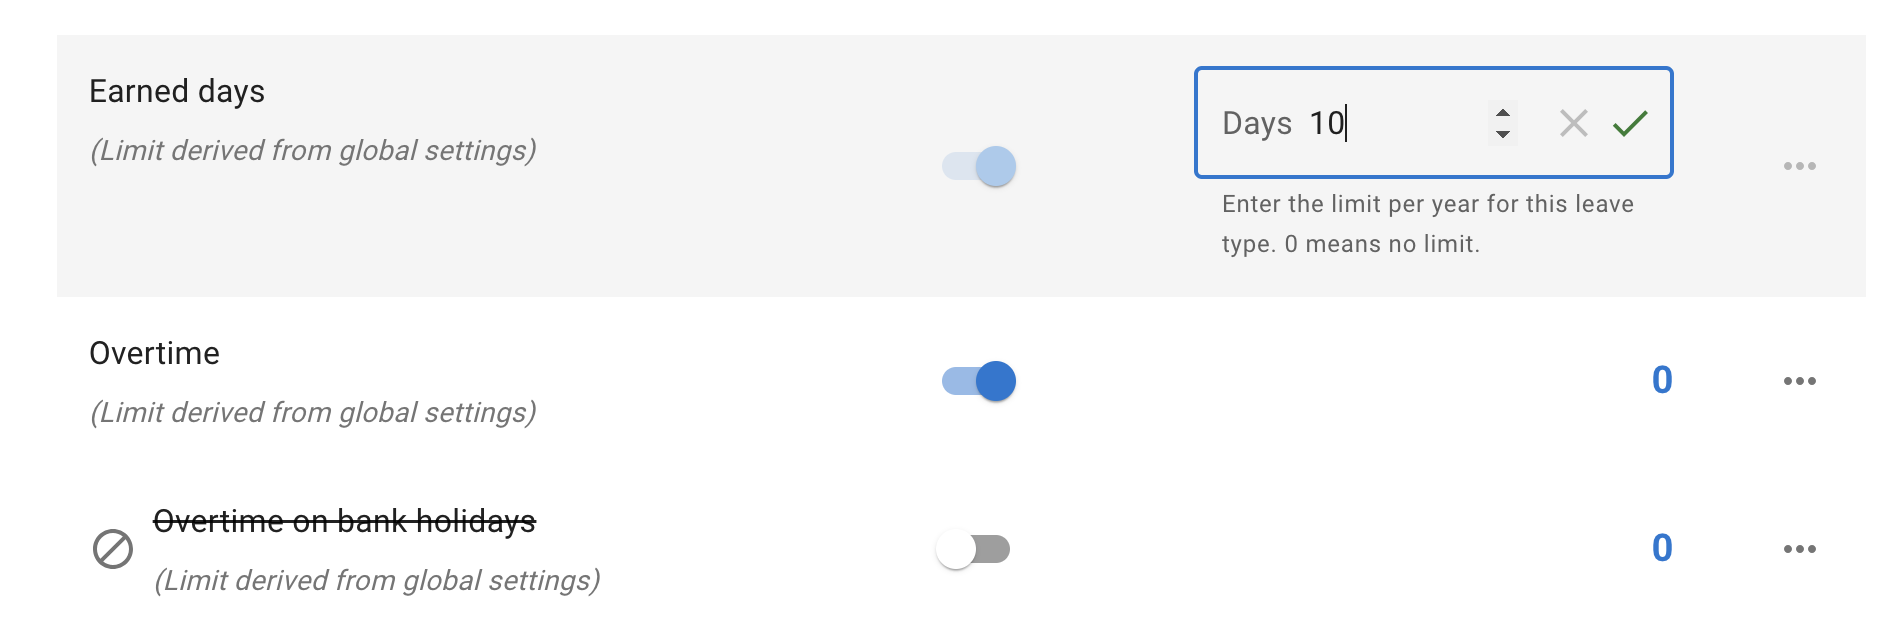
When a leave type is blocked, the employee cannot select it when booking leave.
An administrator may still be able to book that leave type on the employee’s behalf when company rules allow it.
Read more:
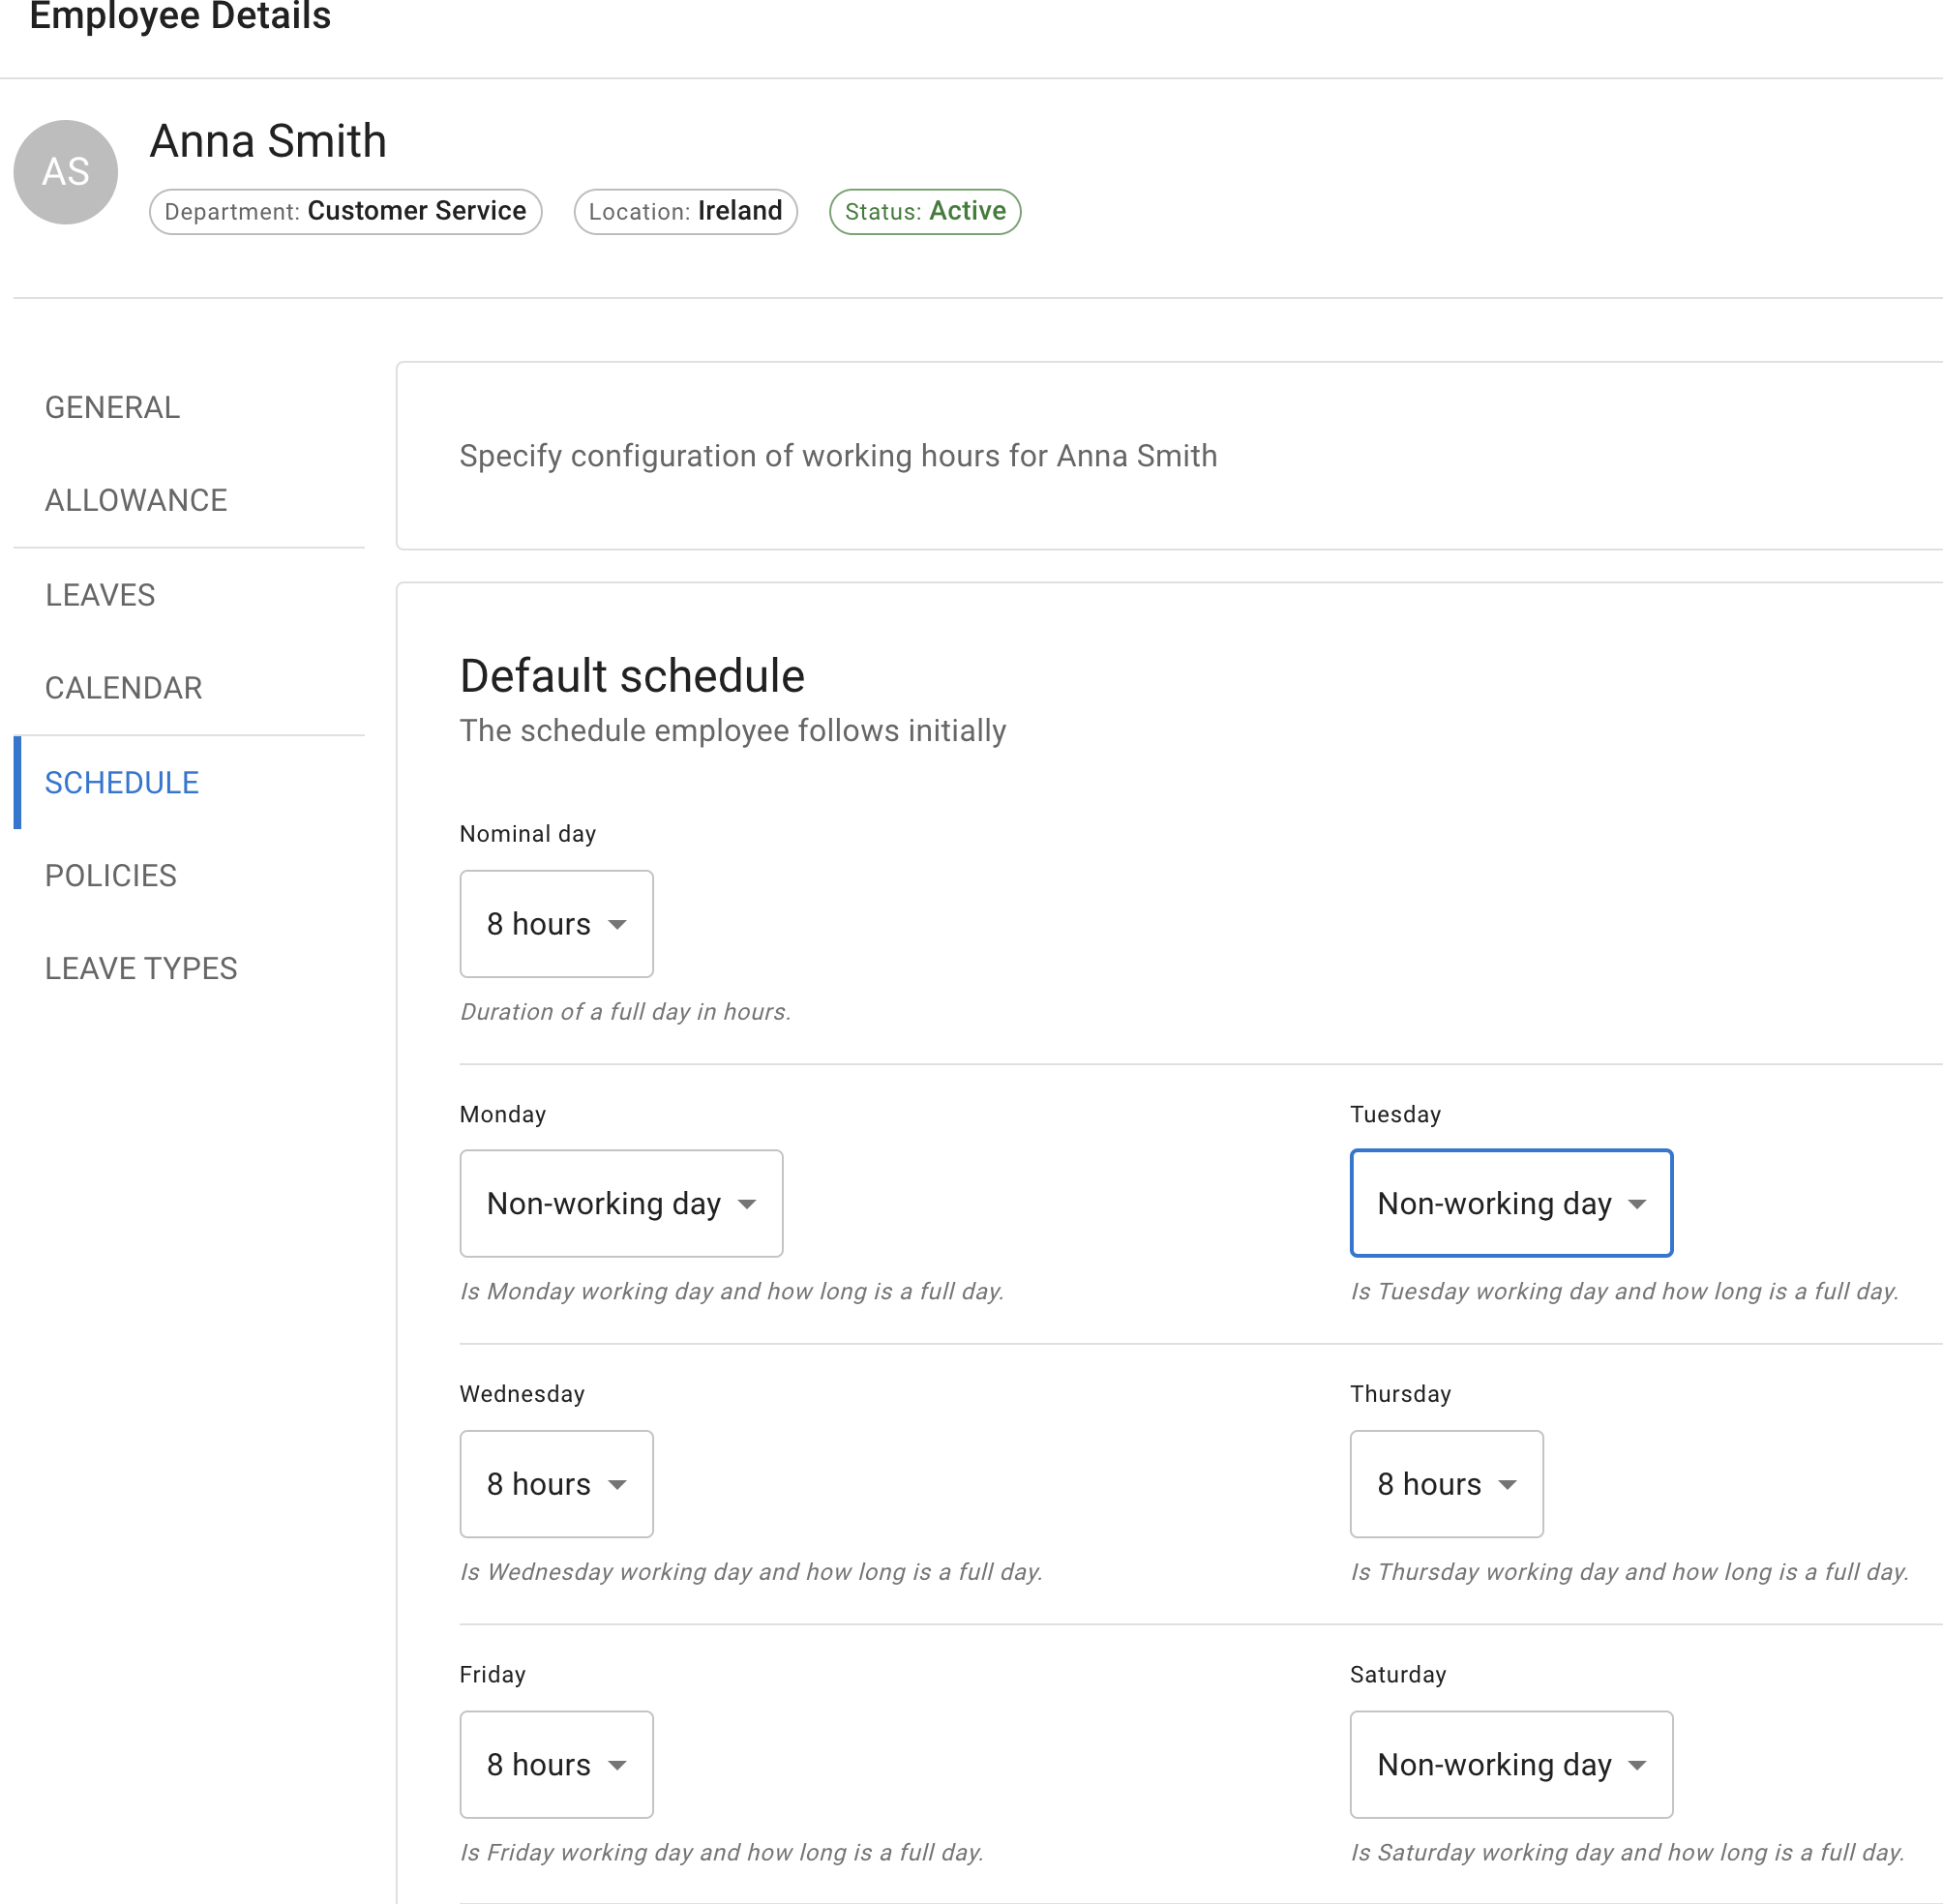
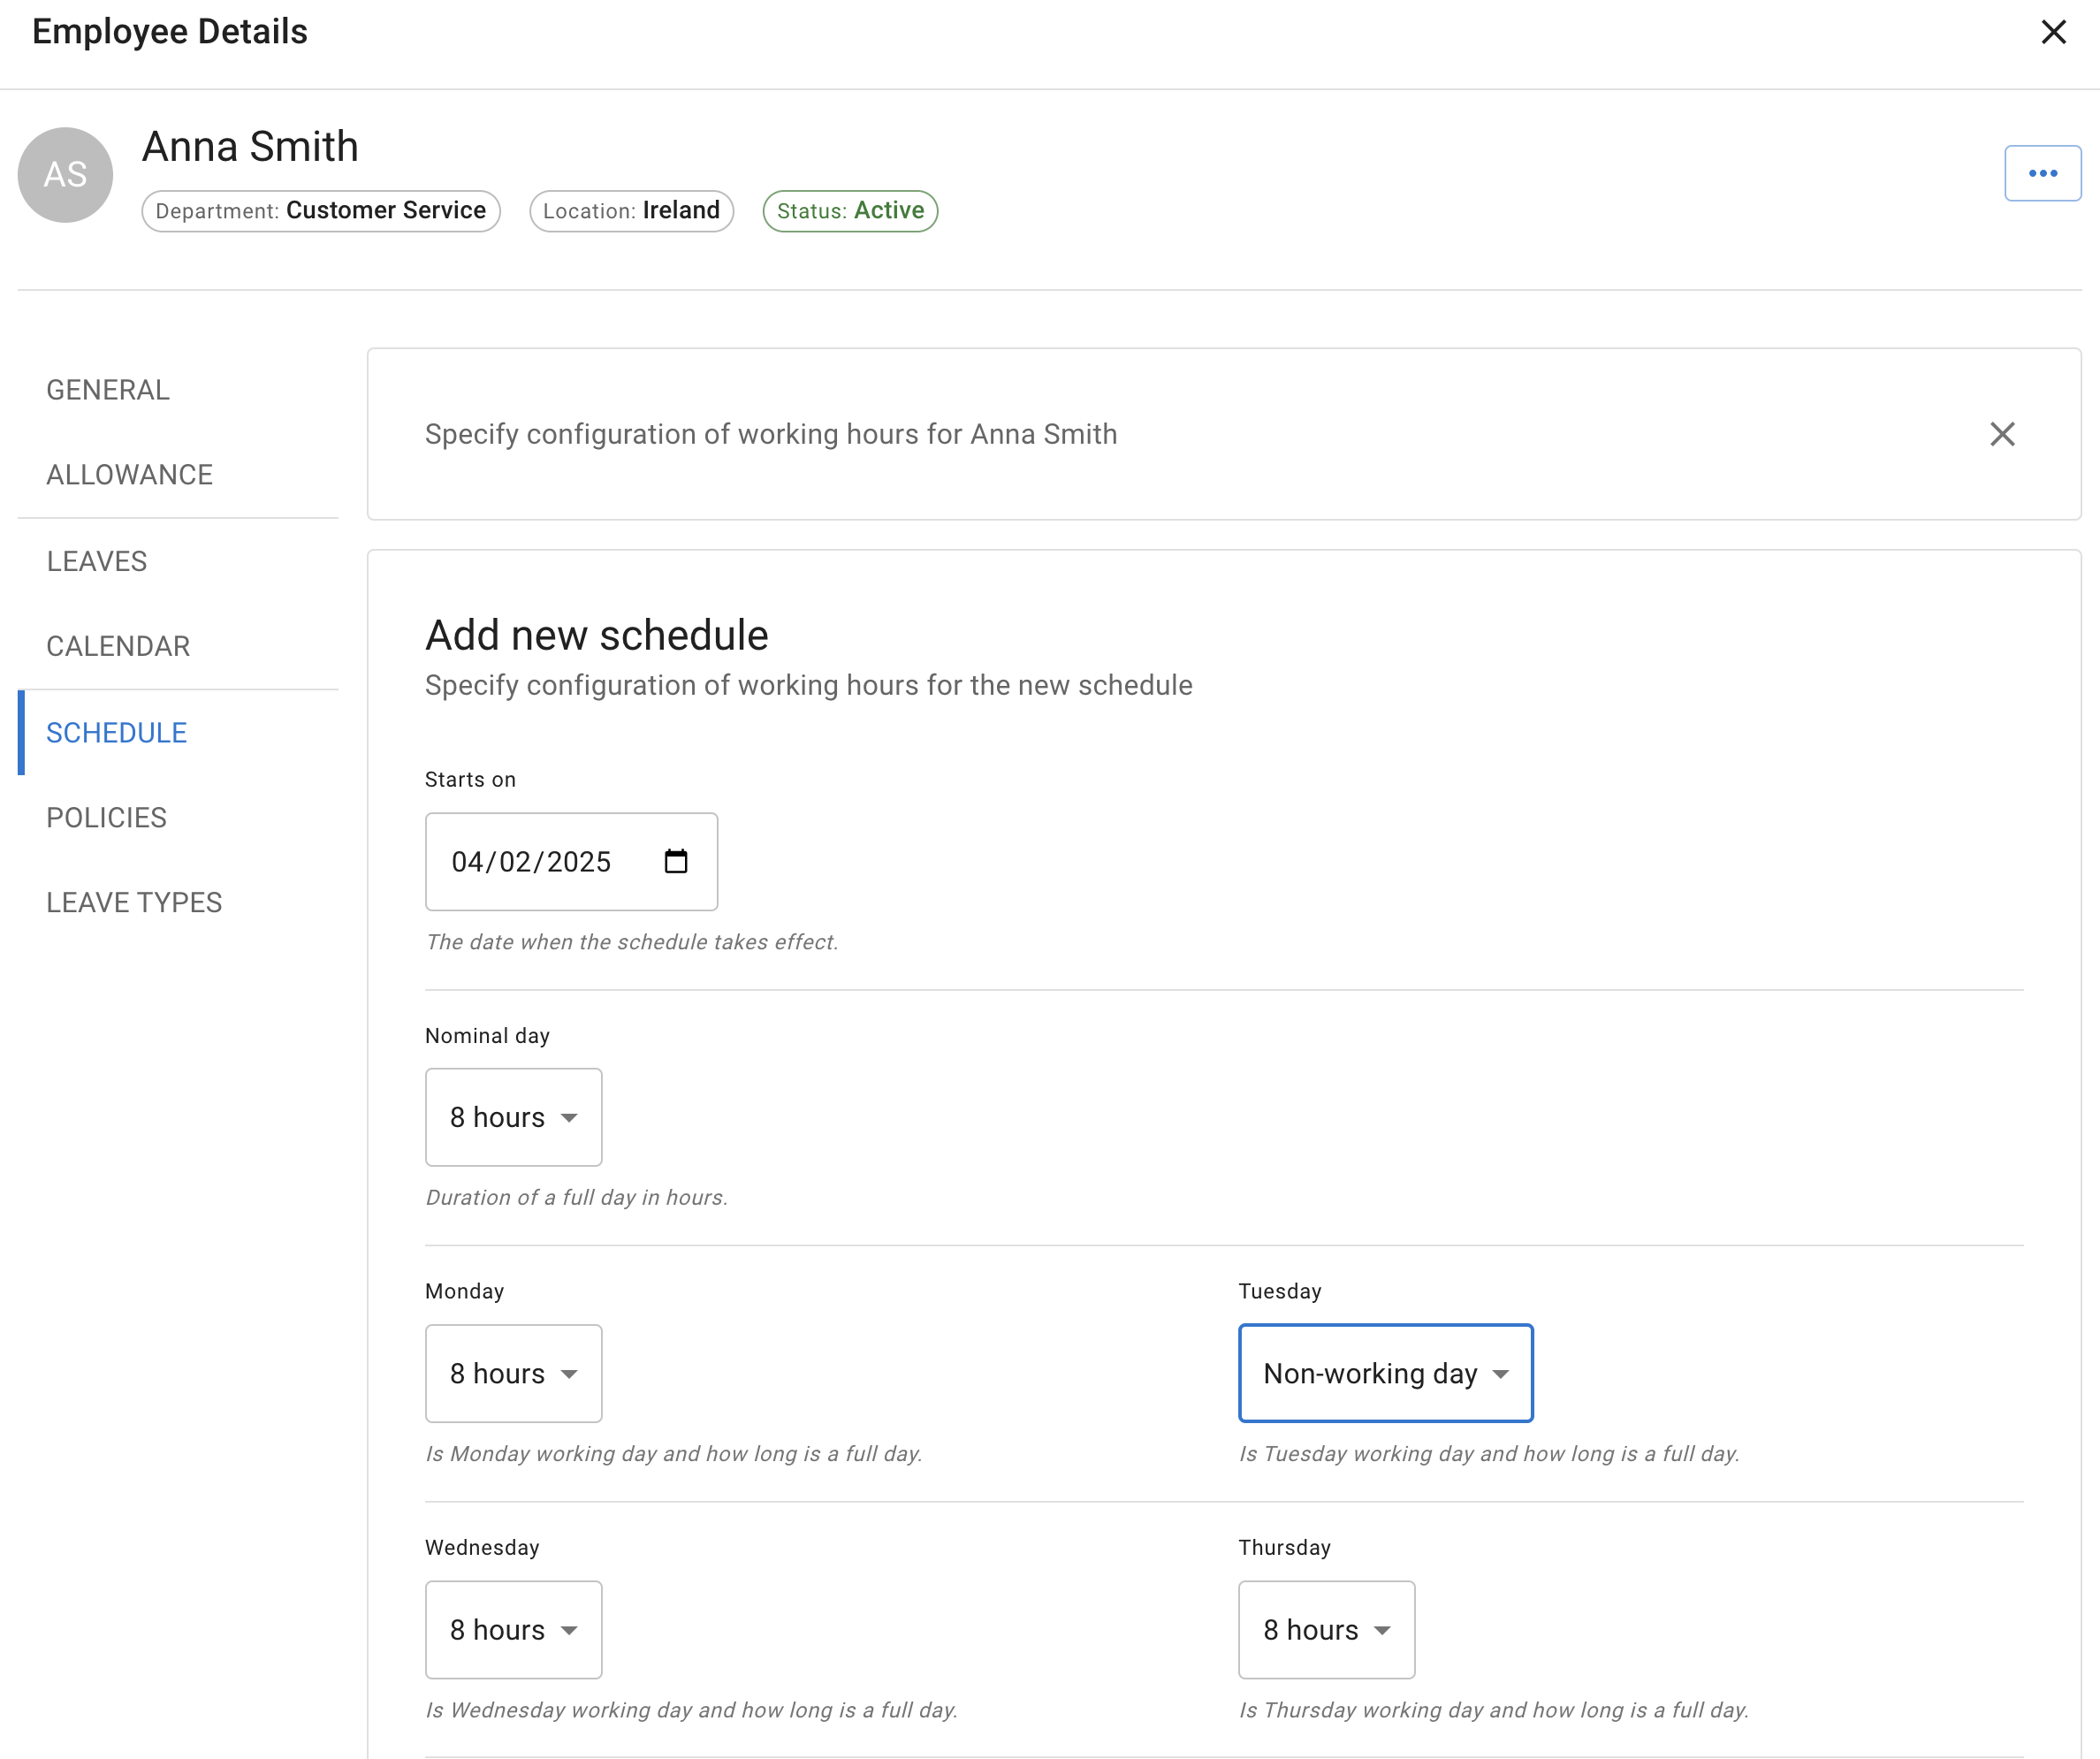
5. Set or change the employee schedule
The employee schedule tells TimeOff.Management which days the employee normally works.
It affects:
- which days count as working days
- how much allowance is deducted
- part-time leave calculations
- partial-day bookings
- public holiday treatment
To change the current schedule:
- Open the employee profile.
- Go to Schedule.
- Edit the employee’s default schedule.
- Save your changes.
If the employee’s working pattern will change later, add a future-dated schedule.
This keeps the existing schedule in place until the new one starts.
Read more: Setting employee schedule
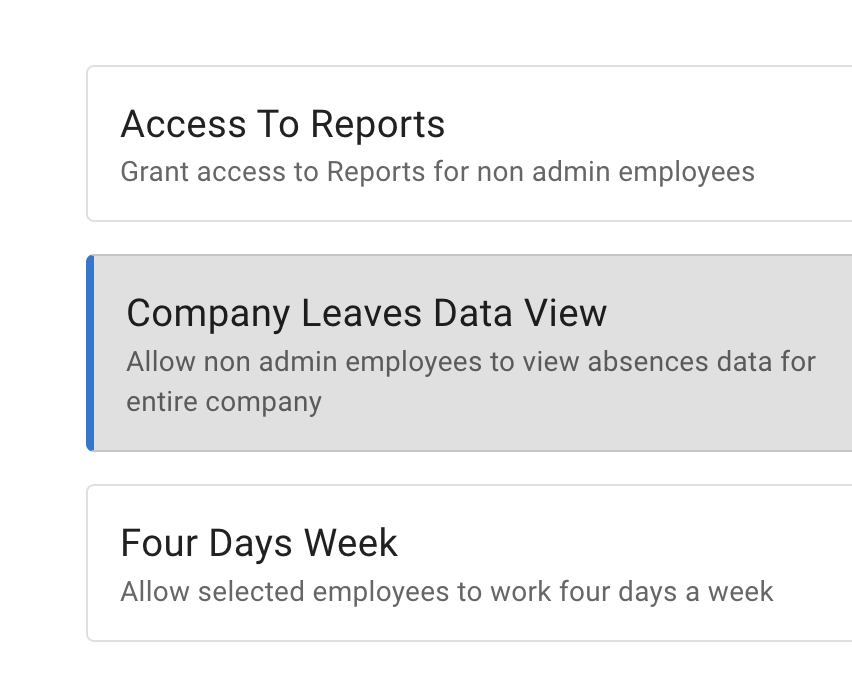
6. Assign employee policies
Employee policies let you give selected rules or permissions to specific employees.
Depending on your company setup, policies may control:
- four-day working weeks
- access to reports
- access to company leave data
- leave type access
- tenure-based allowance
- accrued allowance
- other company-defined permissions
To assign a policy:
- Open the employee profile.
- Go to Policies.
- Select the required policy.
- Add the employee to it.
- Save your changes.
Use policies when the same rule should apply to a selected group of employees.
Read more: Employee policies overview
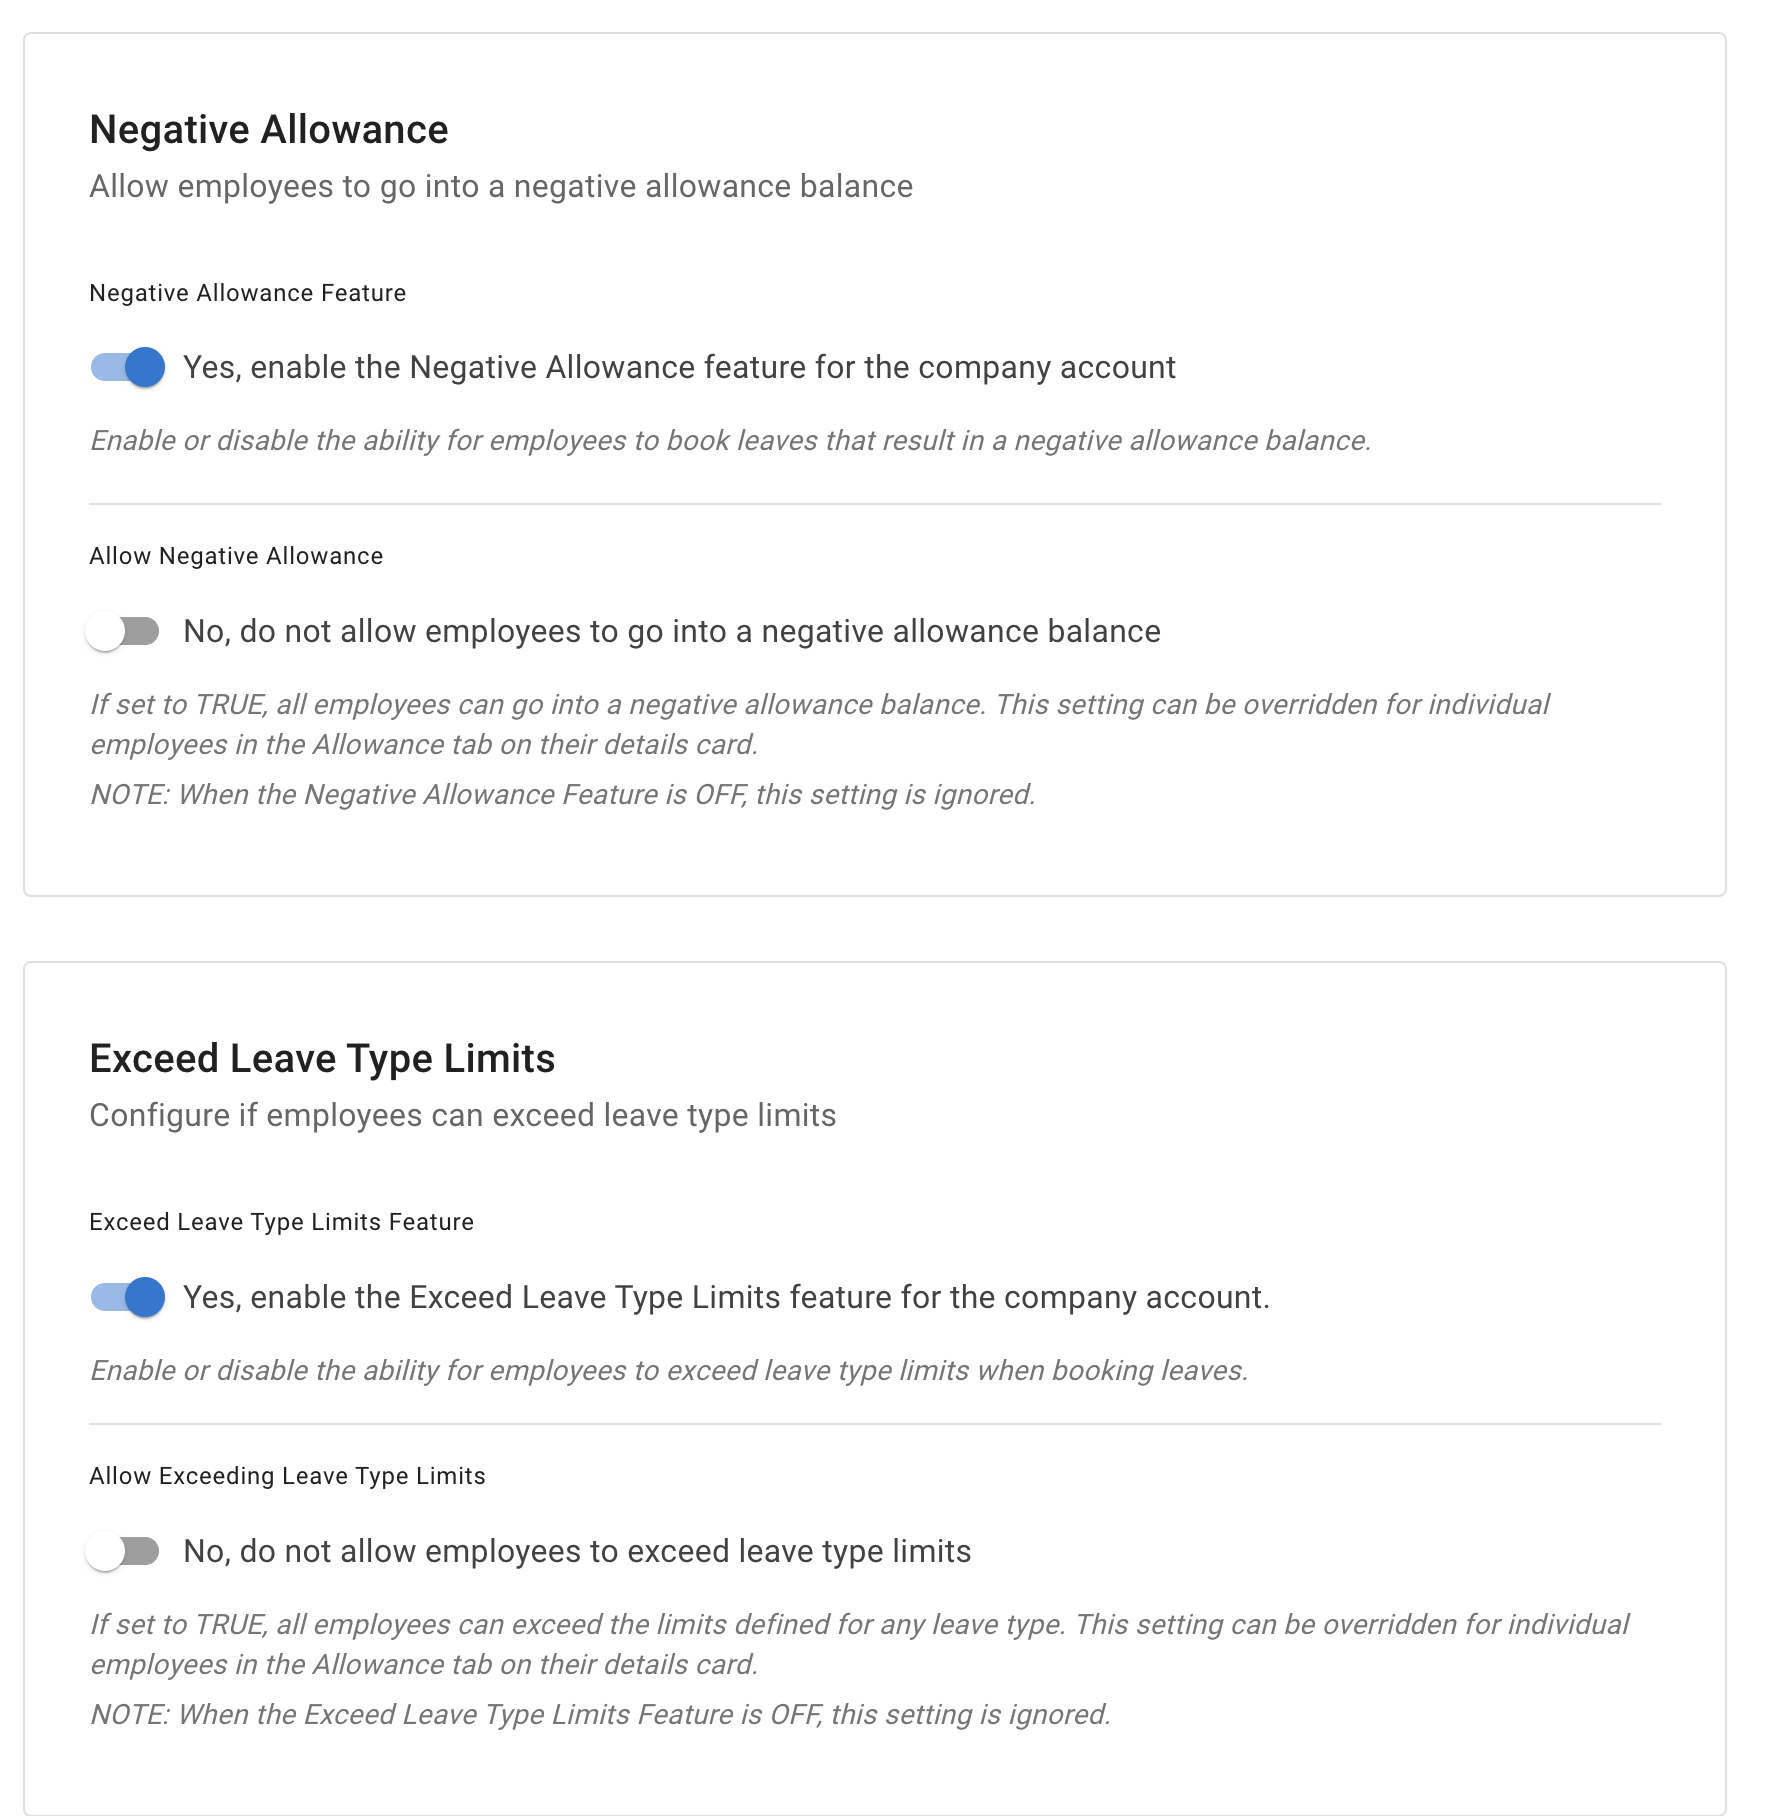
7. Enable advanced allowance options
Advanced settings can provide extra controls for allowance and leave type limits.
These may include:
- accrued allowance
- permission to exceed leave type limits
- permission to use negative allowance
The relevant option must first be enabled in the company’s Advanced Settings.
After the company option is enabled, you can apply it to selected employees.
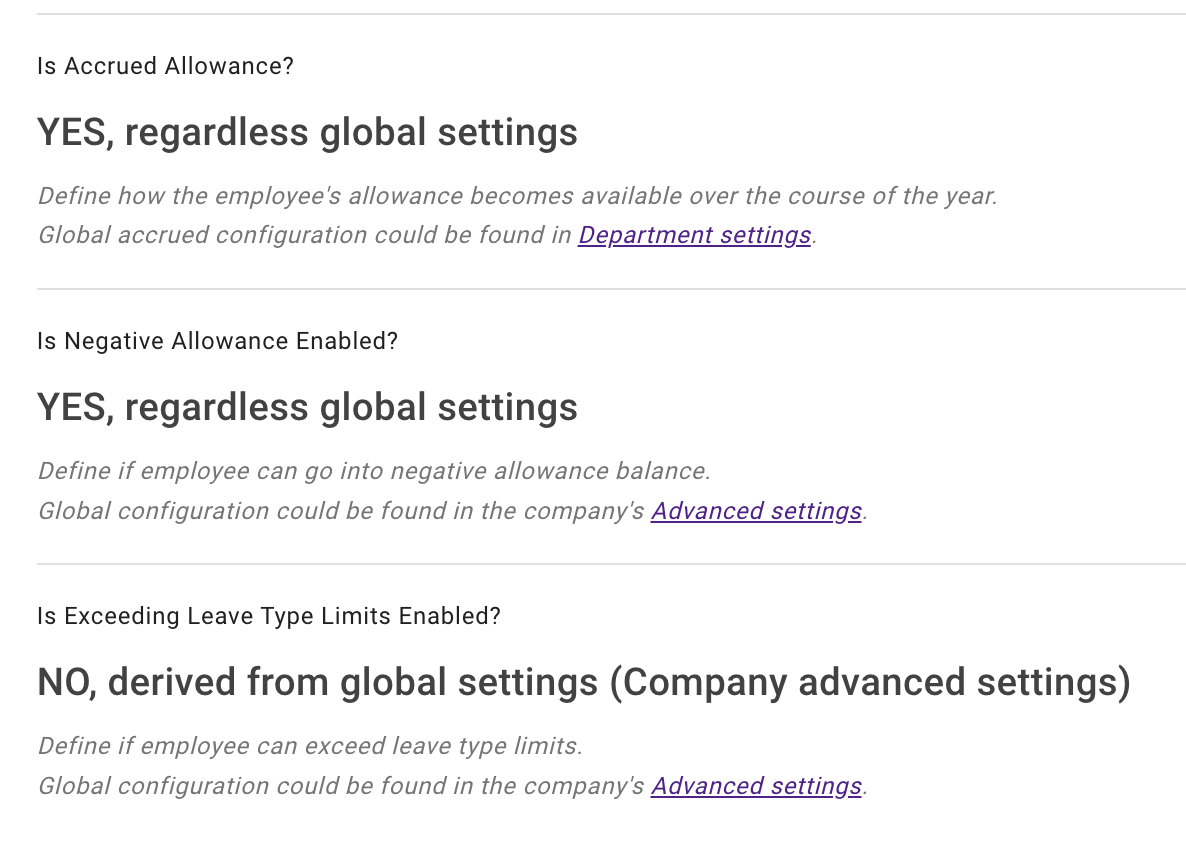
For example, you may allow one employee to:
- book leave before their allowance is available
- exceed a leave type limit
- use a negative allowance balance
- follow an accrued allowance schedule
Use these options carefully and make sure they match your company policy.
Read more:
Which setting should you use?
| Requirement | Recommended setting |
|---|---|
| One employee needs a different allowance | Individual nominal allowance |
| One employee should use SSO | Employee login type |
| Leave should approve automatically | Employee auto approval |
| One employee cannot use a leave type | Employee leave type setting |
| One employee has a different limit | Individual leave type limit |
| Working days differ from the department | Employee schedule or rota |
| Several selected employees need the same rule | Employee policy |
| One employee may use a negative balance | Advanced employee setting |
Check the employee after making changes
After saving an employee-specific setting, check:
- the employee can log in
- the correct leave types are available
- allowance is displayed correctly
- leave is deducted correctly
- the schedule starts on the correct date
- the right policies are assigned
- the approval process works as expected
It is also helpful to test the setup before the employee starts booking leave.
Related articles
-
Adding, editing, and deleting users Manage employee details, departments, locations, schedules, and account access.
-
Setting up allowances Understand department allowance, individual allowance, accrual schedules, adjustments, and leave type limits.
-
Employee policies overview Apply selected rules and permissions to individuals or groups of employees.
Best practice
Use employee overrides only for genuine exceptions.
When the same rule applies to several people, create a department rule or employee policy instead. This keeps your setup easier to understand and manage.